How to help a child ride a bike without stabilisers
Help a child ride without stabilisers by confirming the bike fits, practising balance before pedalling, and giving support at the body—not the handlebars.
Check the fit before removing the stabilisers
Measure the child’s standing height and inseam, then have them try the bicycle. Age is only a starting point. The rider should be able to stand over the bike comfortably, reach the handlebars without stretching, operate the brakes, and feel in control. Do not choose an oversized bicycle simply to allow room for growth.
| Wheel size | XBikes starting point |
|---|---|
| 12 Inch | Ages 3–4; 34–40 in / 86–102 cm |
| 14 Inch | Ages 3–6; 37–45 in / 94–114 cm |
| 16 Inch | Ages 4–7; 40–48 in / 102–122 cm |
| 18 Inch | Ages 5–9; 43–52 in / 109–132 cm |
| 20 Inch | Ages 7–12; 48–60 in / 122–152 cm |
| 24 Inch | Ages 10–14; 54–64 in / 137–163 cm |
| 26 Inch | Youth and adults over 60 in / 153 cm |
Where ranges overlap, compare the child’s inseam, reach, brake control and confidence on each suitable candidate. The correct choice is the one they can control now, not the largest size in the range.
Prepare the bike and practice area
Choose a quiet, open, level space away from traffic, obstacles and steep slopes. The child should wear closed shoes and a properly fitting bicycle helmet. Position the helmet level and fasten its straps according to the helmet manufacturer’s instructions.
Before riding, check that the bicycle is assembled and operating as its exact manual requires. Follow that manual for removing or adjusting stabilisers and for all fasteners, compatibility checks and maintenance. If instructions are missing, unclear or the bike does not operate correctly, use a qualified bicycle mechanic rather than guessing.
Teach balance before pedalling
- Start with controlled stops. Ask the child to practise applying the brakes and putting a foot down while you keep the bike steady.
- Let them feel the balance point. Have them move slowly and concentrate on looking ahead, keeping the handlebars calm and correcting small leans.
- Support the rider, not the steering. Hold lightly around the child’s torso or beneath the arms as needed. Avoid pulling the handlebars, because the child needs to learn their own steering corrections.
- Reduce help gradually. When the rider remains centred, loosen your support for brief moments. Tell them before you fully let go so confidence is not replaced by surprise.
- Add pedalling last. Once they can balance, steer and stop predictably, practise starting with one pedal ready to push and the other foot on the ground.
Use short attempts with a clear stopping point. If steering becomes frantic, the child cannot brake on request, or fear is increasing, return to the previous step instead of pushing through.
Decide whether the stabilisers should come off now
Removal is reasonable when the child can sit comfortably, reach the controls, stop on request, look ahead and tolerate the bike leaning slightly without panic. Those signs matter more than age or how long the stabilisers have been fitted.
Keep practising with stabilisers if the rider still depends on them continuously, cannot operate the brakes confidently, or cannot place a foot down securely. They may also need more time if the bicycle is difficult to mount, reach or control. A fit problem should be corrected rather than treated as a confidence problem.
How the supplied bikes relate to this transition
The Pink 12/14/16/20" XJD Girls Bike with Training Wheels & Basket and the Light Pink XJD Girls' Bicycle with Basket & Training Wheels are relevant because both are catalogued as training-wheel bikes and both offer 12 Inch, 14 Inch, 16 Inch and 20 Inch SKU labels. They give families the same four wheel-size starting points to compare, so the decision between them cannot be made from fit range alone. Confirm the selected SKU against the child’s measurements and an individual try-out.
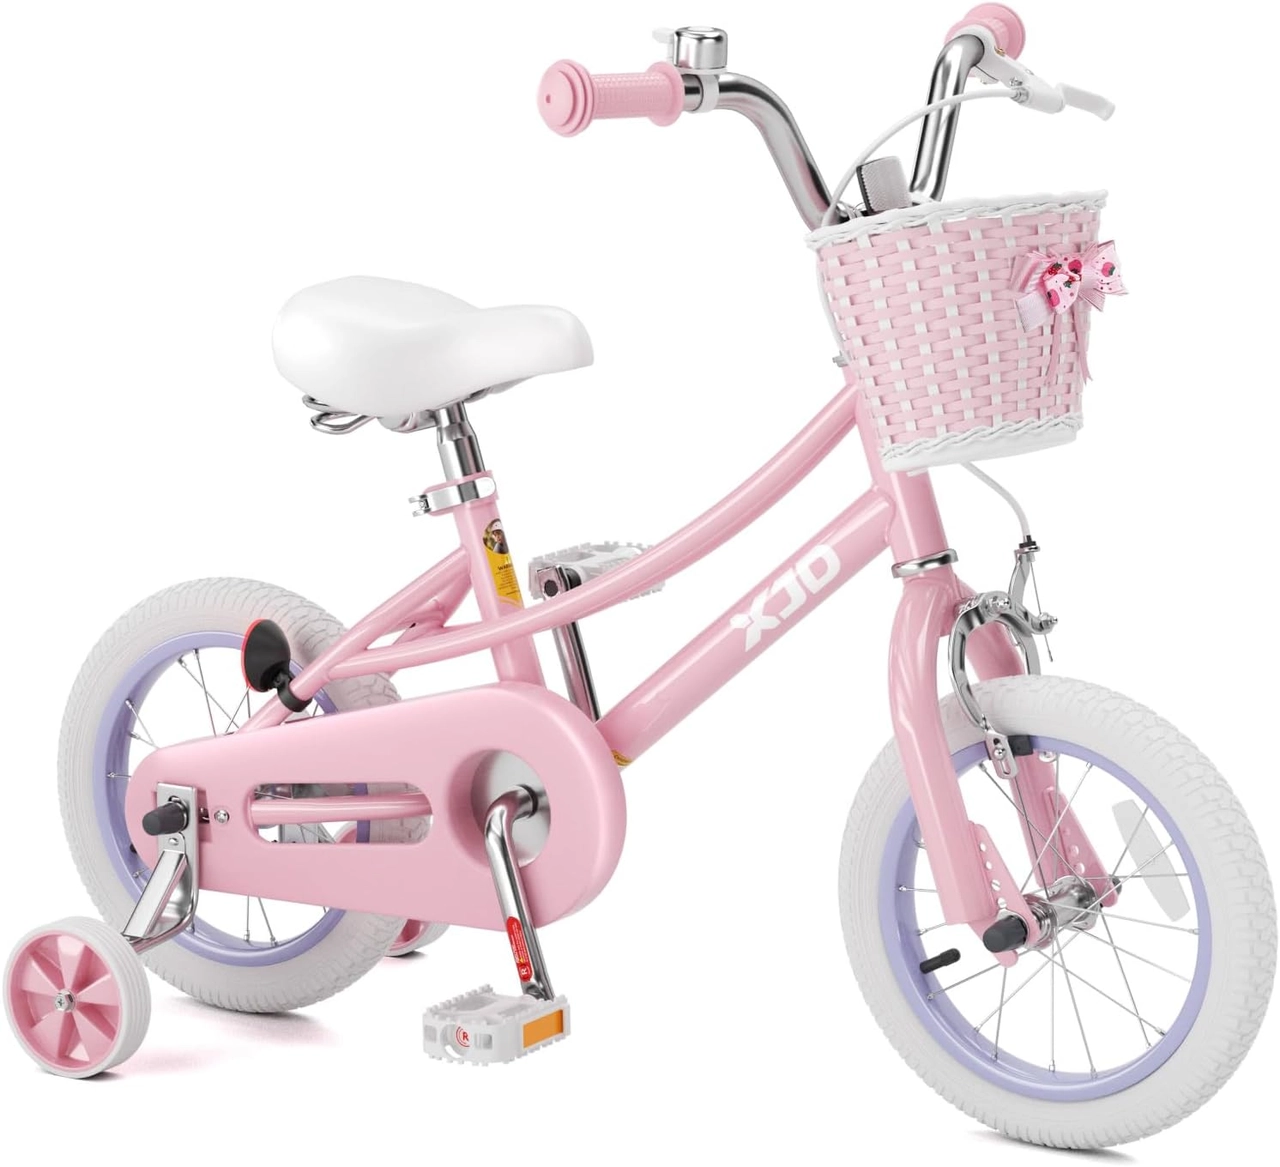 Pink 12/14/16/20" XJD Girls Bike with Training Wheels & Basket
A training-wheel bike offered in 12 Inch, 14 Inch, 16 Inch and 20 Inch SKU labels, making it relevant for comparing the child’s measured fit before and during the transition away from stabilisers.
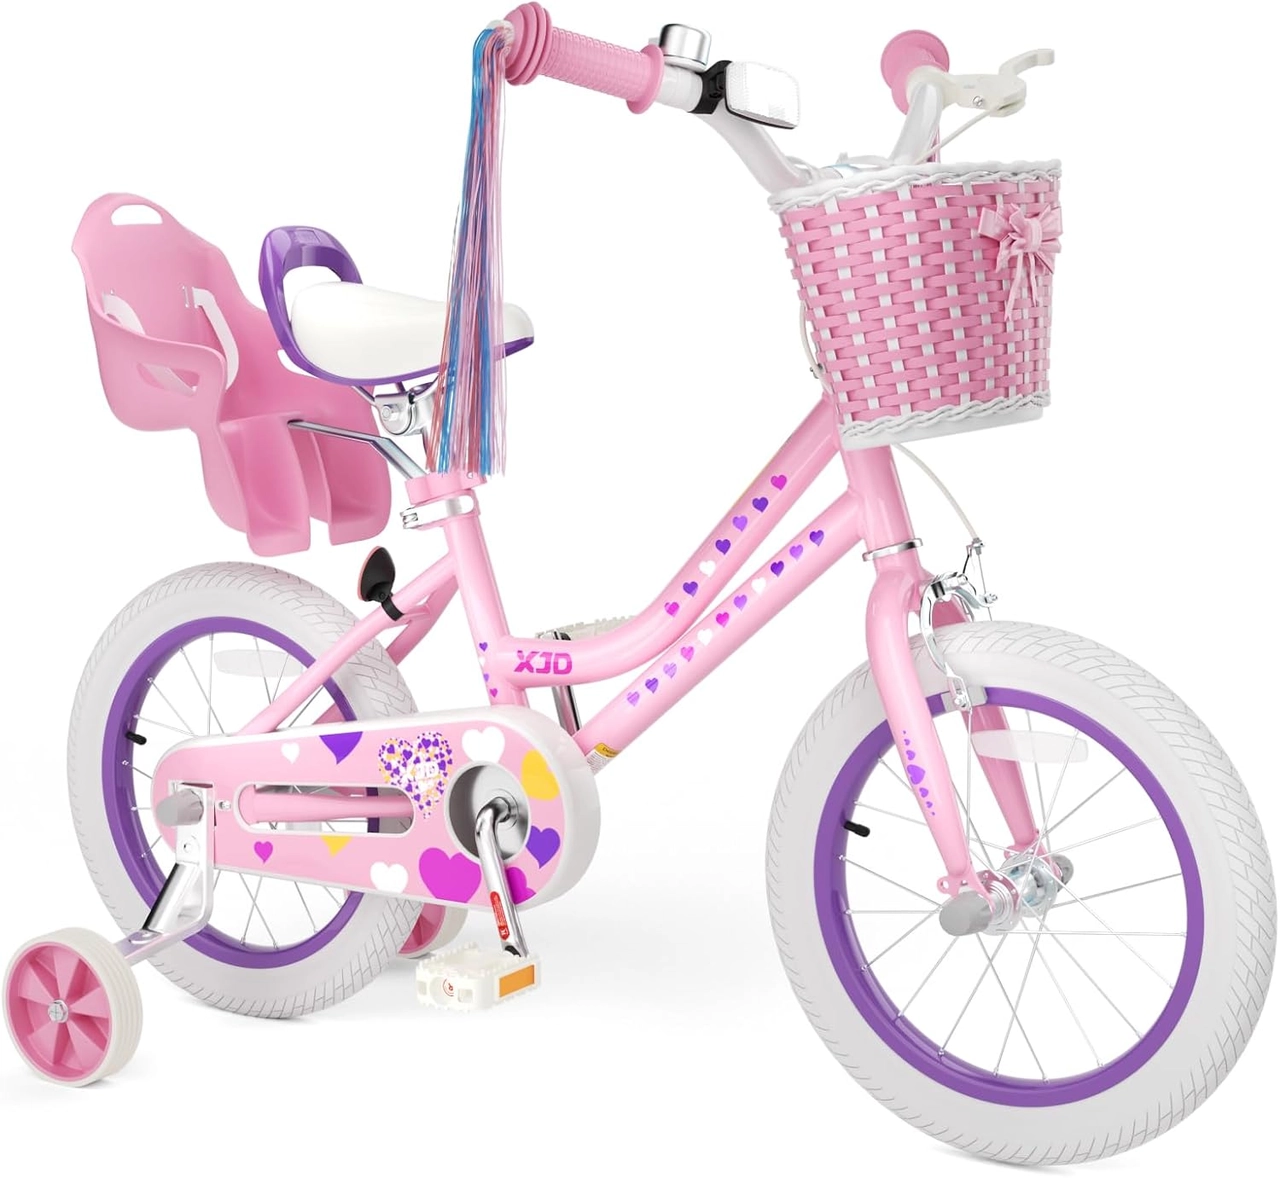 Light Pink XJD Girls' Bicycle with Basket & Training Wheels
This basket-equipped training-wheel bicycle has 12 Inch, 14 Inch, 16 Inch and 20 Inch SKU labels. Use those only as starting points, then confirm inseam, reach, brake control and confidence on the selected size.
Neither supplied product has an 18 Inch, 24 Inch or 26 Inch SKU label. If the fit check indicates one of those sizes, these products are only nearest-size comparison points where applicable, not substitutes; another wheel size is not equivalent. The catalog facts also do not establish assembly details, stabiliser-removal procedures, brake type, load limits or component compatibility, so consult the exact product manual or a qualified bicycle mechanic.
Make the next ride productive
Measure height and inseam today, check stand-over clearance, reach and brake control on the actual bike, then choose one balance skill for the next short session. Remove the stabilisers only when fit, stopping ability and confidence are all ready at the same time.
Recommended products
-
Save 12%
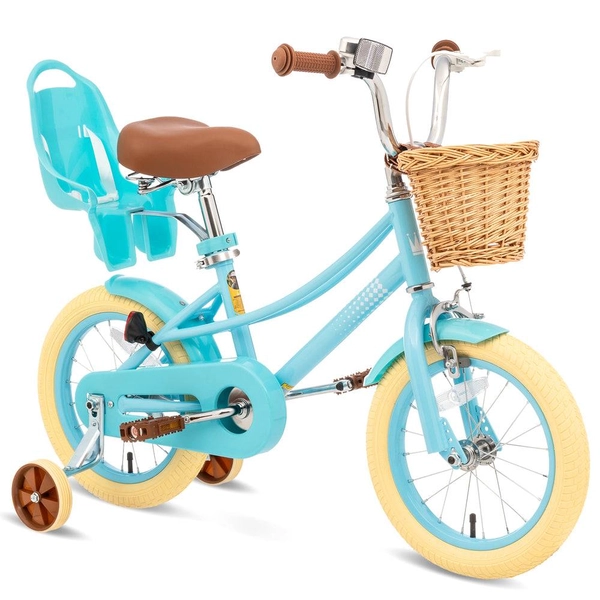
Girls' Training Wheel Bike by XJD, 12–20 Inch Wheels – Blue
This XJD girls' training wheel bike in Blue covers one of the widest fit ranges …
Training Wheel Bikes Wheel Size 12 Inch / 14 Inch / 16 Inch / 20 Inch Recommended Height 86–152 cm Training Wheels Yes 12 Inch -
Save 15%
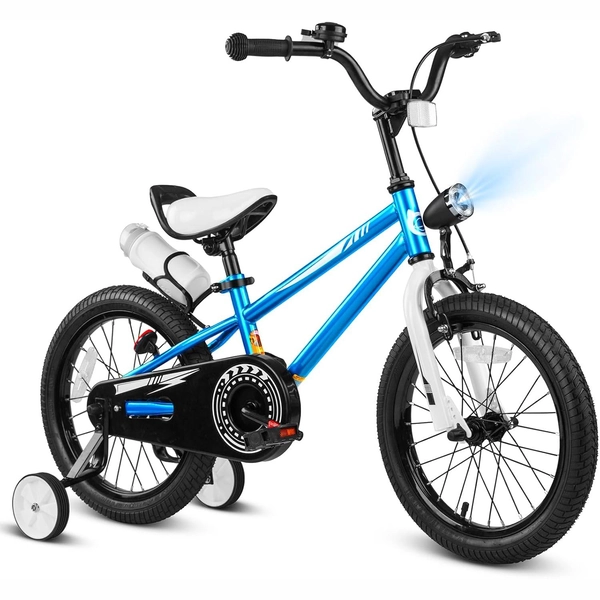
XJD Boys 12/14/16" Training Wheel Bike – Blue
The XJD Boys Bike in Blue is a training wheel bike for riders 71–122 cm tall—rou…
Training Wheel Bikes Wheel Size 12 Inch / 14 Inch / 16 Inch Recommended Height 86–122 cm Training Wheels Yes 16 Inch -
Save 15%
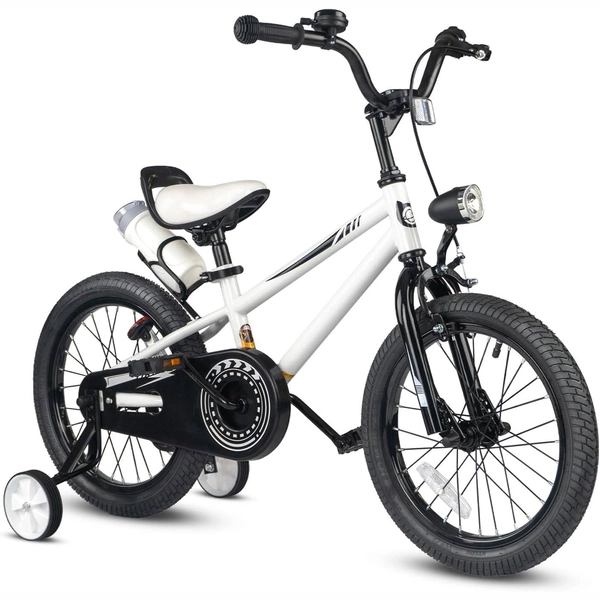
XJD Kids' Training Wheel Bike for Boys & Girls, 12/14/16 Inch – White
The XJD kids' training wheel bike in White is made for riders ages 3–8 (roughly …
Training Wheel Bikes Wheel Size 12 Inch / 14 Inch / 16 Inch Recommended Height 86–122 cm Training Wheels Yes 14 Inch -
Save 12%
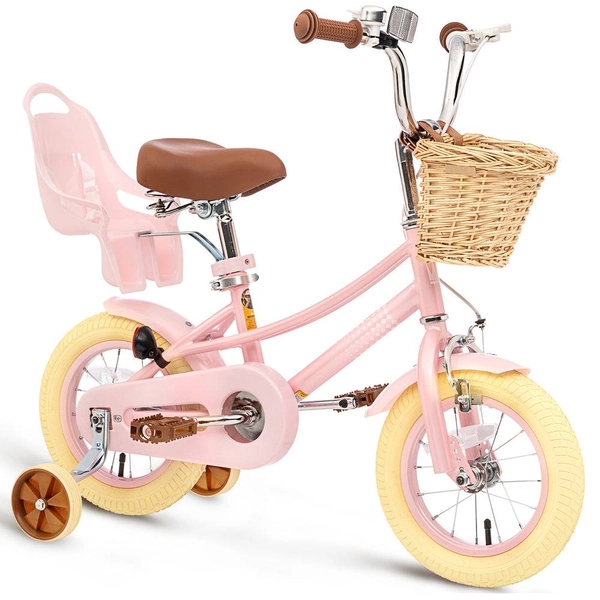
XJD Kids Bike for Girls – Pink, 12/14/16/20 Inch with Training Wheels
The XJD Kids Bike for Girls in Pink is a training-wheel bike built to carry your…
Training Wheel Bikes Wheel Size 12 Inch / 14 Inch / 16 Inch / 20 Inch Recommended Height 86–152 cm Training Wheels Yes 12 Inch