How to get child to ride bike without stabilisers
Help your child ride without stabilisers by checking bike fit first, then practise balance, braking, steering and independent starts in short sessions.
Check that the bike fits before removing stabilisers
Measure your child’s height without shoes and check their inseam, then have them try the bicycle. Age is only a starting point. They should be able to stand over the bike comfortably, reach the handlebars without stretching and operate the brakes reliably. Do not choose an oversized bicycle simply to allow for growth.
| Wheel size | XBikes starting age | Rider height |
|---|---|---|
| 12 Inch | 3–4 | 34–40 in / 86–102 cm |
| 14 Inch | 3–6 | 37–45 in / 94–114 cm |
| 16 Inch | 4–7 | 40–48 in / 102–122 cm |
Where height ranges overlap, compare actual control rather than choosing by age. The correct option is the one on which your child can mount, stop, steer and reach the brakes confidently. If reach, stand-over clearance or brake control is doubtful, try a different size or ask a qualified bicycle mechanic to assess the fit.
Prepare the bicycle and practice area
Confirm in the exact product manual whether and how its stabilisers can be removed. Follow the manual for assembly, adjustment, compatibility and torque; if anything is unclear, use a qualified bicycle mechanic. Do not improvise removal or adjustment procedures.
Choose a wide, level, traffic-free space with a smooth surface and plenty of room to stop. Fit a bicycle helmet that is the correct size, sits level and has its straps adjusted according to the helmet manufacturer’s instructions. Closed shoes and practical clothing help avoid distractions.
Teach the skills in a useful order
- Balance: Let your child practise sitting on the bike and moving with controlled foot pushes where the bicycle and saddle setup permit this safely under the manual’s instructions. The goal is brief, relaxed glides with eyes looking ahead.
- Braking: Before faster attempts, ask them to stop at a chosen marker. Check that they understand how their bicycle’s brakes operate and can reach and use them without losing control.
- Steering: Place widely spaced markers and practise gentle turns. Tight weaving makes the first session harder than necessary.
- Starting: Help them position a pedal for a strong first push, then release only when they are moving steadily. Follow the bicycle manual for any setup details.
If you support the child, hold them lightly around the torso rather than steering the handlebars for them. Reduce assistance gradually and tell them before letting go. This lets them make the small steering corrections that create real balance.
Know when to pause or progress
Move on when your child can glide without putting a foot down, stop at a marker, turn both ways and start with little help. Keep sessions short enough that concentration remains good. Several calm attempts are usually more productive than continuing after frustration or fatigue begins.
Pause if the child repeatedly cannot reach the ground as needed for the exercise, stretches for the controls, cannot brake predictably, looks fixedly at the front wheel or becomes frightened. Recheck height, inseam, reach, brake control and bicycle setup. Confidence matters alongside measurements: pressure can turn a manageable skill into a battle.
How the supplied training-wheel bikes compare
The three catalog options are relevant because each is a training-wheel bike offered in 12 Inch, 14 Inch and 16 Inch labels, letting you compare the size starting points above. They may suit a child who still needs stabilisers or a correctly fitting bicycle for the transition, but the supplied facts do not confirm removal method or compatibility; verify those details in the exact manual.
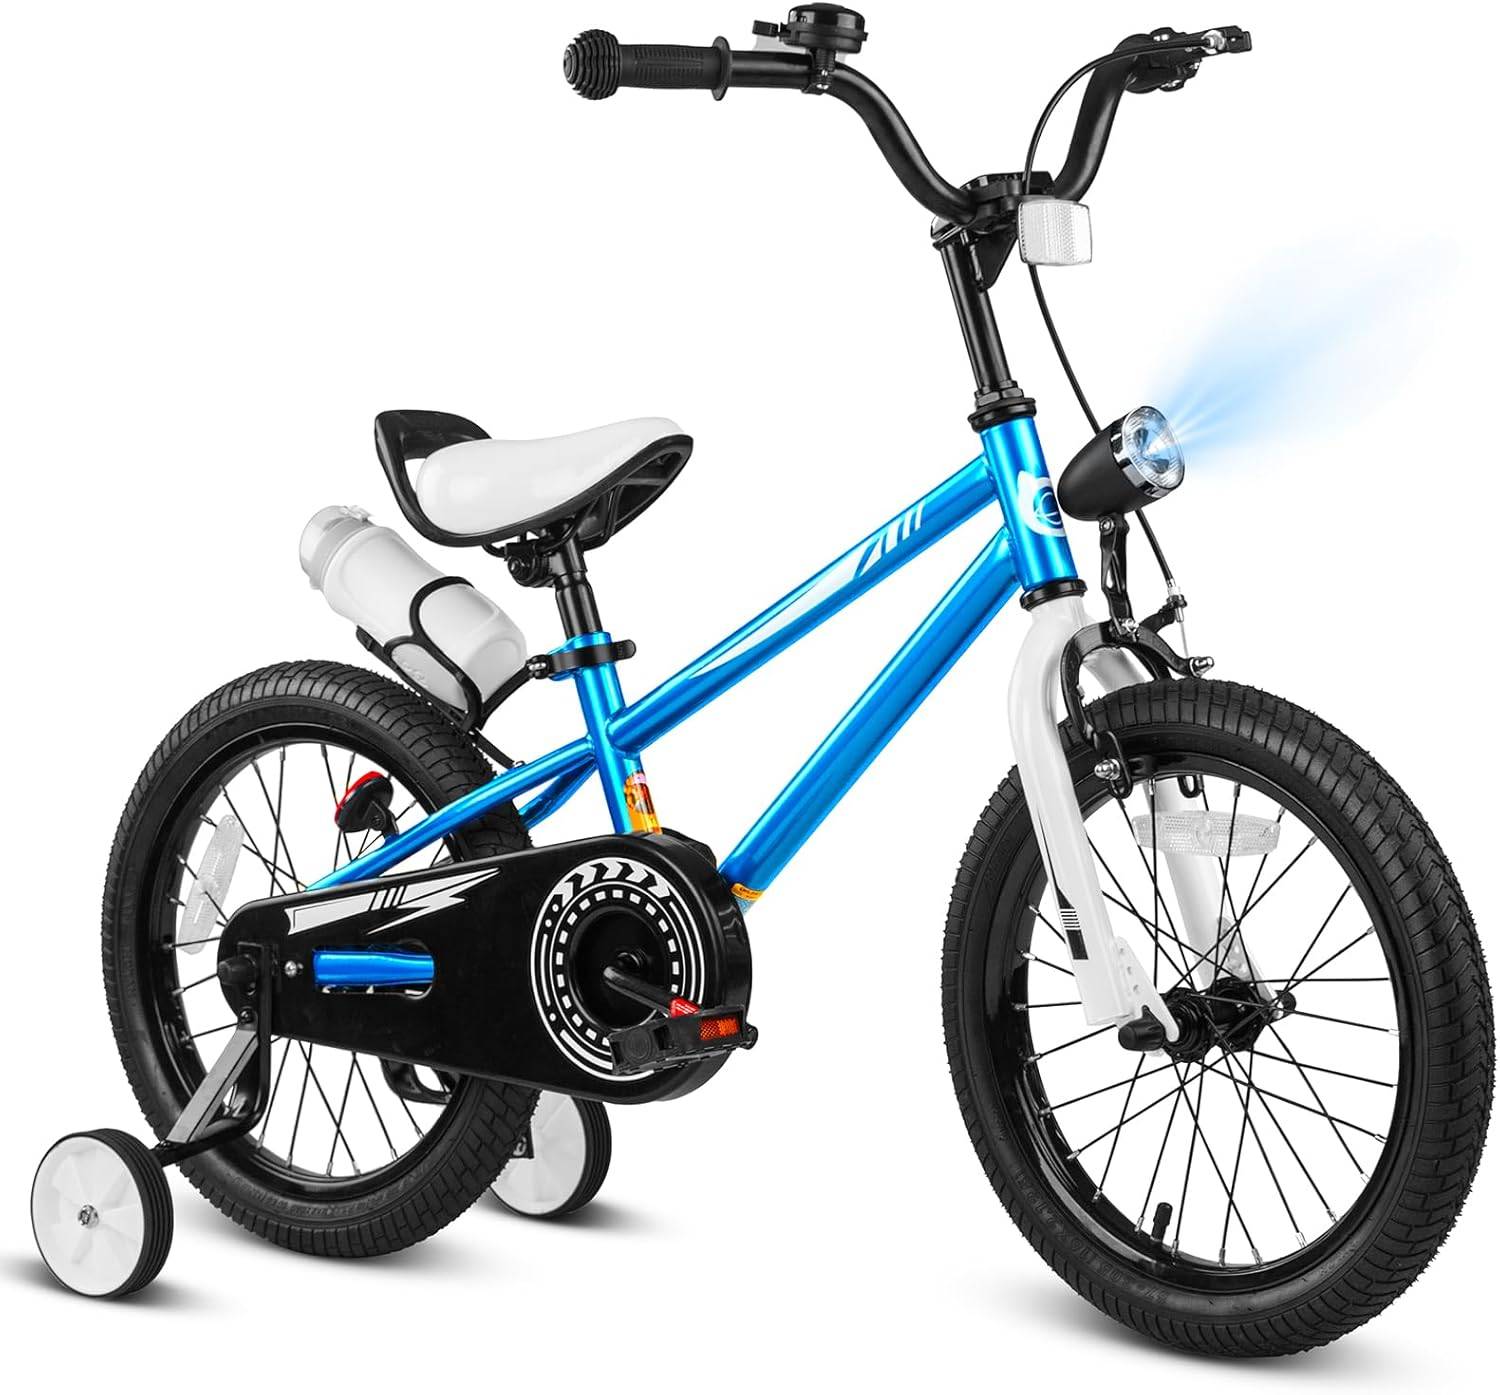 XJD Boys 12/14/16" Training Wheel Bike – Blue
A Blue training-wheel bike offered in 12 Inch, 14 Inch and 16 Inch labels. Compare the child’s measured height and individual fit, and consult the exact manual before changing or removing stabilisers.
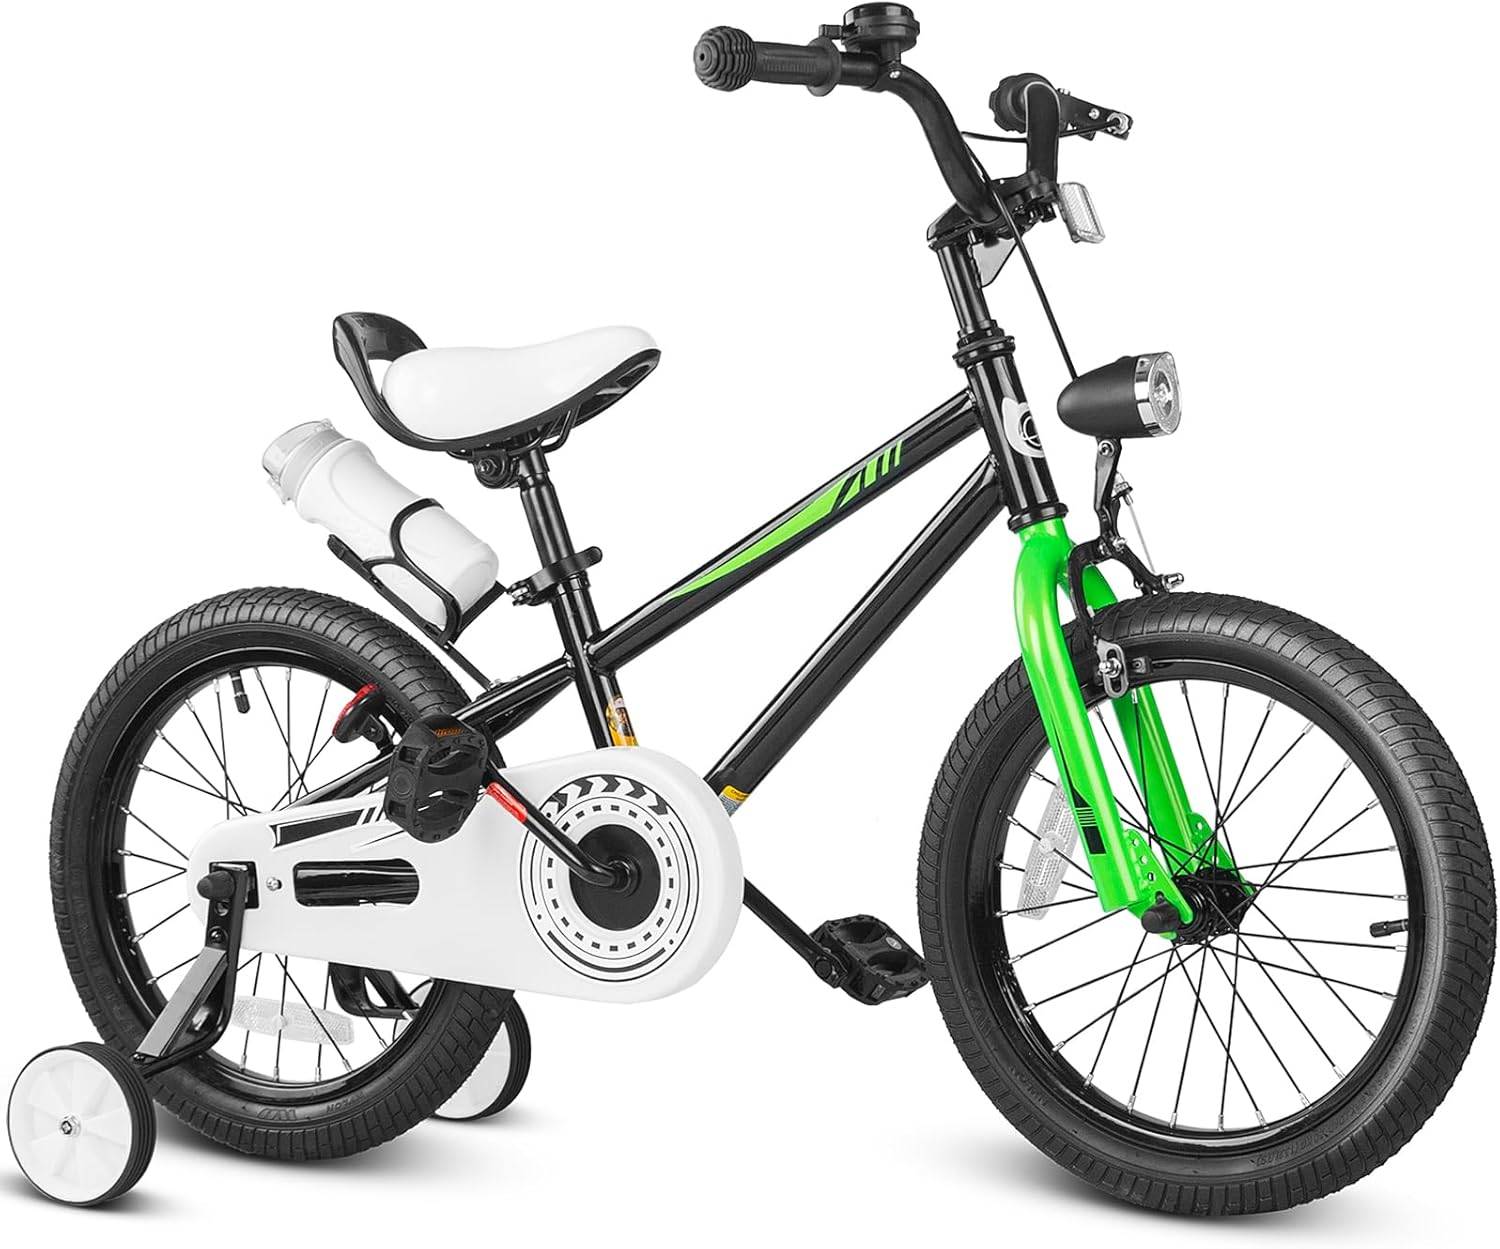 Black XJD Kids Bike for Boys – 12, 14 & 16 Inch Sizes
A Black kids’ training-wheel bike with supplied 12 Inch, 14 Inch and 16 Inch size labels. Its relevance depends on measured height, stand-over clearance, reach, brake control and confirmation from the exact manual.
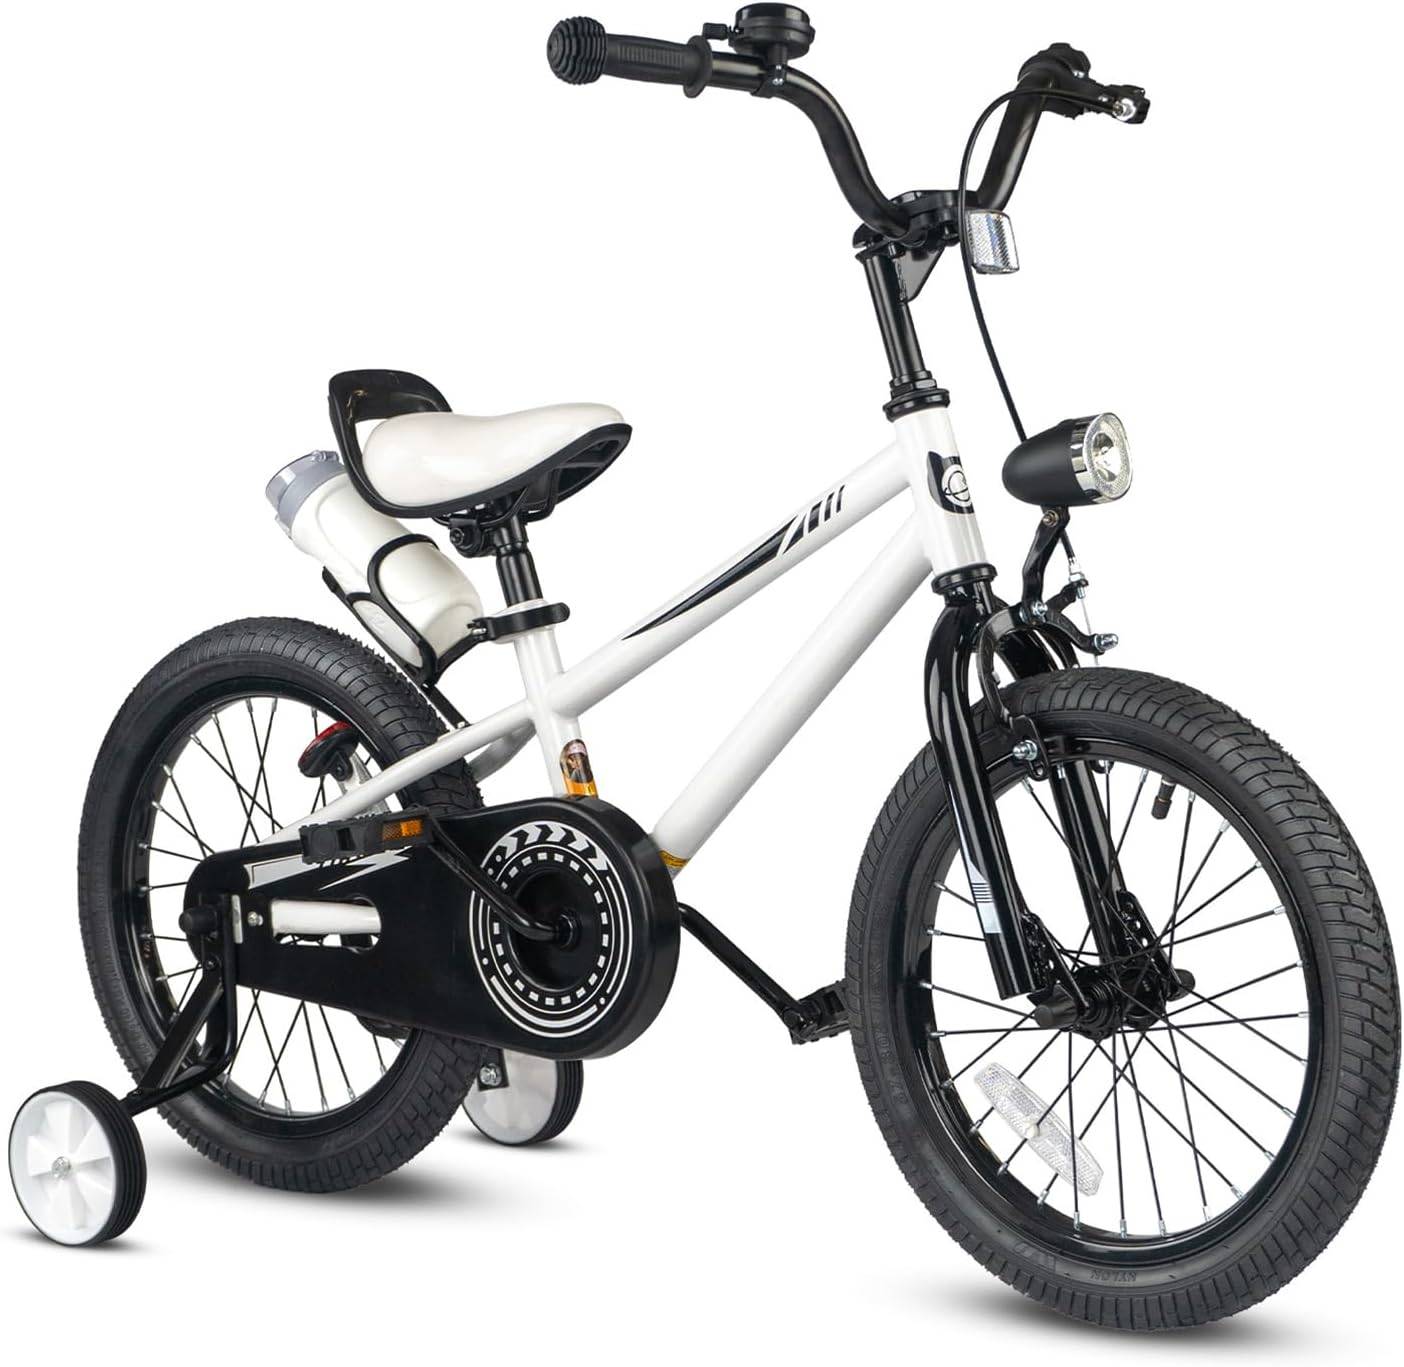 XJD Kids' Training Wheel Bike for Boys & Girls, 12/14/16 Inch – White
A White training-wheel bike listed with 12 Inch, 14 Inch and 16 Inch options. Use those labels as starting points only, require an individual fit check and follow the exact manual for stabiliser details.
XJD Boys 12/14/16" Training Wheel Bike – Blue is listed in Blue with 12 Inch, 14 Inch and 16 Inch options. Black XJD Kids Bike for Boys – 12, 14 & 16 Inch Sizes provides the same three supplied size labels in Black. XJD Kids' Training Wheel Bike for Boys & Girls, 12/14/16 Inch – White is listed in White, again with 12 Inch, 14 Inch and 16 Inch options.
Because their supplied size choices are identical, compare them first by your child’s measured height and individual fit, then by the stated colour and exact title. Wording such as “Boys” or “Boys & Girls” is a catalog label, not evidence that a bicycle fits a particular child. No supplied information establishes differences in brakes, weight, materials, load limits or other components.
Your next session
Before the next ride, measure height and inseam, confirm stand-over clearance, reach and brake operation, and consult the bicycle manual about stabiliser removal. Then practise one sequence: glide, stop at a marker, make a gentle turn and start again. Remove hands-on support only when your child completes those actions calmly and consistently.
Recommended products
-
Save 12%
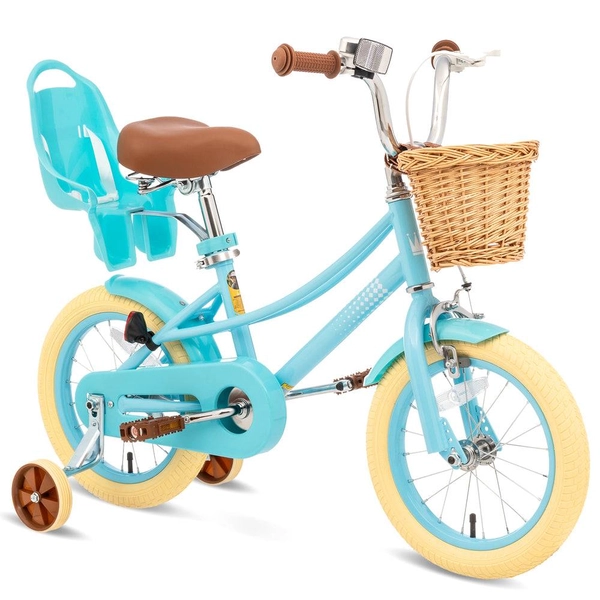
Girls' Training Wheel Bike by XJD, 12–20 Inch Wheels – Blue
This XJD girls' training wheel bike in Blue covers one of the widest fit ranges …
Training Wheel Bikes Wheel Size 12 Inch / 14 Inch / 16 Inch / 20 Inch Recommended Height 86–152 cm Training Wheels Yes 12 Inch -
Save 15%
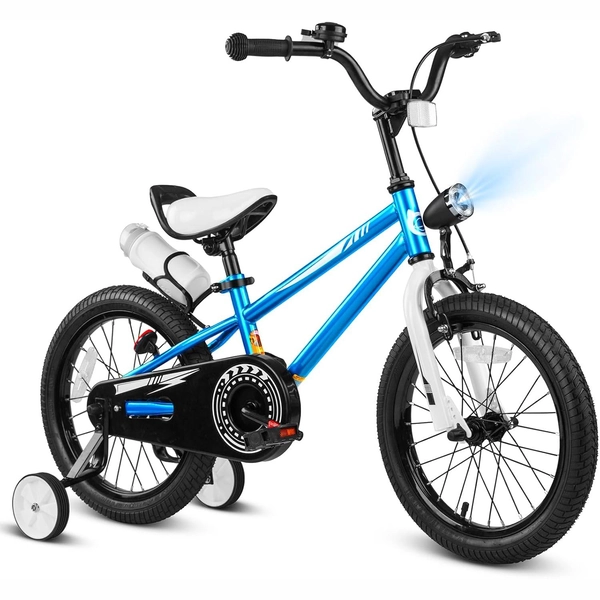
XJD Boys 12/14/16" Training Wheel Bike – Blue
The XJD Boys Bike in Blue is a training wheel bike for riders 71–122 cm tall—rou…
Training Wheel Bikes Wheel Size 12 Inch / 14 Inch / 16 Inch Recommended Height 86–122 cm Training Wheels Yes 16 Inch -
Save 15%
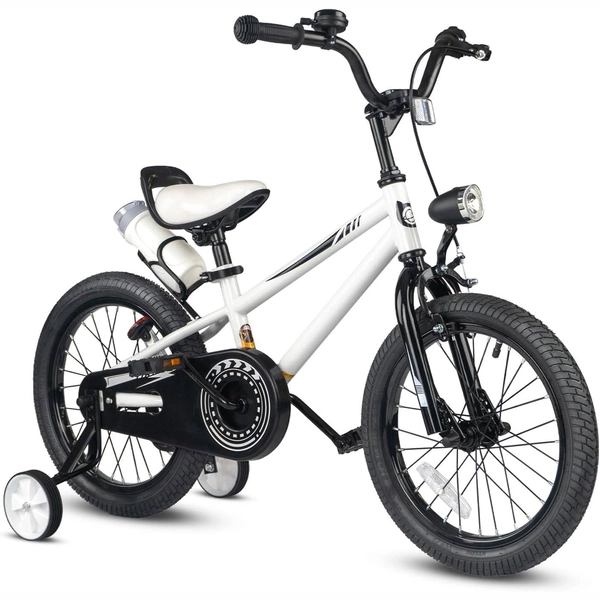
XJD Kids' Training Wheel Bike for Boys & Girls, 12/14/16 Inch – White
The XJD kids' training wheel bike in White is made for riders ages 3–8 (roughly …
Training Wheel Bikes Wheel Size 12 Inch / 14 Inch / 16 Inch Recommended Height 86–122 cm Training Wheels Yes 14 Inch -
Save 12%
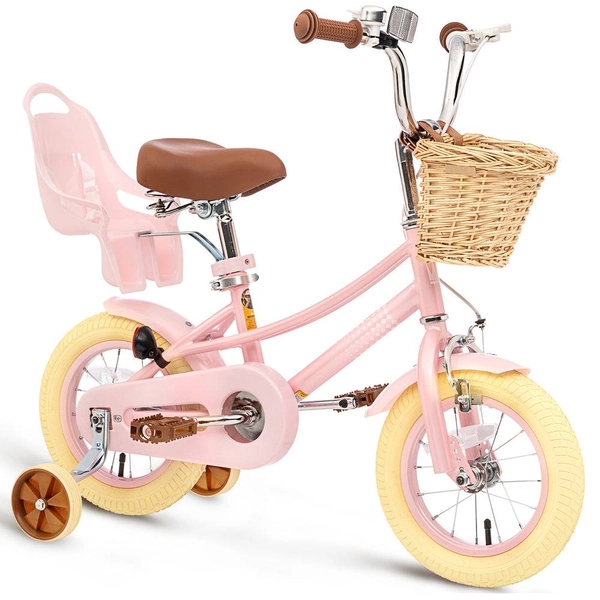
XJD Kids Bike for Girls – Pink, 12/14/16/20 Inch with Training Wheels
The XJD Kids Bike for Girls in Pink is a training-wheel bike built to carry your…
Training Wheel Bikes Wheel Size 12 Inch / 14 Inch / 16 Inch / 20 Inch Recommended Height 86–152 cm Training Wheels Yes 12 Inch