How to teach kid to ride bike without training wheels
To teach a kid to ride without training wheels, start with a correctly fitted bike, lower-risk practice space, balance drills, then add pedaling.
Measure the rider before the first lesson
Measure the child’s standing height and inseam while they wear the shoes used for riding. Age is only a starting point. The child should also try the bicycle so you can check stand-over clearance, reach, steering control and whether they can operate the brakes comfortably.
Do not choose an oversized bicycle for future growth. A child learning without training wheels needs confident contact with the ground and easy access to the controls. If they stretch for the handlebar, cannot manage the brakes or appear intimidated by the bicycle, change the fit before practicing.
| Wheel size | XBikes starting age | Rider height |
|---|---|---|
| 12 Inch | 3–4 | 34–40 in / 86–102 cm |
| 14 Inch | 3–6 | 37–45 in / 94–114 cm |
| 16 Inch | 4–7 | 40–48 in / 102–122 cm |
| 20 Inch | 7–12 | 48–60 in / 122–152 cm |
These ranges are starting points, not a substitute for checking the individual rider’s inseam, reach, brake control and confidence.
Prepare the bike and practice area
Use a level, open area away from traffic, parked cars, steep slopes and obstacles. Fit a bicycle helmet so it sits level, fits properly and has its straps adjusted according to the helmet manufacturer’s instructions. Closed-toe shoes and comfortable clothing help the child move freely.
If training wheels are currently fitted, consult the exact bicycle manual before changing or removing them. Mounting systems differ, so do not guess about compatibility, fasteners or tightening requirements. A qualified bicycle mechanic can remove or adjust components when the instructions are missing or unclear.
Teach balance before pedaling
Begin with the child seated and able to place their feet securely on the ground. Have them walk the bicycle forward, then take progressively longer gliding steps. Ask them to look toward an open point ahead rather than down at the front wheel.
- Practice pushing off and gliding for a short distance.
- Let the child stop by placing their feet down at first.
- Introduce the bicycle’s brakes and confirm they can reach and operate them while staying in control.
- Repeat until the child can glide, steer gently and stop without panic.
Keep sessions short enough that technique does not collapse into frustration. Several calm attempts are more useful than pushing through fatigue.
Add pedaling without holding the bike
Once gliding is consistent, position one pedal where the child can press it to start. Ask them to push down, bring the other foot to its pedal and look ahead. Stand nearby, but avoid steering the handlebar for them; the rider needs to feel and correct the bicycle’s balance.
If physical support is needed, steady the child briefly rather than pulling the bicycle along. Release support as soon as they are moving. Practice straight starts first, followed by planned stops, wide turns and restarting independently. Return to gliding whenever wobbling or fear increases.
Know when to pause or move forward
Move on only when the child can repeat the current skill calmly. Pause when they cannot touch down confidently, struggle to reach the controls, veer unpredictably, freeze while stopping or become tired. Those signs call for a fit check, an easier drill or another session—not more speed.
A fall does not automatically mean the bicycle is the wrong size, but repeated loss of control deserves attention. Recheck measured height, inseam, reach, brake use and the child’s present confidence. Seek help from a qualified bicycle mechanic for uncertain fit, assembly or mechanical operation.
How the supplied training-wheel bikes compare
The supplied catalog options are relevant because they provide several wheel-size comparison points within the Training Wheel Bikes category. Match the rider’s measurements first, then use the exact manual to determine how any training-wheel setup should be handled for learning without it.
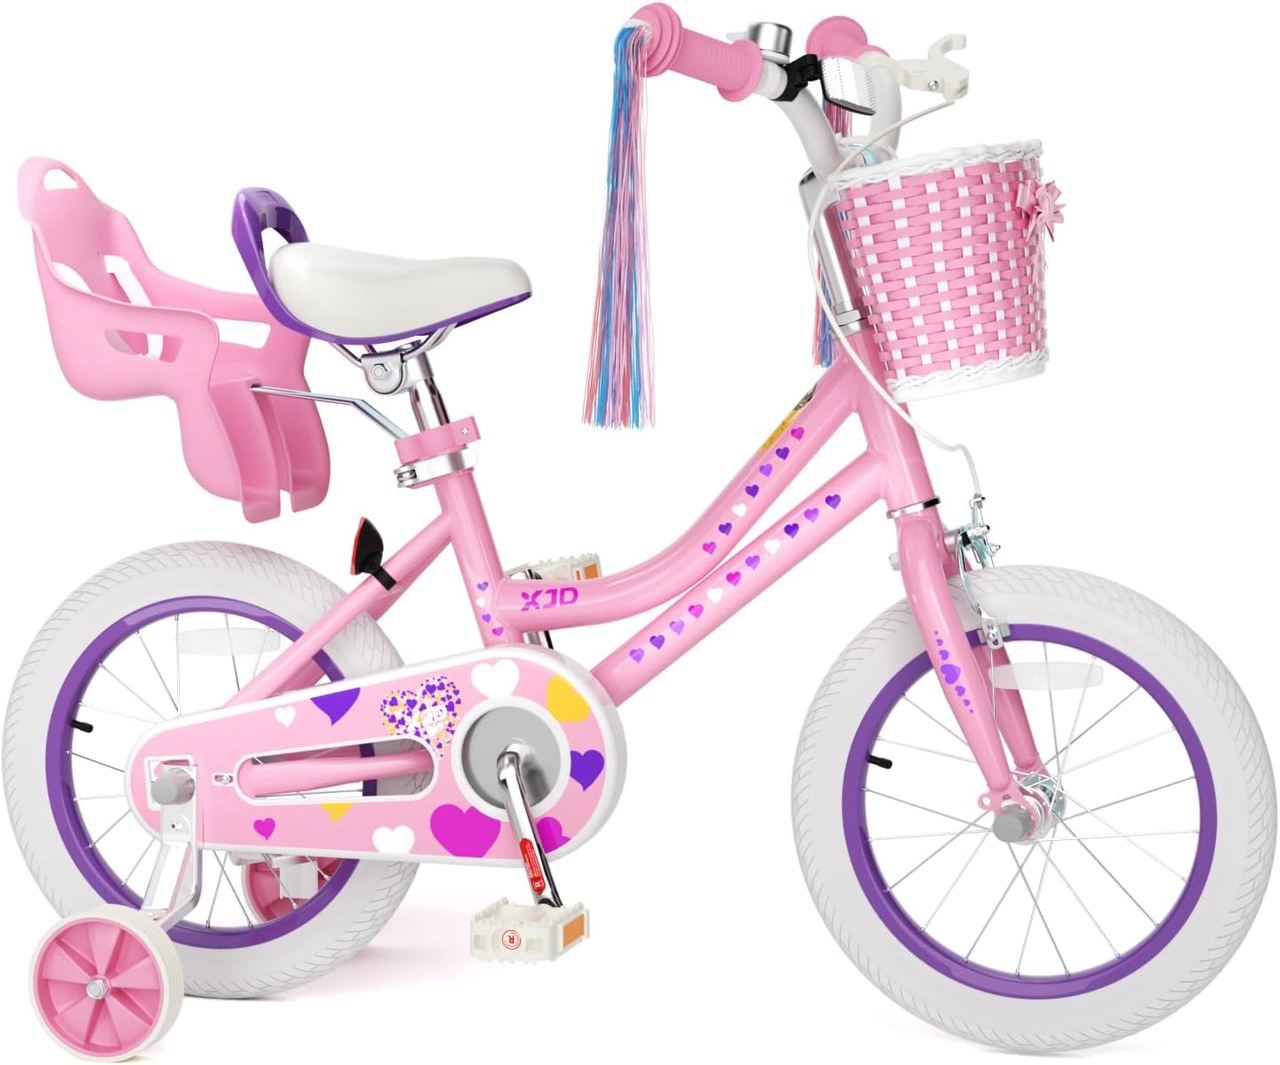 Pink Girls' 12/14/16" Bike by XJD – Basket & Doll Seat
Offers 12 Inch, 14 Inch and 16 Inch size labels for comparison after measuring the rider. Confirm individual fit and consult the exact manual before changing any training-wheel setup.
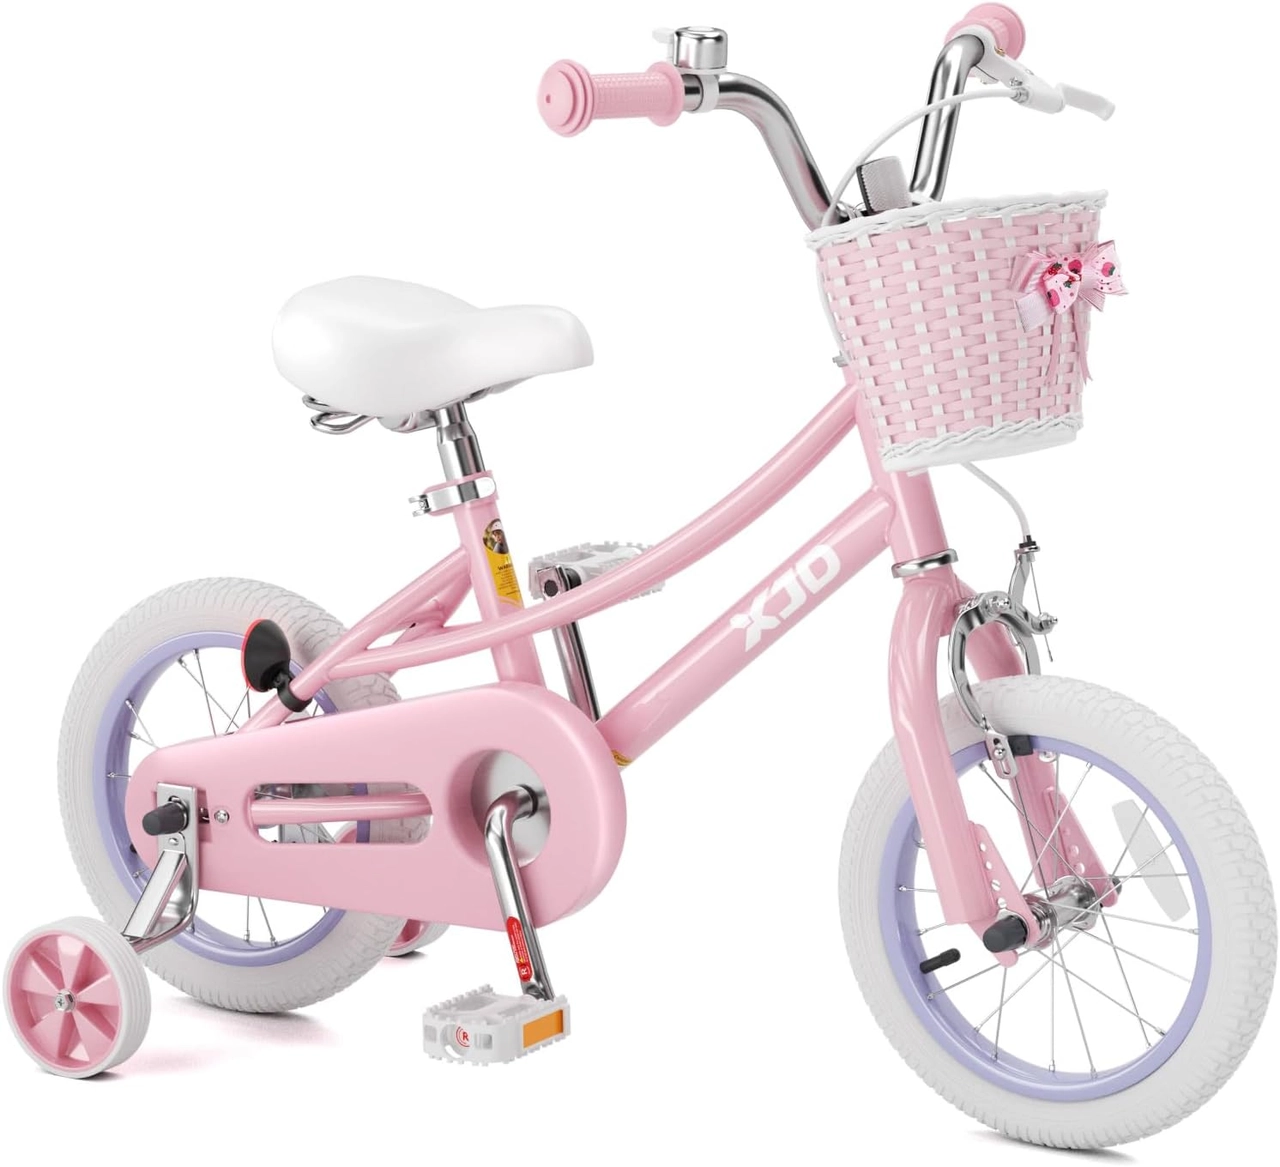 Pink 12/14/16/20" XJD Girls Bike with Training Wheels & Basket
Offers 12 Inch, 14 Inch, 16 Inch and 20 Inch labels, providing the broadest supplied size range. Select by measured fit, control and confidence rather than title wording alone.
Pink Girls' 12/14/16" Bike by XJD – Basket & Doll Seat is offered in 12 Inch, 14 Inch and 16 Inch labels. Pink 12/14/16/20" XJD Girls Bike with Training Wheels & Basket covers those same three labels and adds a 20 Inch option. That is the only supported size distinction between them for this decision.
Do not infer fit from the wording of a product title or from age alone. Neither catalog record supplies reach, stand-over, brake, assembly or training-wheel removal details, so confirm those points through an individual try-on and the exact product manual. If the rider needs an 18, 24 or 26 Inch starting point, neither supplied product lists that exact size; these products are comparison points, not equal-size substitutes.
Your next step is simple: measure height and inseam, test ground contact, reach and brake control, then begin with gliding only when both fit and confidence are ready.
Recommended products
-
Save 12%
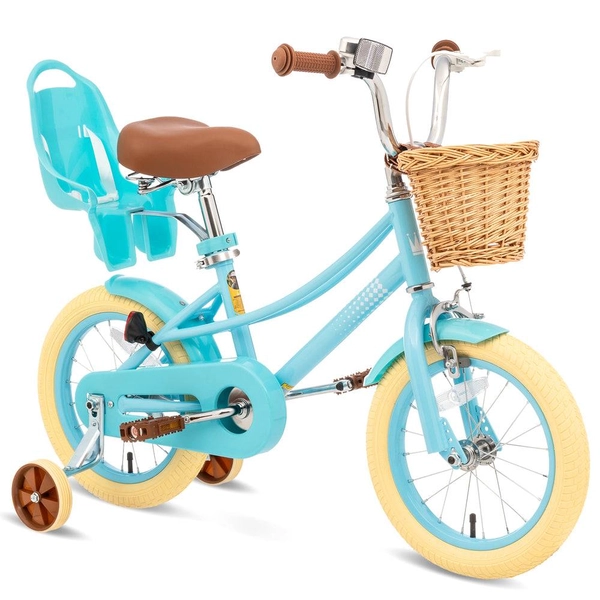
Girls' Training Wheel Bike by XJD, 12–20 Inch Wheels – Blue
This XJD girls' training wheel bike in Blue covers one of the widest fit ranges …
Training Wheel Bikes Wheel Size 12 Inch / 14 Inch / 16 Inch / 20 Inch Recommended Height 86–152 cm Training Wheels Yes 12 Inch -
Save 15%
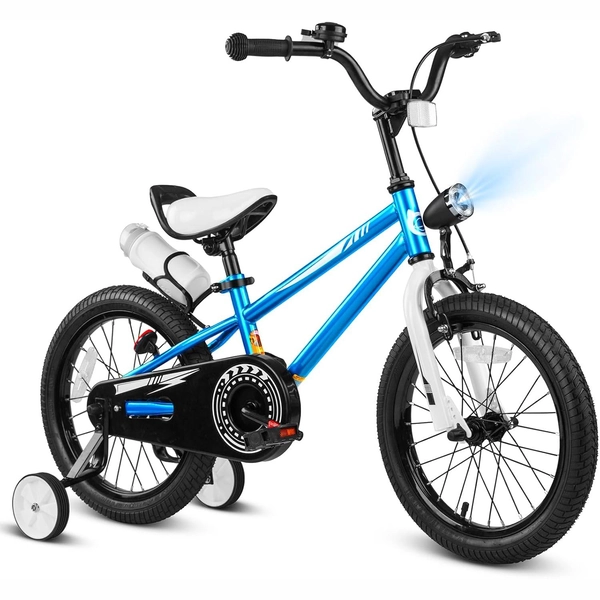
XJD Boys 12/14/16" Training Wheel Bike – Blue
The XJD Boys Bike in Blue is a training wheel bike for riders 71–122 cm tall—rou…
Training Wheel Bikes Wheel Size 12 Inch / 14 Inch / 16 Inch Recommended Height 86–122 cm Training Wheels Yes 16 Inch -
Save 15%
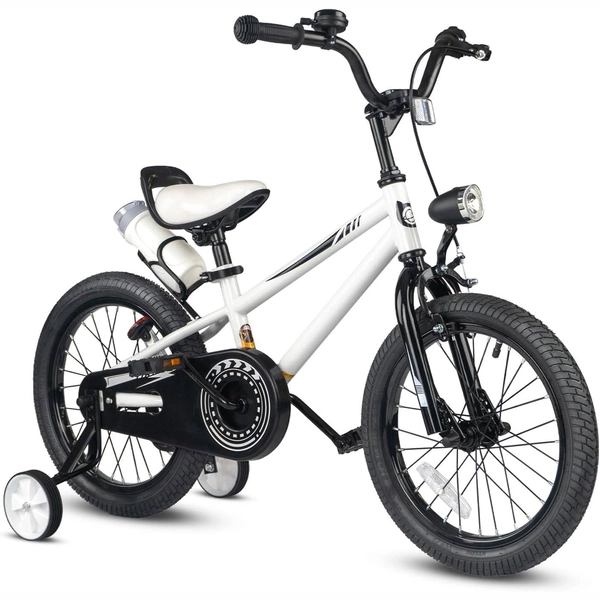
XJD Kids' Training Wheel Bike for Boys & Girls, 12/14/16 Inch – White
The XJD kids' training wheel bike in White is made for riders ages 3–8 (roughly …
Training Wheel Bikes Wheel Size 12 Inch / 14 Inch / 16 Inch Recommended Height 86–122 cm Training Wheels Yes 14 Inch -
Save 12%
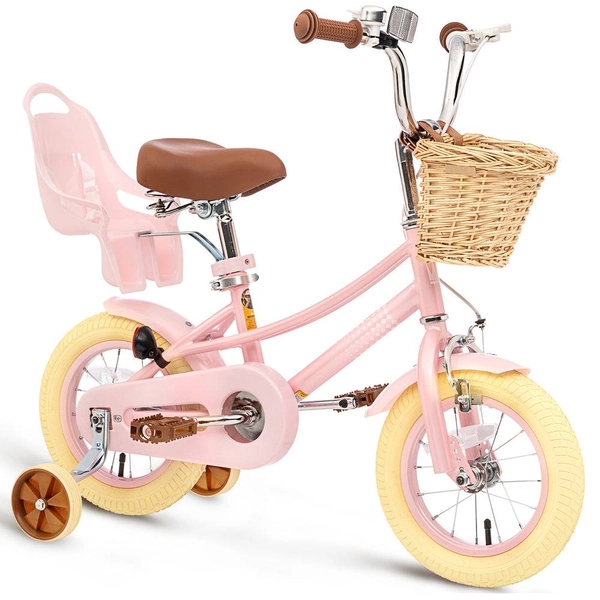
XJD Kids Bike for Girls – Pink, 12/14/16/20 Inch with Training Wheels
The XJD Kids Bike for Girls in Pink is a training-wheel bike built to carry your…
Training Wheel Bikes Wheel Size 12 Inch / 14 Inch / 16 Inch / 20 Inch Recommended Height 86–152 cm Training Wheels Yes 12 Inch