How to put training wheels on 12 inch bike
To put training wheels on a 12-inch bike, first confirm that the wheel kit fits the bike’s rear axle and frame, then install it exactly as its manual directs.
Check compatibility before removing anything
A 12-inch wheel label does not guarantee that every training-wheel kit will fit. Compare the kit instructions with the bicycle’s exact model, rear-axle design, available axle length, frame shape and any chain guard or other part near the mounting point. The brackets must fit without forcing, bending or improvising parts.
If the manual does not clearly approve the combination, stop and contact the bicycle or training-wheel manufacturer. A qualified bicycle mechanic should assess uncertain compatibility. Do not substitute unlisted fasteners, alter the frame or guess at tightening torque.
Measure the rider and check the bicycle fit
Before adding training wheels, measure the child’s standing height and inseam. The XBikes starting point for a 12-inch bicycle is ages 3–4 and a rider height of 34–40 inches (86–102 cm), but age is only a starting point.
Have the child try the bicycle. Check that there is suitable stand-over clearance, the reach is comfortable, the controls can be operated and the brakes are within easy reach. The child should be able to start, steer and stop without stretching or losing control. Do not choose an oversized bicycle merely to allow room for growth.
Prepare the bicycle and training-wheel kit
- Read both the bicycle manual and the training-wheel instructions completely.
- Confirm that all named brackets, fasteners and retainers are present and undamaged.
- Place the bicycle on a stable surface where it cannot roll or fall.
- Identify the left and right components if the kit distinguishes between them.
- Use only the tools, hardware, assembly order and tightening specifications stated by the manufacturers.
Do not begin if the rear axle is damaged, its threads are worn, a bracket interferes with another component or the instructions do not match the parts in front of you.
Install and align the training wheels
- Follow the kit manual when accessing the rear-axle mounting points. Do not dismantle unrelated bicycle parts.
- Position each bracket in the orientation shown by the manufacturer. Keep any required washers or retaining pieces in their specified order.
- Attach both training-wheel assemblies loosely enough to permit alignment, without riding the bicycle at this stage.
- Set the two sides according to the kit’s stated ground-clearance and alignment directions. Do not assume both training wheels should continuously carry the bicycle’s full weight unless the manual says so.
- Check that the brackets are symmetrical, the wheels rotate freely and nothing contacts the tire, spokes, chain, chain guard or brakes.
- Tighten the hardware in the required sequence and to the manufacturer’s specified torque. If that information is absent or you cannot measure it correctly, use a qualified bicycle mechanic.
After assembly, recheck the rear wheel and every part disturbed during installation. There should be no looseness, binding, unexpected movement or interference.
Test before the child rides
Test the bicycle without the rider first. Roll it slowly, steer in both directions and apply the brakes. Confirm that the training wheels remain secure and do not prevent normal movement of the bicycle’s working parts.
For the first ride, choose a flat, open area away from traffic, slopes and obstacles, and provide close adult supervision. Fit the child with a properly fitting bicycle helmet: it should sit level, with its straps adjusted according to the helmet manufacturer’s instructions. Stop immediately if a bracket shifts, a fastener loosens, steering changes unexpectedly or the child cannot control the brakes.
How the supplied catalog option is relevant
The Black XJD Kids Bike for Boys – 12, 14 & 16 Inch Sizes is relevant because its catalog options include an exact 12 Inch SKU label, as well as 14 Inch and 16 Inch choices for size comparison. That confirms available wheel-size labels only; it does not establish training-wheel compatibility, fit, included equipment or an installation method. Check the exact selected bicycle and its manual before buying or fitting any accessory.
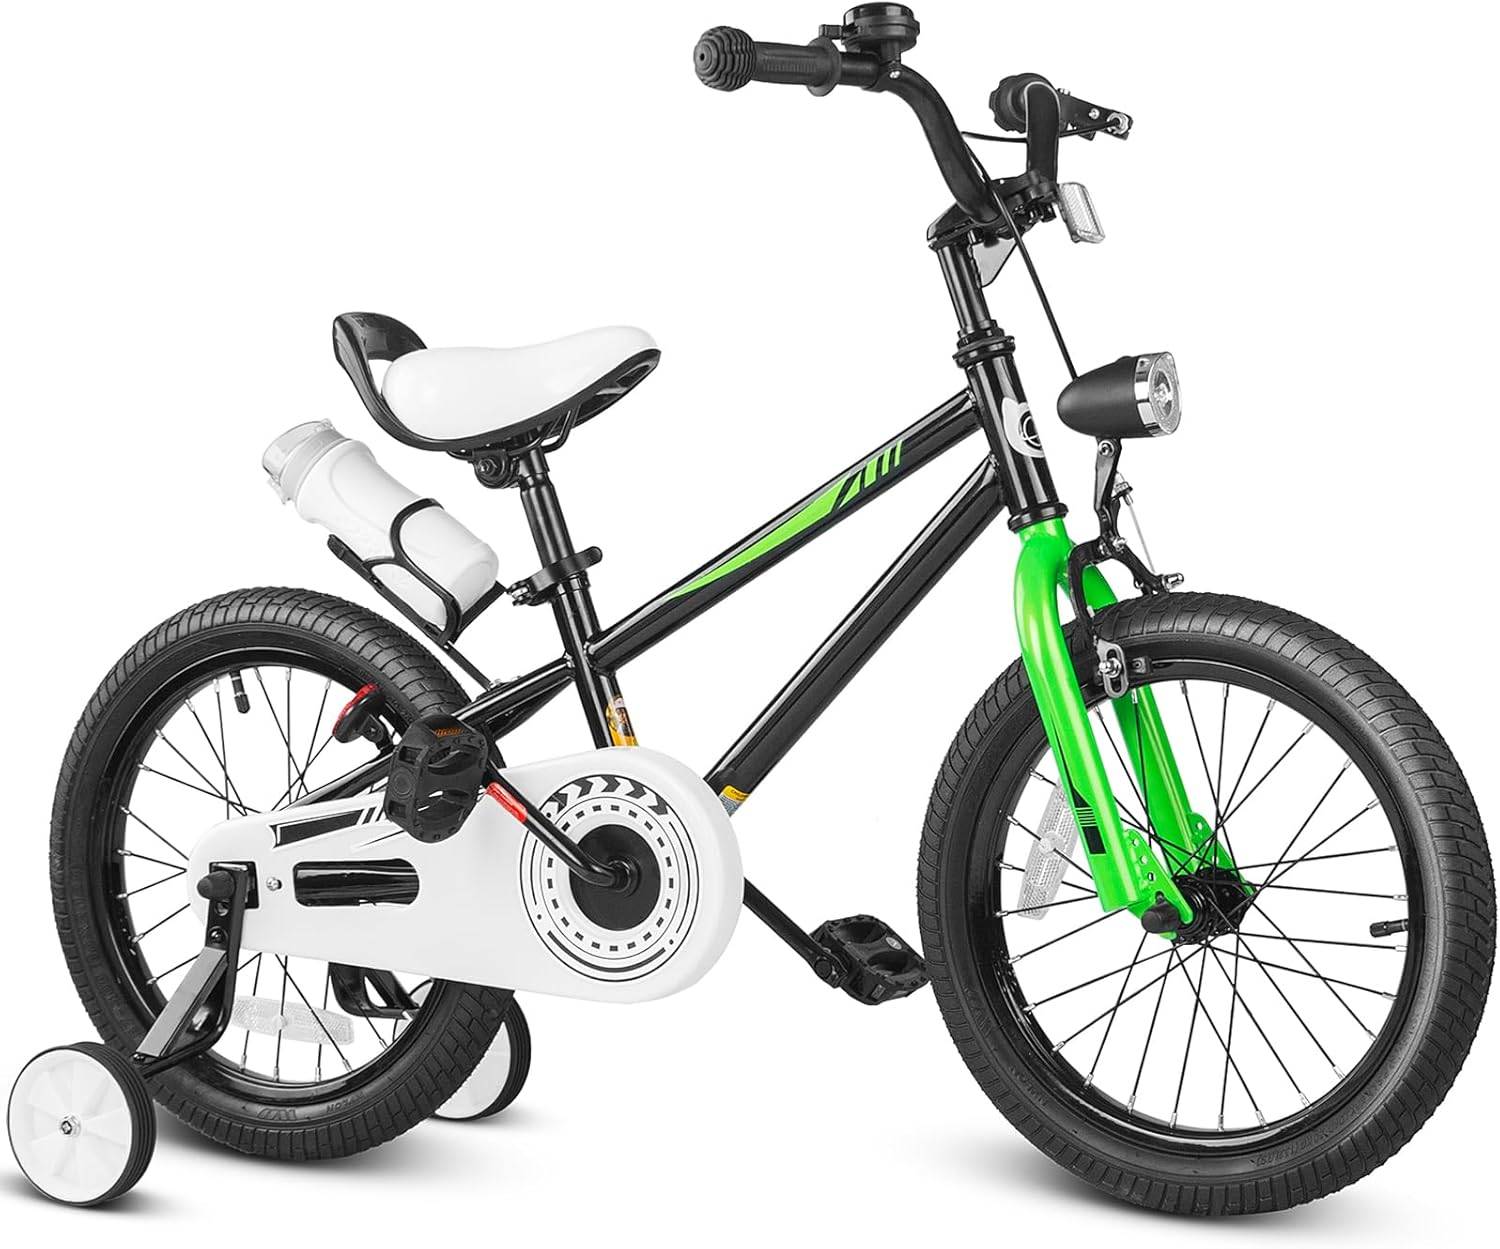
If comparing sizes, use the rider rather than the product title as the deciding evidence. XBikes lists 14-inch bicycles as a starting point for ages 3–6 and heights of 37–45 inches (94–114 cm), while 16-inch bicycles start at ages 4–7 and heights of 40–48 inches (102–122 cm). Neither size is equivalent to a 12-inch bicycle, and moving up is appropriate only after checking height, inseam, stand-over clearance, reach, brake control and confidence on the actual bike.
Your next step is specific: identify the 12-inch bicycle model and rear-axle arrangement, compare both manuals, verify the child’s fit, and install only an expressly compatible training-wheel kit—or take the bicycle and kit to a qualified mechanic.
Recommended products
-
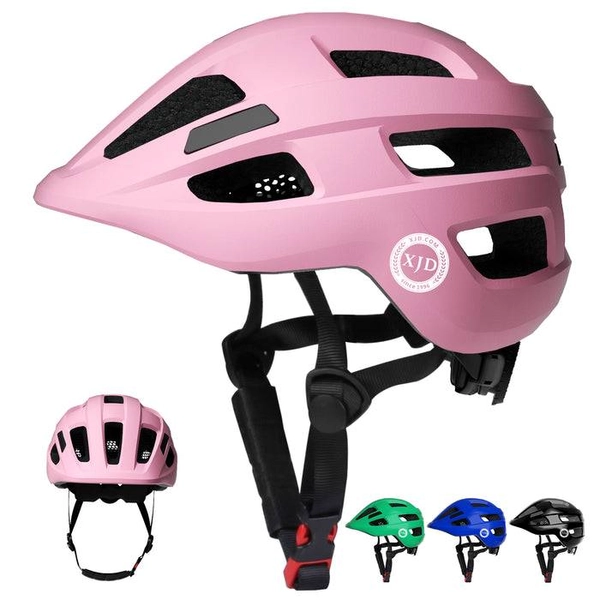
Kids Bike Helmet by XJD for Boys & Girls – Black, Blue, Green, Pink, Purple
The XJD Kids Bike Helmet covers a wide 2-to-8-year age range thanks to two head-…
Bike Helmets Pink / M:20.47"-22.05" / 52-56 cm -

Blue XJD Kids' Bike Helmet, Adjustable Fit – Sizes XS & S
The Blue XJD Kids' Bike Helmet is a lightweight, adjustable helmet for toddlers …
Bike Helmets XS (46–51 cm) -
Save 12%
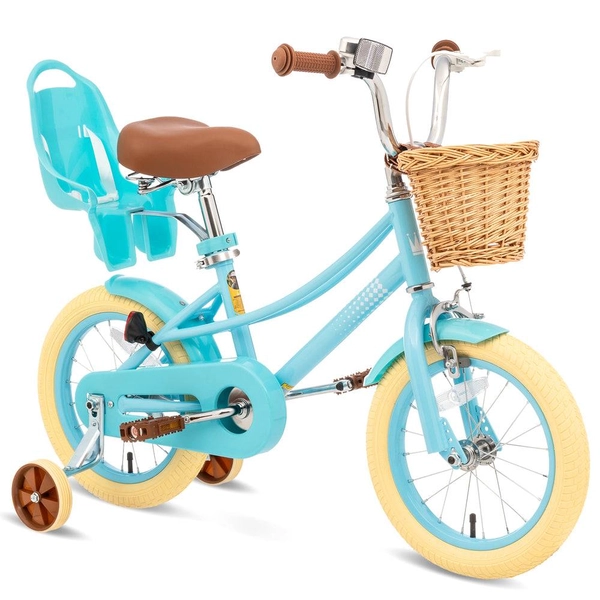
Girls' Training Wheel Bike by XJD, 12–20 Inch Wheels – Blue
This XJD girls' training wheel bike in Blue covers one of the widest fit ranges …
Training Wheel Bikes Wheel Size 12 Inch / 14 Inch / 16 Inch / 20 Inch Recommended Height 86–152 cm Training Wheels Yes 12 Inch -
Save 15%
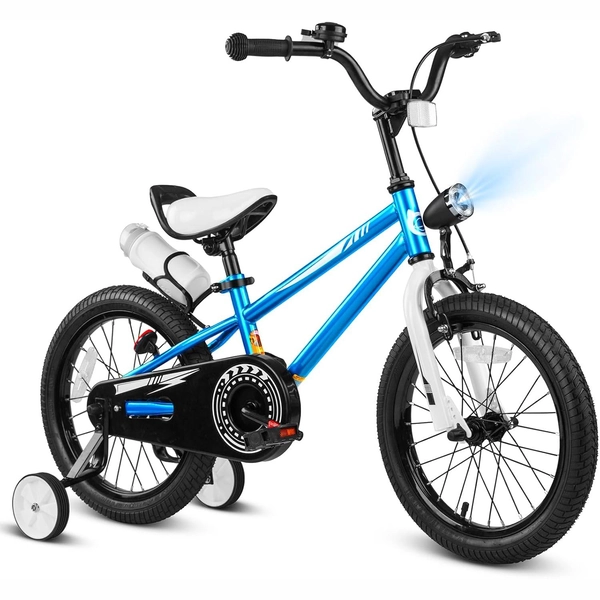
XJD Boys 12/14/16" Training Wheel Bike – Blue
The XJD Boys Bike in Blue is a training wheel bike for riders 71–122 cm tall—rou…
Training Wheel Bikes Wheel Size 12 Inch / 14 Inch / 16 Inch Recommended Height 86–122 cm Training Wheels Yes 16 Inch