How to make 2 training wheels from kids bike
To make a kids’ bike use two training wheels, fit a complete, compatible left-and-right training-wheel kit; do not improvise wheels or brackets from spare bike parts. Measure the bicycle first, compare the kit instructions with its rear axle and frame, and use a bicycle mechanic if compatibility is uncertain.
What to measure before choosing the pair
Record the wheel-size label shown on the bicycle or tire, but do not rely on that label alone. Inspect the rear axle area on both sides and note whether racks, guards, chain covers, cables or other parts occupy the intended mounting space.
- Rear axle: Identify its type and measure the usable exposed section on each side.
- Mounting area: Check the shape and available clearance around both rear dropouts.
- Kit range: Compare the bicycle’s wheel size and axle arrangement with the exact compatibility statement in the training-wheel manual.
- Included hardware: Confirm that the kit supplies a matched left and right bracket plus every specified fastener and retaining part.
If the manual does not explicitly cover the bicycle’s configuration, do not assume that a bracket can be bent, drilled, stacked with unrelated hardware or adapted to fit. Ask the kit manufacturer or a qualified bicycle mechanic.
Fit the training wheels as a matched system
Start with the bicycle supported so it cannot fall. Follow the kit manual’s side-specific diagram, hardware order and tightening instructions exactly. Attach both brackets only at the approved mounting points, keep them clear of moving parts, and use the stated torque if the manual provides one. No universal torque or assembly sequence can be given because neither is supplied for a particular kit here.
Compare the two sides before riding. The brackets should be in their intended orientation, the fasteners should be fully engaged as described by the manual, and neither training wheel should rub the tire, chain, spokes or other components. Spin the rear wheel and operate the brakes while the bicycle remains supported. If anything binds, shifts or cannot be assembled exactly as directed, stop and have a mechanic inspect it.
Set and check the support position
Training wheels should assist balance without turning the bicycle into an unstable, improvised four-wheel platform. Use only the height or position permitted by the kit manufacturer. Check the setup on a level surface, looking for an even left-to-right installation and confirming that the bicycle does not lean sharply while stationary.
Do not invent a ground-clearance measurement. The correct position depends on the specific kit and bicycle, so follow its manual. After the initial installation and after early rides, recheck the hardware and alignment at the intervals stated by the manufacturer. Any looseness, cracked or bent bracket, damaged fastener, or unexpected movement requires stopping use until the problem is corrected.
Check that the underlying bike fits the child
Training wheels cannot correct an oversized or poorly controlled bicycle. Have the child try the bike. Prioritize measured height, inseam, comfortable stand-over clearance, reach to the controls, brake operation and present confidence over age alone. Do not choose a larger bicycle merely to allow room for growth.
| Wheel size | XBikes starting point |
|---|---|
| 12 Inch | Ages 3–4; 34–40 in / 86–102 cm |
| 14 Inch | Ages 3–6; 37–45 in / 94–114 cm |
| 16 Inch | Ages 4–7; 40–48 in / 102–122 cm |
| 18 Inch | Ages 5–9; 43–52 in / 109–132 cm |
| 20 Inch | Ages 7–12; 48–60 in / 122–152 cm |
| 24 Inch | Ages 10–14; 54–64 in / 137–163 cm |
| 26 Inch | Youth and adults over 60 in / 153 cm |
These ranges are starting points, not substitutes for an individual fit check. Any age wording inside a product name is a catalog label rather than proof that the bicycle fits a particular rider.
How the supplied bicycles help with comparison
The catalog options are relevant because they are kids’ bicycles explicitly offered with training wheels across several labeled wheel sizes. They help you compare complete training-wheel-bike options when adapting the current bicycle is incompatible or unclear.
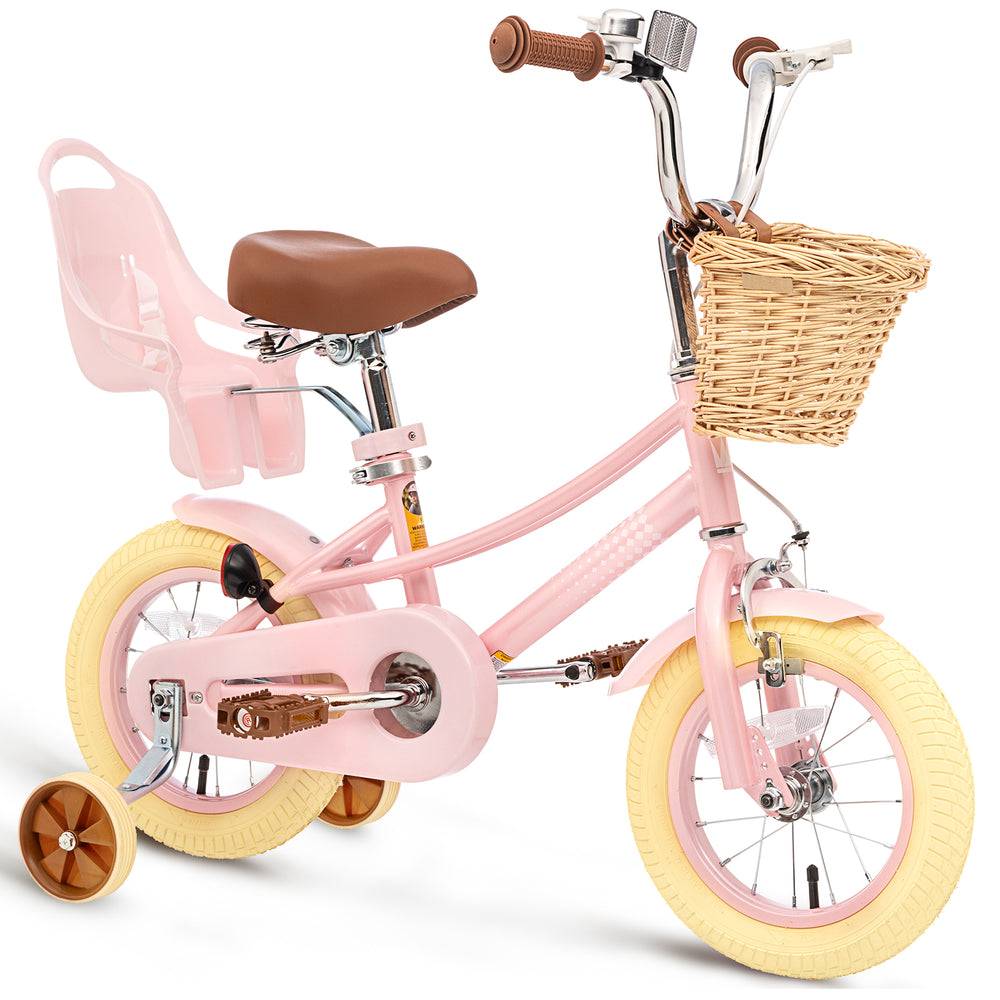 XJD Kids Bike for Girls – Pink, 12/14/16/20 Inch with Training Wheels
Available in 12, 14, 16 and 20 Inch labels with training wheels, making it a relevant complete-bike comparison when a separate kit cannot be verified for the current bicycle.
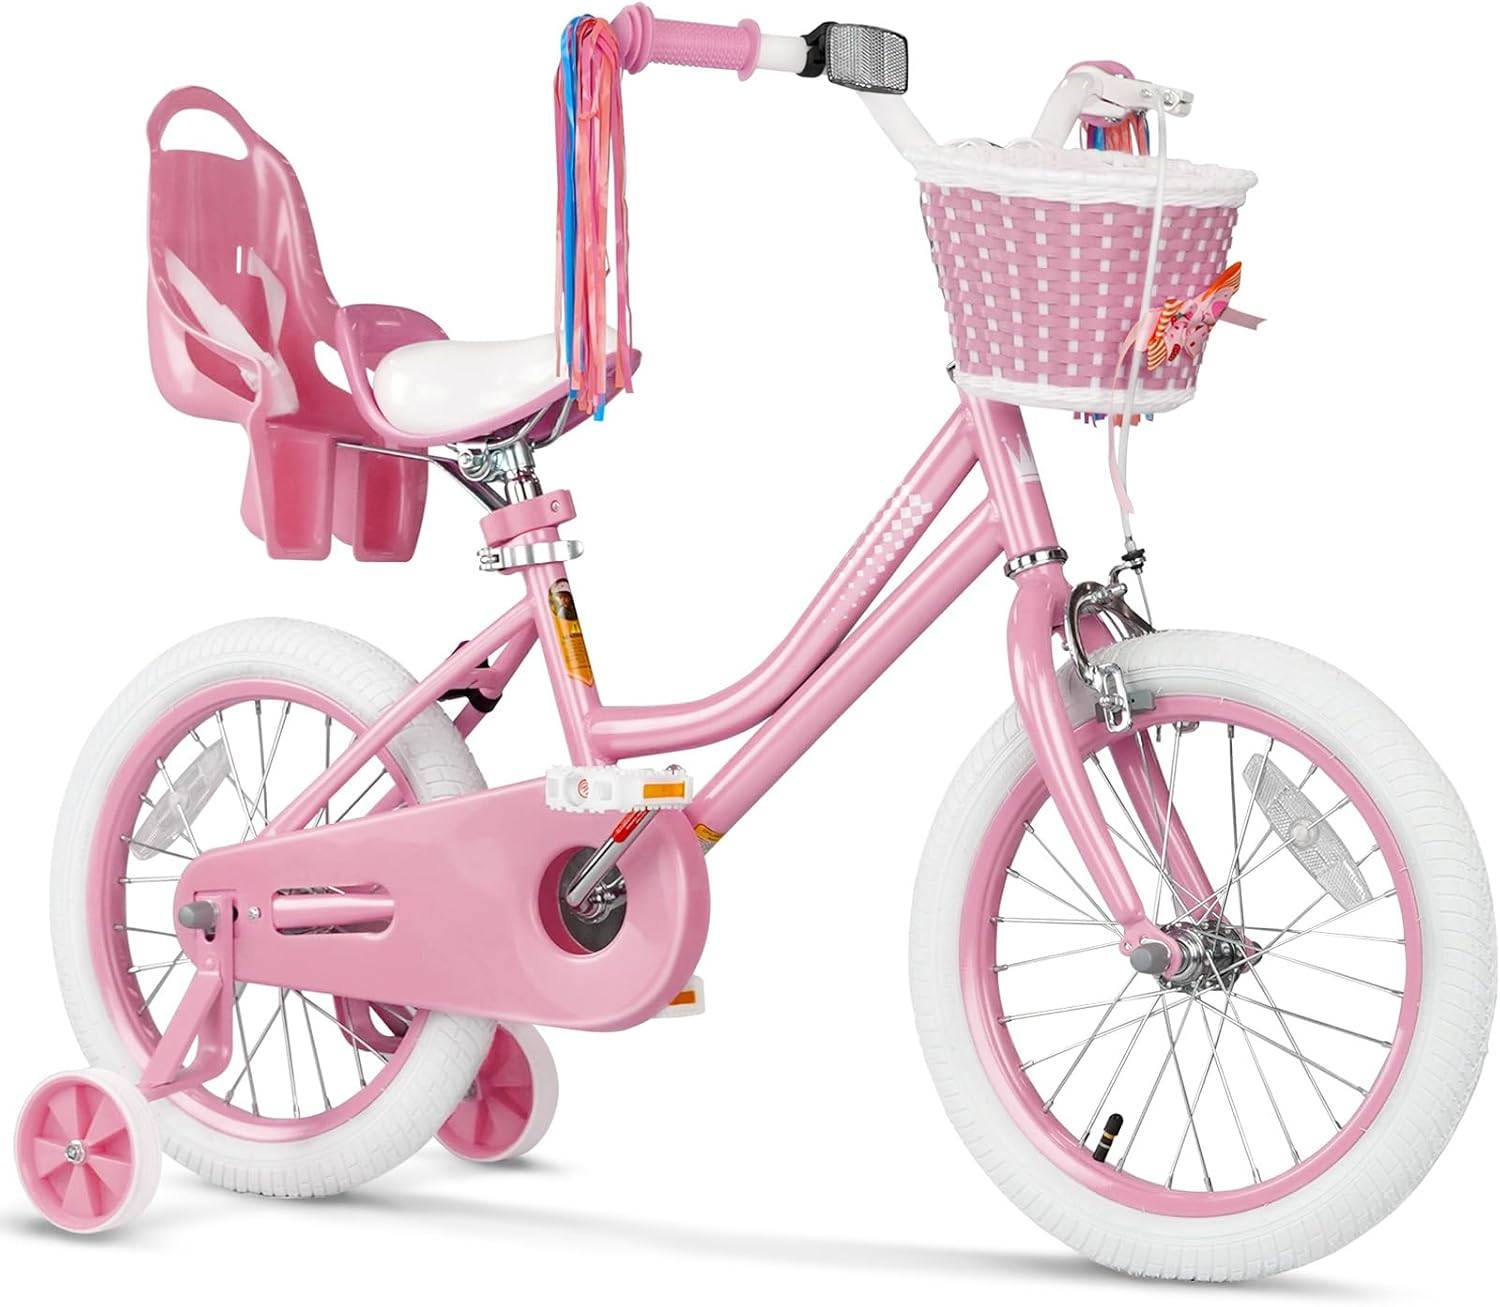 XJD Pink Girls' Bike – Kids 12/14/16 Inch Training Wheel Bicycle
Available in 12, 14 and 16 Inch labels with training wheels. Use the rider’s measurements and an individual fit check when comparing these complete bicycle sizes.
XJD Kids Bike for Girls – Pink, 12/14/16/20 Inch with Training Wheels is listed in 12 Inch, 14 Inch, 16 Inch and 20 Inch options. XJD Pink Girls' Bike – Kids 12/14/16 Inch Training Wheel Bicycle is listed in 12 Inch, 14 Inch and 16 Inch options. Compare the rider’s measurements and control first, then select the corresponding product option for a proper fit check.
These listings do not establish that their training wheels or hardware can be transferred to another bicycle. For compatibility, assembly, maintenance, load limits and torque, consult the exact product manual or a qualified bicycle mechanic.
Make the final safety decision
Before the child rides, confirm that the paired kit is explicitly compatible, both sides match the manual, all moving parts run freely, the bicycle fits, and the child can reach and operate the controls. Use a properly fitting bicycle helmet that sits level, with its straps adjusted according to the helmet manufacturer’s instructions. If any one of those checks fails, do not fabricate a workaround: choose a compatible complete pair or take the bike to a mechanic.
Recommended products
-
Save 12%
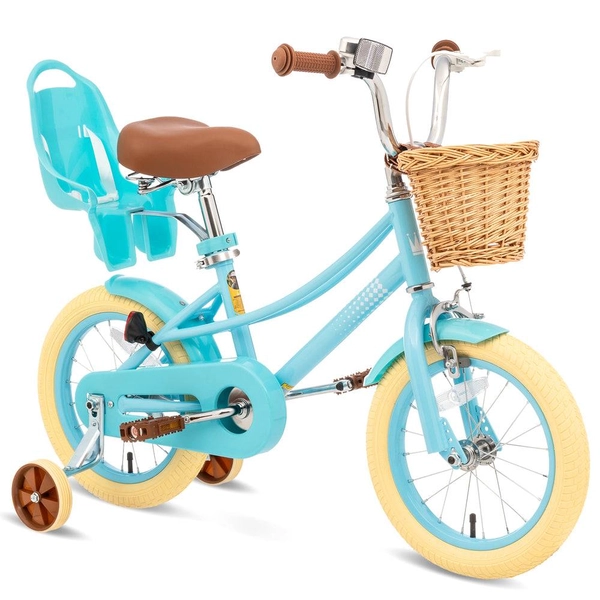
Girls' Training Wheel Bike by XJD, 12–20 Inch Wheels – Blue
This XJD girls' training wheel bike in Blue covers one of the widest fit ranges …
Training Wheel Bikes Wheel Size 12 Inch / 14 Inch / 16 Inch / 20 Inch Recommended Height 86–152 cm Training Wheels Yes 12 Inch -
Save 15%
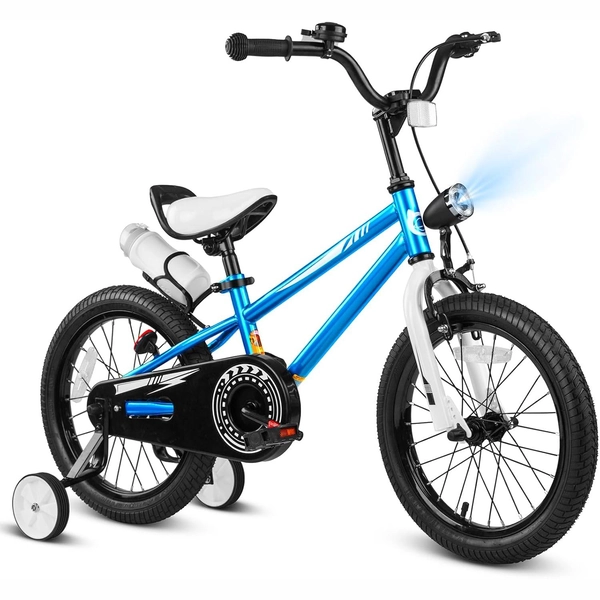
XJD Boys 12/14/16" Training Wheel Bike – Blue
The XJD Boys Bike in Blue is a training wheel bike for riders 71–122 cm tall—rou…
Training Wheel Bikes Wheel Size 12 Inch / 14 Inch / 16 Inch Recommended Height 86–122 cm Training Wheels Yes 16 Inch -
Save 15%
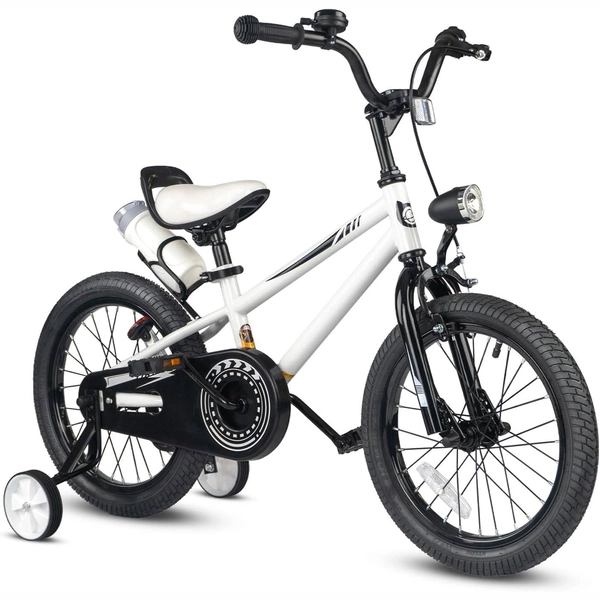
XJD Kids' Training Wheel Bike for Boys & Girls, 12/14/16 Inch – White
The XJD kids' training wheel bike in White is made for riders ages 3–8 (roughly …
Training Wheel Bikes Wheel Size 12 Inch / 14 Inch / 16 Inch Recommended Height 86–122 cm Training Wheels Yes 14 Inch -
Save 12%
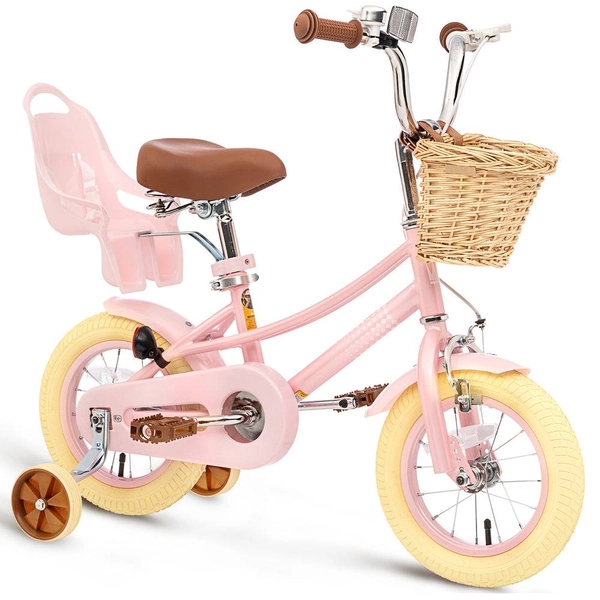
XJD Kids Bike for Girls – Pink, 12/14/16/20 Inch with Training Wheels
The XJD Kids Bike for Girls in Pink is a training-wheel bike built to carry your…
Training Wheel Bikes Wheel Size 12 Inch / 14 Inch / 16 Inch / 20 Inch Recommended Height 86–152 cm Training Wheels Yes 12 Inch