How to install training wheels on kids bike
To install training wheels on a kids bike, first confirm that the wheel set fits the bike’s wheel size, rear axle, frame, and hardware. Then follow the exact training-wheel manual for bracket orientation, fastener order, adjustment, and tightening.
Measure before removing any hardware
Read the tire sidewall to identify the bicycle’s wheel size, and compare that marking with the training-wheel package or manual. Do not estimate size from the child’s age or from the apparent diameter of the wheel.
Next, inspect the rear axle area. Note how much axle is exposed, what nuts or other fasteners are present, and whether the frame, chain guard, derailleur, brake parts, or accessories obstruct the mounting location. Compare these details with the compatibility requirements and diagrams supplied by the training-wheel manufacturer.
Also confirm that every bracket, wheel, washer, fastener, and anti-rotation part listed in the manual is present. If the manual does not clearly approve the bicycle’s axle arrangement, or the supplied hardware cannot sit as illustrated, stop and ask a qualified bicycle mechanic.
Check the child’s bike fit first
Training wheels do not make an oversized bicycle suitable. Have the child try the bike and prioritize measured height, inseam, stand-over clearance, comfortable reach, brake control, and current confidence. Do not choose extra size merely to allow room for growth.
| Wheel size | XBikes starting point |
|---|---|
| 12 Inch | Ages 3–4; 34–40 in / 86–102 cm |
| 14 Inch | Ages 3–6; 37–45 in / 94–114 cm |
| 16 Inch | Ages 4–7; 40–48 in / 102–122 cm |
| 20 Inch | Ages 7–12; 48–60 in / 122–152 cm |
These figures are starting points, not proof of fit. If the rider cannot mount, reach the controls, operate the brakes, or stop comfortably, correct the fit before installing or using training wheels.
Install the training wheels in the correct order
- Stabilize the bicycle. Work on a firm surface with the bike supported so it cannot tip while rear-axle hardware is loosened.
- Identify left and right parts. Match every bracket, washer, tab, spacer, and fastener to the manufacturer’s diagram. Do not assume visually similar pieces are interchangeable.
- Fit one side at a time. Remove only the hardware directed by the manual, place the bracket and any retention parts in the specified sequence, then reinstall the axle hardware as shown.
- Repeat on the opposite side. Keep both brackets in matching positions unless the manual expressly directs otherwise.
- Align and tighten. Set wheel height and bracket angle according to the manual, then use its stated tool and torque requirements. If torque or fastener instructions are missing, use a qualified bicycle mechanic rather than guessing.
Do not modify brackets, substitute random washers, extend an axle, or force hardware around an obstruction. A bracket that twists, rocks, contacts moving parts, or prevents full fastener engagement indicates a compatibility or assembly problem.
Set the height and perform a stationary check
Use the training-wheel manufacturer’s specified ground-clearance adjustment. Avoid inventing a universal gap: different systems may use different bracket shapes and adjustment methods. Both auxiliary wheels should be arranged consistently and should not interfere with the rear tire, chain, pedals, brakes, or frame.
Before the child rides, hold the bicycle stationary and check that the rear wheel turns freely, both training wheels rotate, and no cable or moving component is trapped. Press and rock each bracket by hand. If anything shifts, bends, scrapes, or loosens, do not ride; recheck the manual or take the bike to a qualified mechanic.
Conduct the first supervised ride
Choose a level area away from traffic, slopes, curbs, and obstacles. Have the child begin slowly while an adult stays close. Confirm that the rider can steer, pedal, brake, place a foot down when needed, and remain in control while turning.
A properly fitting bicycle helmet is essential. It should sit level, fit correctly, and have its straps adjusted according to the helmet manufacturer’s instructions. Stop immediately if the bicycle pulls unexpectedly, a bracket contacts the ground harshly, or any fastener moves.
How the XBikes catalog option is relevant
The XJD Girls' Bike with Training Wheels, 12/14/16/20 Inch – Purple is offered under Training Wheel Bikes with 12 Inch, 14 Inch, 16 Inch, and 20 Inch SKU labels. Those choices make it useful for comparing a complete training-wheel-bike option against the child’s measured fit and intended wheel size; the catalog facts do not establish compatibility for fitting its training wheels to another bicycle.
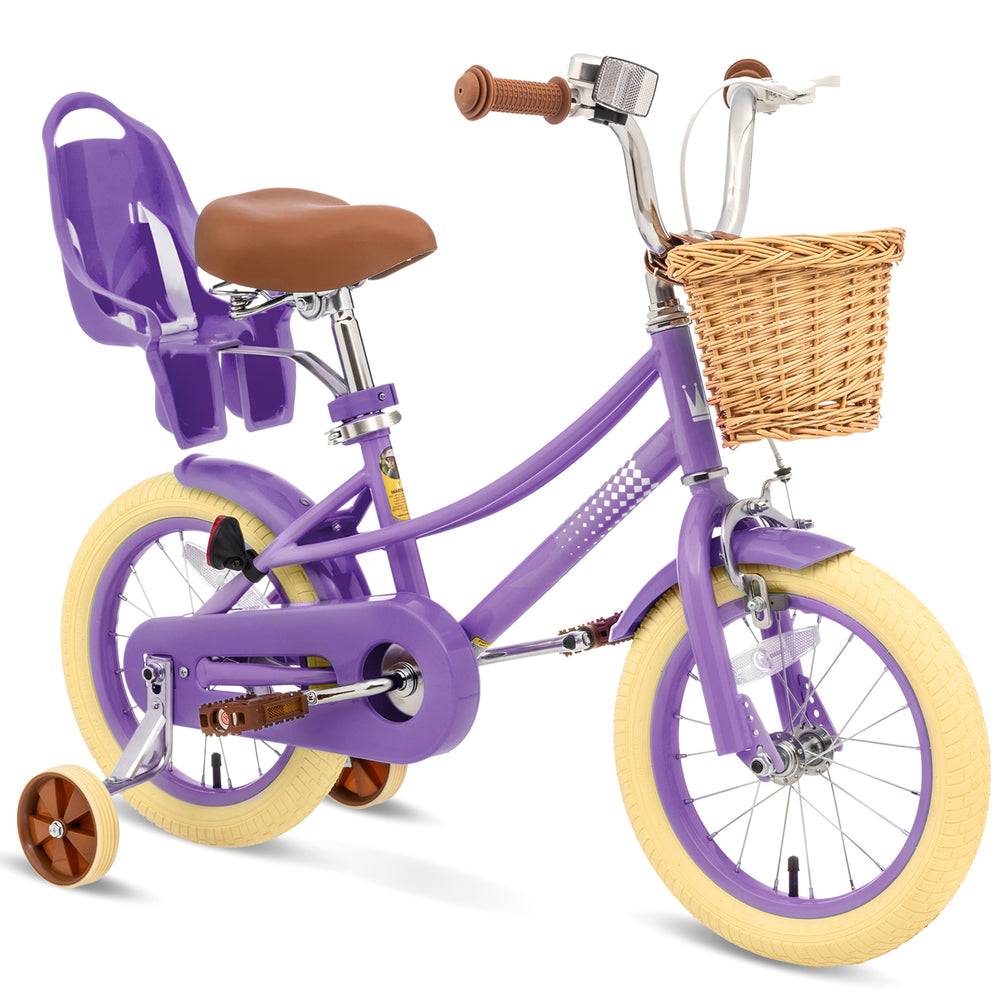
Use its SKU label only as the wheel-size selection, then apply the XBikes height starting point and conduct an individual fit check. No supplied catalog information confirms its assembly procedure, axle design, load limit, torque settings, or cross-bike compatibility, so consult the exact product manual or a qualified bicycle mechanic for those details.
Make the final installation decision
Proceed only when the bike fits the child, the tire size matches the training-wheel specification, the axle and frame arrangement match the manual, all required hardware seats correctly, and the completed assembly passes stationary and slow supervised checks. If any one of those comparisons is uncertain, pause the installation and have a qualified bicycle mechanic verify it before the child rides.
Recommended products
-
Save 12%
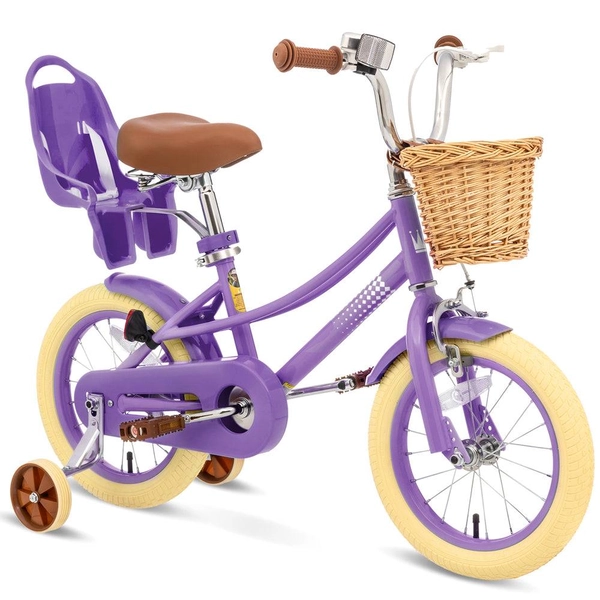
XJD Girls' Bike with Training Wheels, 12/14/16/20 Inch – Purple
The XJD girls' bike with training wheels in Purple is built to grow with your ri…
Training Wheel Bikes Wheel Size 12 Inch / 14 Inch / 16 Inch / 20 Inch Recommended Height 86–152 cm Training Wheels Yes 12 Inch -
Save 11%
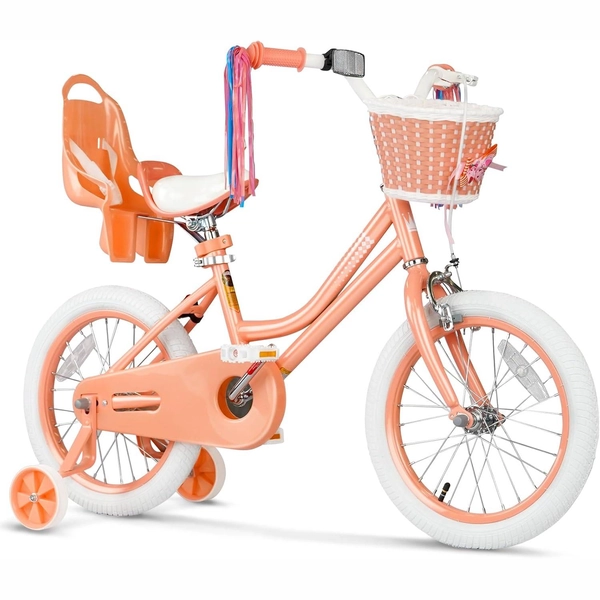
Girls 12/14/16 Inch Kids Bike by XJD with Training Wheels – Peach
The XJD Girls Bike in Peach is a training-wheel bike built for girls roughly 3 t…
Training Wheel Bikes Wheel Size 12 Inch / 14 Inch / 16 Inch Recommended Height 86–122 cm Training Wheels Yes 12 Inch -
Save 16%
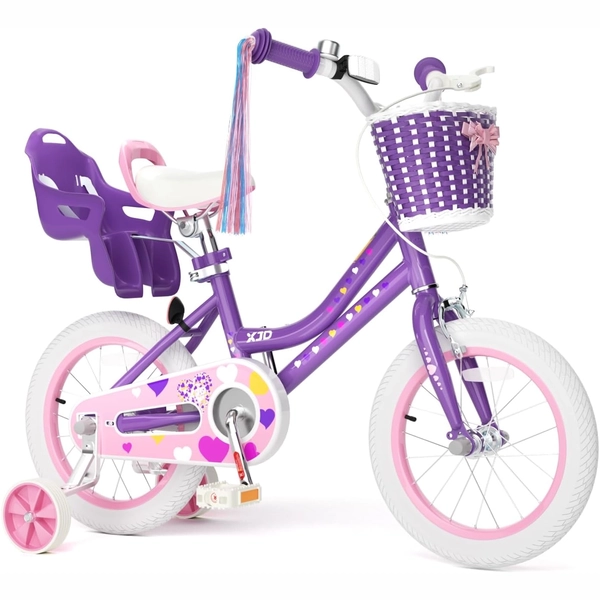
XJD Light Purple Girls Bike with Basket, Training Wheels, 12/14/16/20 Inch
The XJD Girls Bike with Basket in Light Purple is a single-speed training-wheel …
Training Wheel Bikes Wheel Size 12 Inch / 14 Inch / 16 Inch Recommended Height 86–122 cm Training Wheels Yes Single Speed 12 Inch -
Save 16%
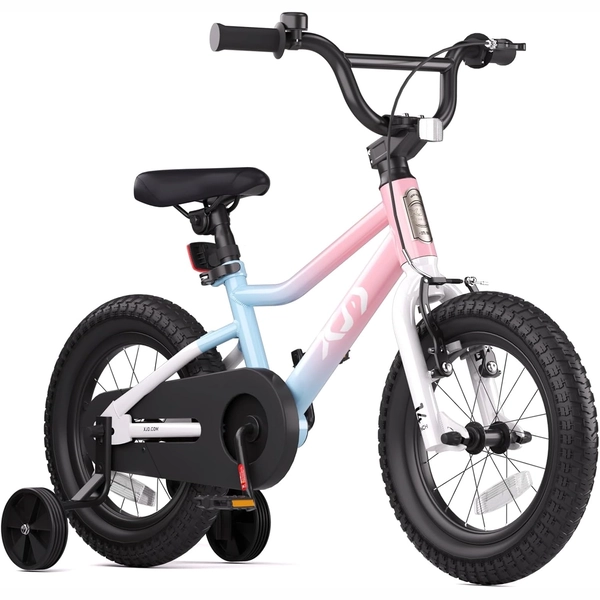
XJD Girls BMX Bike 12/14/16 Inch with Training Wheels – Pink Blue
The XJD Girls BMX Bike in Pink/Blue is built as a first pedal bike for kids roug…
Kids' BMX Bikes Wheel Size 12 Inch / 14 Inch / 16 Inch Recommended Height 86–122 cm Training Wheels Yes Single Speed 12 Inch