How to install training wheels on a kids bike
To install training wheels on a kids bike, first confirm that the kit fits the bike’s wheel size and rear axle, then attach and align both supports exactly as the kit and bicycle manuals direct. If compatibility or fastening is unclear, use a qualified bicycle mechanic.
Measure and compare before installation
Do not choose a training-wheel kit from the child’s age alone. Record the bicycle’s labeled wheel size, then inspect and measure the exposed rear axle on both sides. Compare the axle type, usable thread length, axle diameter, bracket opening and required mounting clearance with the kit manufacturer’s specifications.
Also check for anything that could obstruct the brackets, including the frame, chain guard, derailleur, brake parts, cables, reflectors or other hardware. The brackets must be designed for that exact mounting arrangement. Do not improvise with mismatched nuts, bend brackets to make them fit or remove brake components.
- Bike: wheel size, rear-axle type, exposed thread and clearance around each axle end.
- Kit: supported wheel sizes, axle requirements, bracket orientation, included hardware and load limit.
- Rider: measured height, inseam, reach, brake control and confidence.
Fit the child to the bicycle first
Training wheels cannot correct an oversized bicycle. Have the child try the bike and confirm suitable stand-over clearance, comfortable reach, steering control and the ability to operate the brakes. Do not buy a larger bike merely to allow room for growth.
| Wheel size | XBikes starting point |
|---|---|
| 12 Inch | Ages 3–4; 34–40 in / 86–102 cm |
| 14 Inch | Ages 3–6; 37–45 in / 94–114 cm |
| 16 Inch | Ages 4–7; 40–48 in / 102–122 cm |
| 18 Inch | Ages 5–9; 43–52 in / 109–132 cm |
| 20 Inch | Ages 7–12; 48–60 in / 122–152 cm |
| 24 Inch | Ages 10–14; 54–64 in / 137–163 cm |
| 26 Inch | Youth and adults over 60 in / 153 cm |
These ranges are starting points, not guarantees. Prioritize the individual rider’s measured height, inseam, reach, brake control and current confidence over age.
Install the supports in the correct order
- Place the bike where it cannot roll or fall. Read both the bicycle manual and training-wheel instructions before loosening rear-axle hardware.
- Identify the left and right brackets and every washer, brace, anti-rotation part and fastener shown in the kit instructions. Do not substitute unapproved hardware.
- Working exactly in the specified order, loosen only the hardware the manuals identify. Keep any original washers or retainers in their documented positions.
- Mount each bracket in its required orientation. Ensure neither side contacts the chain, tire, spokes, brake parts, derailleur, cables or frame.
- Set both training wheels to matching positions, then tighten the fasteners to the exact sequence and torque stated by the manufacturer. No universal torque applies.
If the axle is too short to retain all required hardware, the threads do not engage as directed, or a bracket shifts while tightening, stop. The kit is not confirmed compatible; consult the manufacturer or a qualified bicycle mechanic.
Align and check the installation
Follow the kit manual for the permitted training-wheel height and ground contact. Do not assume both auxiliary wheels should constantly carry the bicycle’s full load; the required setup varies by design. From behind, confirm that the supports are symmetrical, the wheels are aligned as directed and all hardware sits fully against its intended surfaces.
Before the child rides, spin the rear wheel and operate the brakes. Nothing should rub, bind or interfere. Gently load each side and recheck for movement. Perform any initial and recurring fastener checks on the schedule in the manuals; if no schedule is available, ask a bicycle mechanic rather than inventing one.
How the supplied bikes relate
The three catalog options are relevant because each is listed with training wheels and offers the same 12 Inch, 14 Inch, 16 Inch and 20 Inch size labels. They help compare complete training-wheel bicycles when a separate kit cannot be verified for the existing bike; size labels still require an individual fit check.
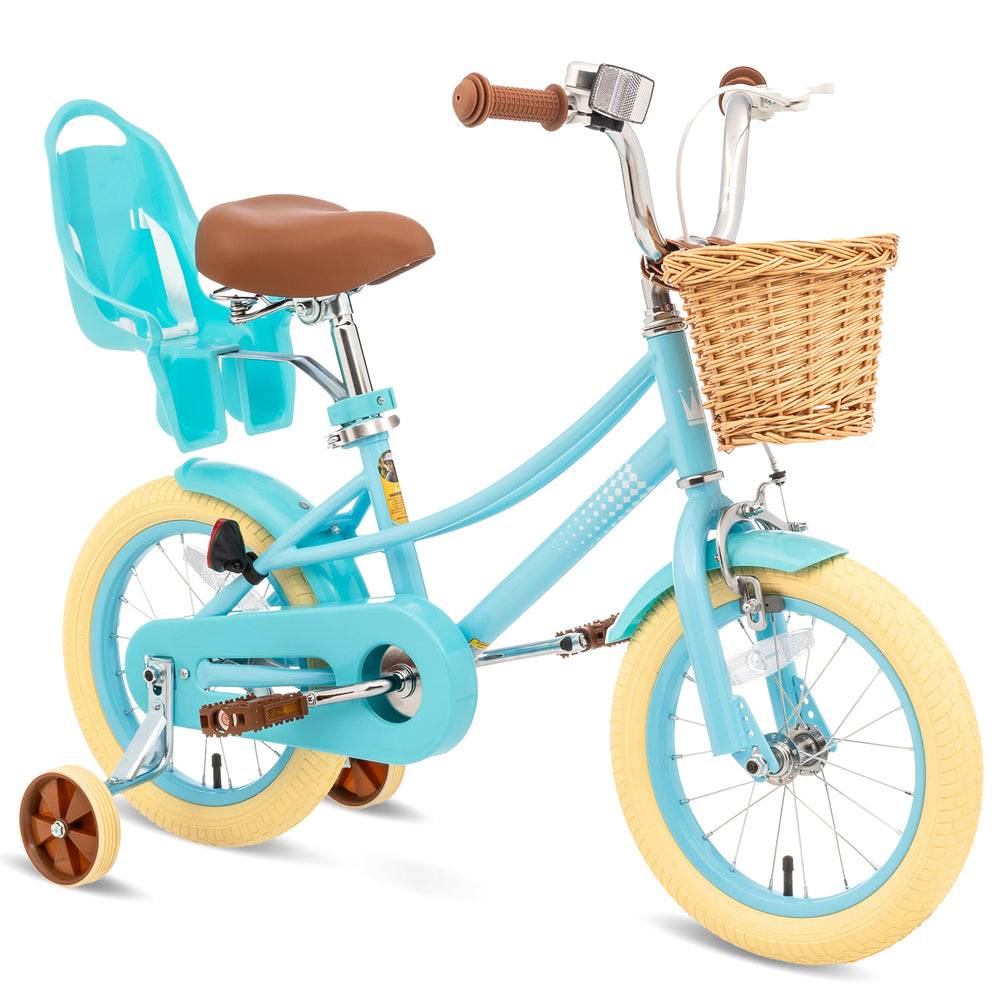 Girls' Training Wheel Bike by XJD, 12–20 Inch Wheels – Blue
A complete blue training-wheel bicycle offered in 12 Inch, 14 Inch, 16 Inch and 20 Inch labels; relevant when comparing a complete bike instead of fitting a separate kit.
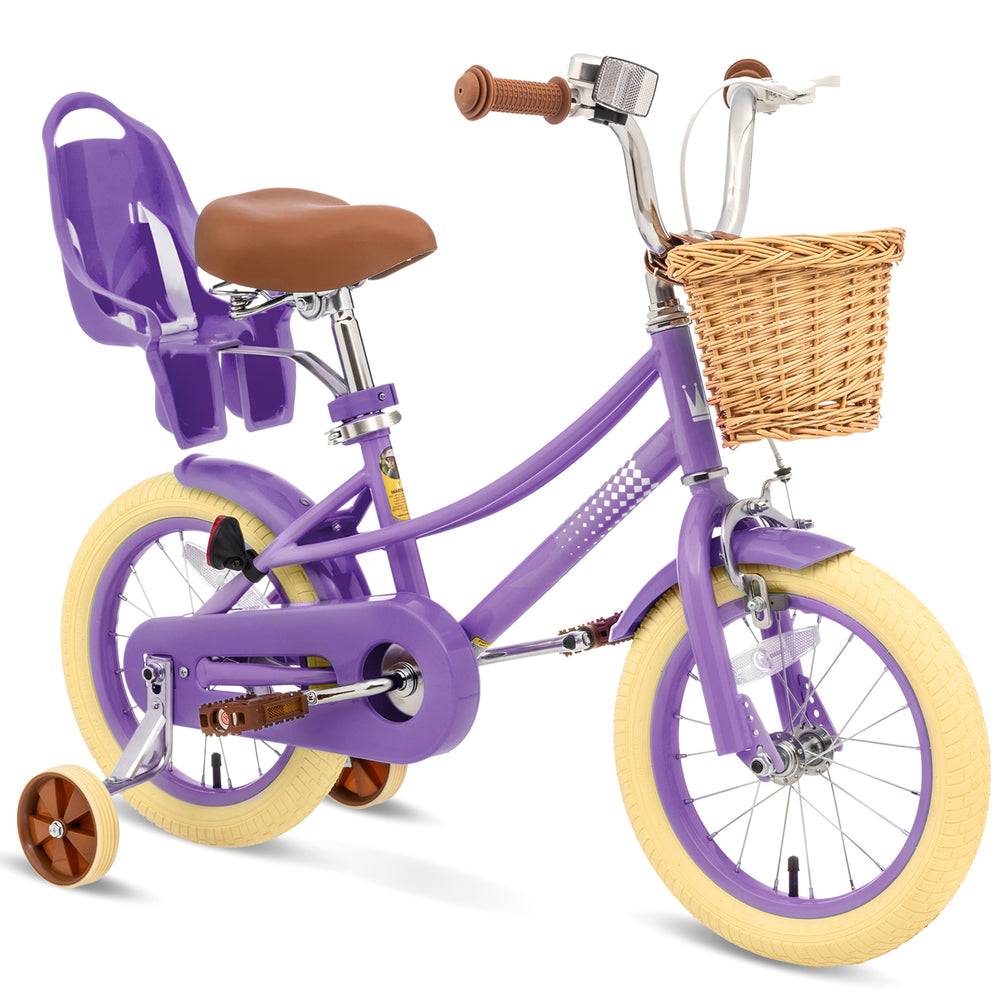 XJD Girls' Bike with Training Wheels, 12/14/16/20 Inch – Purple
A purple training-wheel bike with supplied size labels of 12 Inch, 14 Inch, 16 Inch and 20 Inch. Confirm the child’s individual fit rather than relying on a label alone.
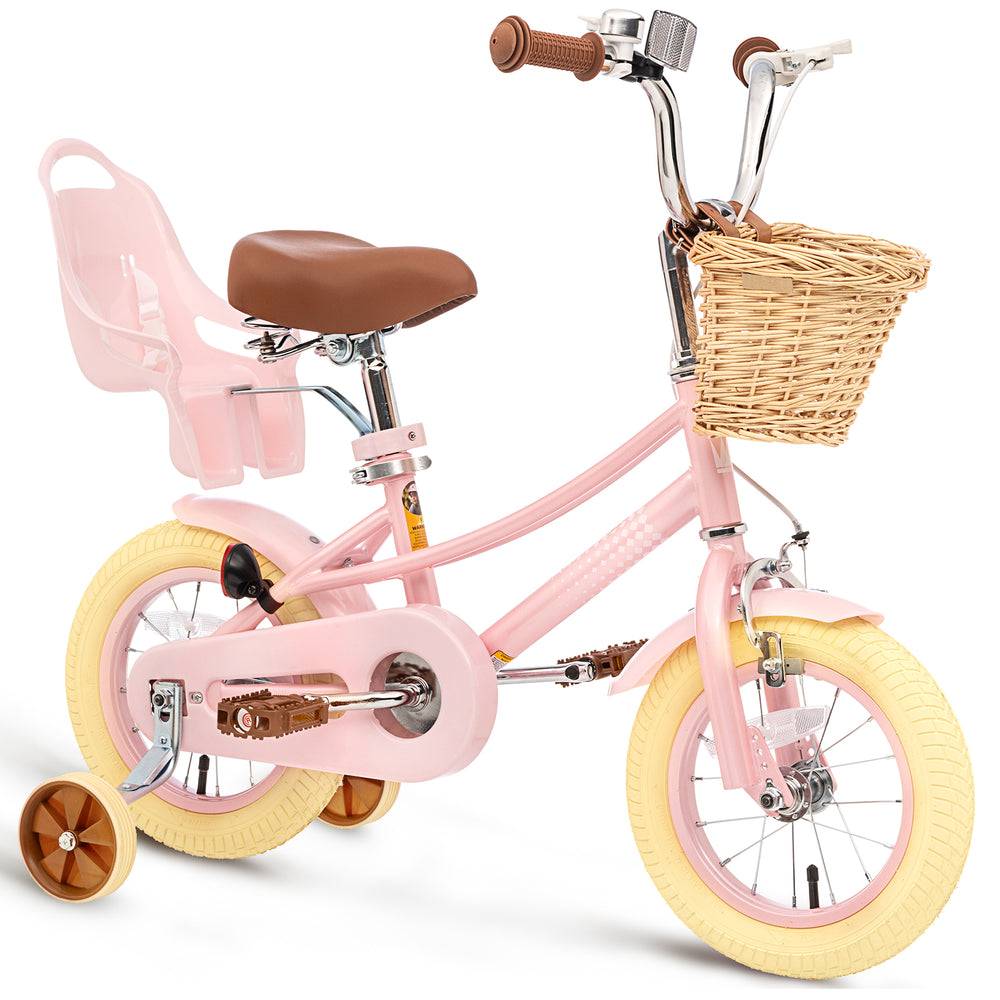 XJD Kids Bike for Girls – Pink, 12/14/16/20 Inch with Training Wheels
A pink kids bike listed with training wheels in 12 Inch, 14 Inch, 16 Inch and 20 Inch options, useful as a complete-bike comparison when kit compatibility is uncertain.
Girls' Training Wheel Bike by XJD, 12–20 Inch Wheels – Blue, XJD Girls' Bike with Training Wheels, 12/14/16/20 Inch – Purple and XJD Kids Bike for Girls – Pink, 12/14/16/20 Inch with Training Wheels differ in exact catalog title and stated color, but the supplied facts list identical size choices. No supplied fact establishes differences in brakes, materials, weight, compatibility or certification.
None offers an 18 Inch, 24 Inch or 26 Inch label. For those sizes, these products are nearest-size comparison points only, not substitutes; a different wheel size is not equivalent.
Make the final go-or-stop decision
Proceed only when the child fits and controls the bike, the kit documentation confirms the wheel and axle combination, every required part seats correctly, and the brakes and drivetrain remain unobstructed. Fit a bicycle helmet level on the head and adjust its straps according to the helmet manufacturer’s instructions. If any compatibility, assembly, torque or load-limit detail is missing, stop and have the exact bike-and-kit combination checked by a qualified bicycle mechanic before the first ride.
Recommended products
-
Save 12%
XJD Girls' Bike with Training Wheels, 12/14/16/20 Inch – Purple
The XJD girls' bike with training wheels in Purple is built to grow with your ri…
Training Wheel Bikes Wheel Size 12 Inch / 14 Inch / 16 Inch / 20 Inch Recommended Height 86–152 cm Training Wheels Yes 12 Inch -
Save 11%
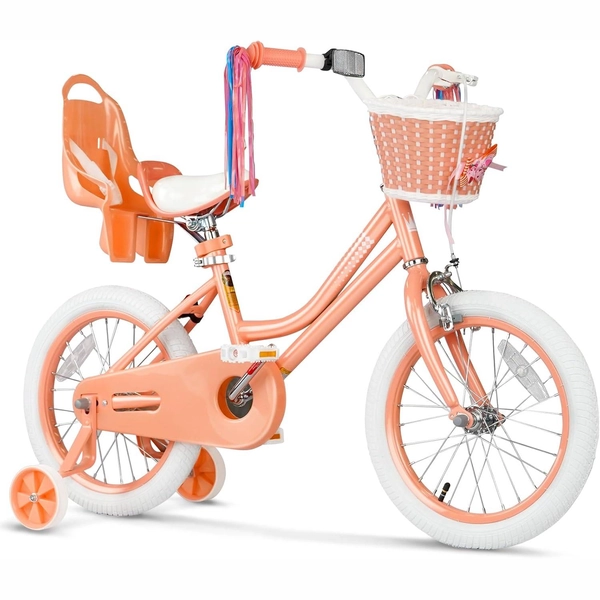
Girls 12/14/16 Inch Kids Bike by XJD with Training Wheels – Peach
The XJD Girls Bike in Peach is a training-wheel bike built for girls roughly 3 t…
Training Wheel Bikes Wheel Size 12 Inch / 14 Inch / 16 Inch Recommended Height 86–122 cm Training Wheels Yes 12 Inch -
Save 16%
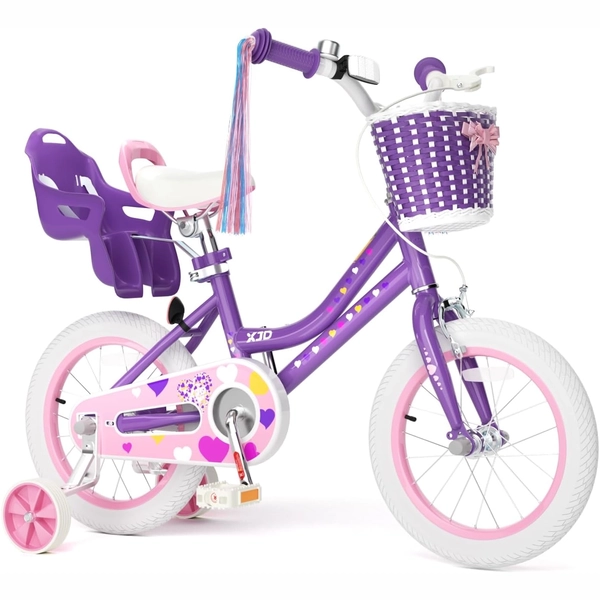
XJD Light Purple Girls Bike with Basket, Training Wheels, 12/14/16/20 Inch
The XJD Girls Bike with Basket in Light Purple is a single-speed training-wheel …
Training Wheel Bikes Wheel Size 12 Inch / 14 Inch / 16 Inch Recommended Height 86–122 cm Training Wheels Yes Single Speed 12 Inch -
Save 16%
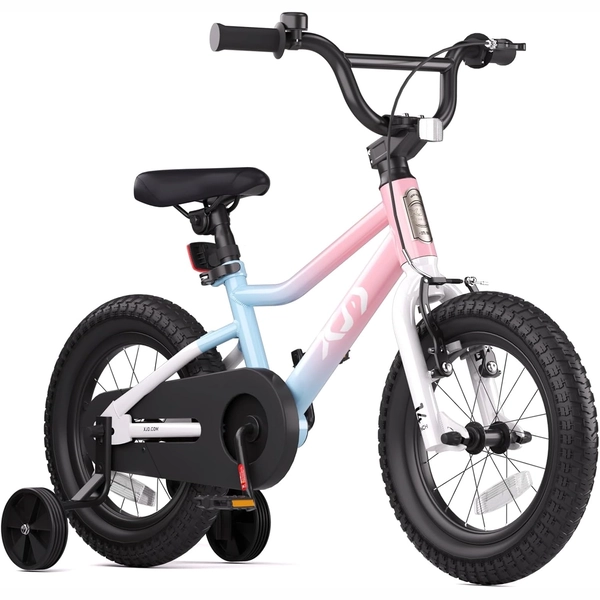
XJD Girls BMX Bike 12/14/16 Inch with Training Wheels – Pink Blue
The XJD Girls BMX Bike in Pink/Blue is built as a first pedal bike for kids roug…
Kids' BMX Bikes Wheel Size 12 Inch / 14 Inch / 16 Inch Recommended Height 86–122 cm Training Wheels Yes Single Speed 12 Inch