How to teach child to ride bike without stabilisers
Teach a child to ride without stabilisers by checking bike fit first, removing the stabilisers, lowering the saddle for secure foot contact, and practising balance before pedalling.
Check whether the child and bike are ready
Measure the child’s standing height and inseam, then have them try the bicycle. Age is only a starting point. The rider should be able to stand over the bike, reach the handlebar without stretching, steer comfortably and operate the brakes reliably. Do not use an oversized bicycle merely to allow room for growth.
Confidence matters too. Start the transition when the child willingly practises, understands how to stop and can follow simple directions. If they are frightened, cannot control the brakes or struggle to hold the bike upright, improve the fit or return to short supported sessions rather than forcing progress.
Compare wheel size with measured fit
| Wheel size | Starting age | Rider height |
|---|---|---|
| 12 Inch | 3–4 | 34–40 in / 86–102 cm |
| 14 Inch | 3–6 | 37–45 in / 94–114 cm |
| 16 Inch | 4–7 | 40–48 in / 102–122 cm |
| 18 Inch | 5–9 | 43–52 in / 109–132 cm |
| 20 Inch | 7–12 | 48–60 in / 122–152 cm |
| 24 Inch | 10–14 | 54–64 in / 137–163 cm |
| 26 Inch | Youth and adults over 60 in | Over 60 in / 153 cm |
Use these figures only to narrow the options. Choose according to measured height, inseam, reach, brake control and present confidence. Overlapping height bands make an individual trial especially important; wheel diameter alone cannot confirm that the frame and controls fit.
Prepare the bike and practice area
Choose a wide, flat, traffic-free paved area with plenty of clear stopping space. Fit the child with a properly fitting bicycle helmet. It should sit level, with its straps adjusted according to the helmet manufacturer’s instructions.
Remove the stabilisers only as directed by the exact bicycle manual. Lower the saddle enough for the child to place both feet securely on the ground while seated, without changing anything beyond the manual’s permitted adjustment range. Check the bicycle before riding. For assembly, fastener settings, maintenance or compatibility questions not covered by its manual, use a qualified bicycle mechanic.
Teach balance before pedalling
- Scoot: Ask the child to push along with both feet, keeping their eyes toward the open path rather than down at the front wheel.
- Glide: Encourage slightly longer pushes and brief moments with both feet lifted. Repeat until the child can glide while steering a gentle line.
- Stop: Practise controlled braking from low speed, followed by putting the feet down. Do this repeatedly before adding faster starts.
- Pedal: Set one pedal in a comfortable starting position. Let the child push it down while the other foot leaves the ground, then continue pedalling.
Walk beside the child and, if support is needed, steady the rider lightly around the torso rather than steering the handlebar. Release gradually once balance takes over. Keep sessions short enough that fatigue does not turn successful practice into frustration.
Choose support based on the difficulty
If the child can glide but wobbles when starting, practise the first pedal stroke. If starts are easy but stopping is abrupt, return to low-speed brake practice. If the rider cannot glide, concentrate on scooting and steering instead of repeatedly attempting a full ride. Persistent reaching, tiptoe-only ground contact or poor brake access points to a fit problem, not a balance lesson.
Where the supplied training-wheel bike is relevant
The XJD Kids' Training Wheel Bike for Boys & Girls, 12/14/16 Inch – White is available with 12 Inch, 14 Inch and 16 Inch SKU labels. Those three catalog options help you compare the child’s measured height with the matching XBikes starting bands while planning a transition from stabilisers. They are relevant only if an individual fit check confirms stand-over clearance, reach, brake control and confidence; the title’s wording is a catalog name, not separate fit evidence.
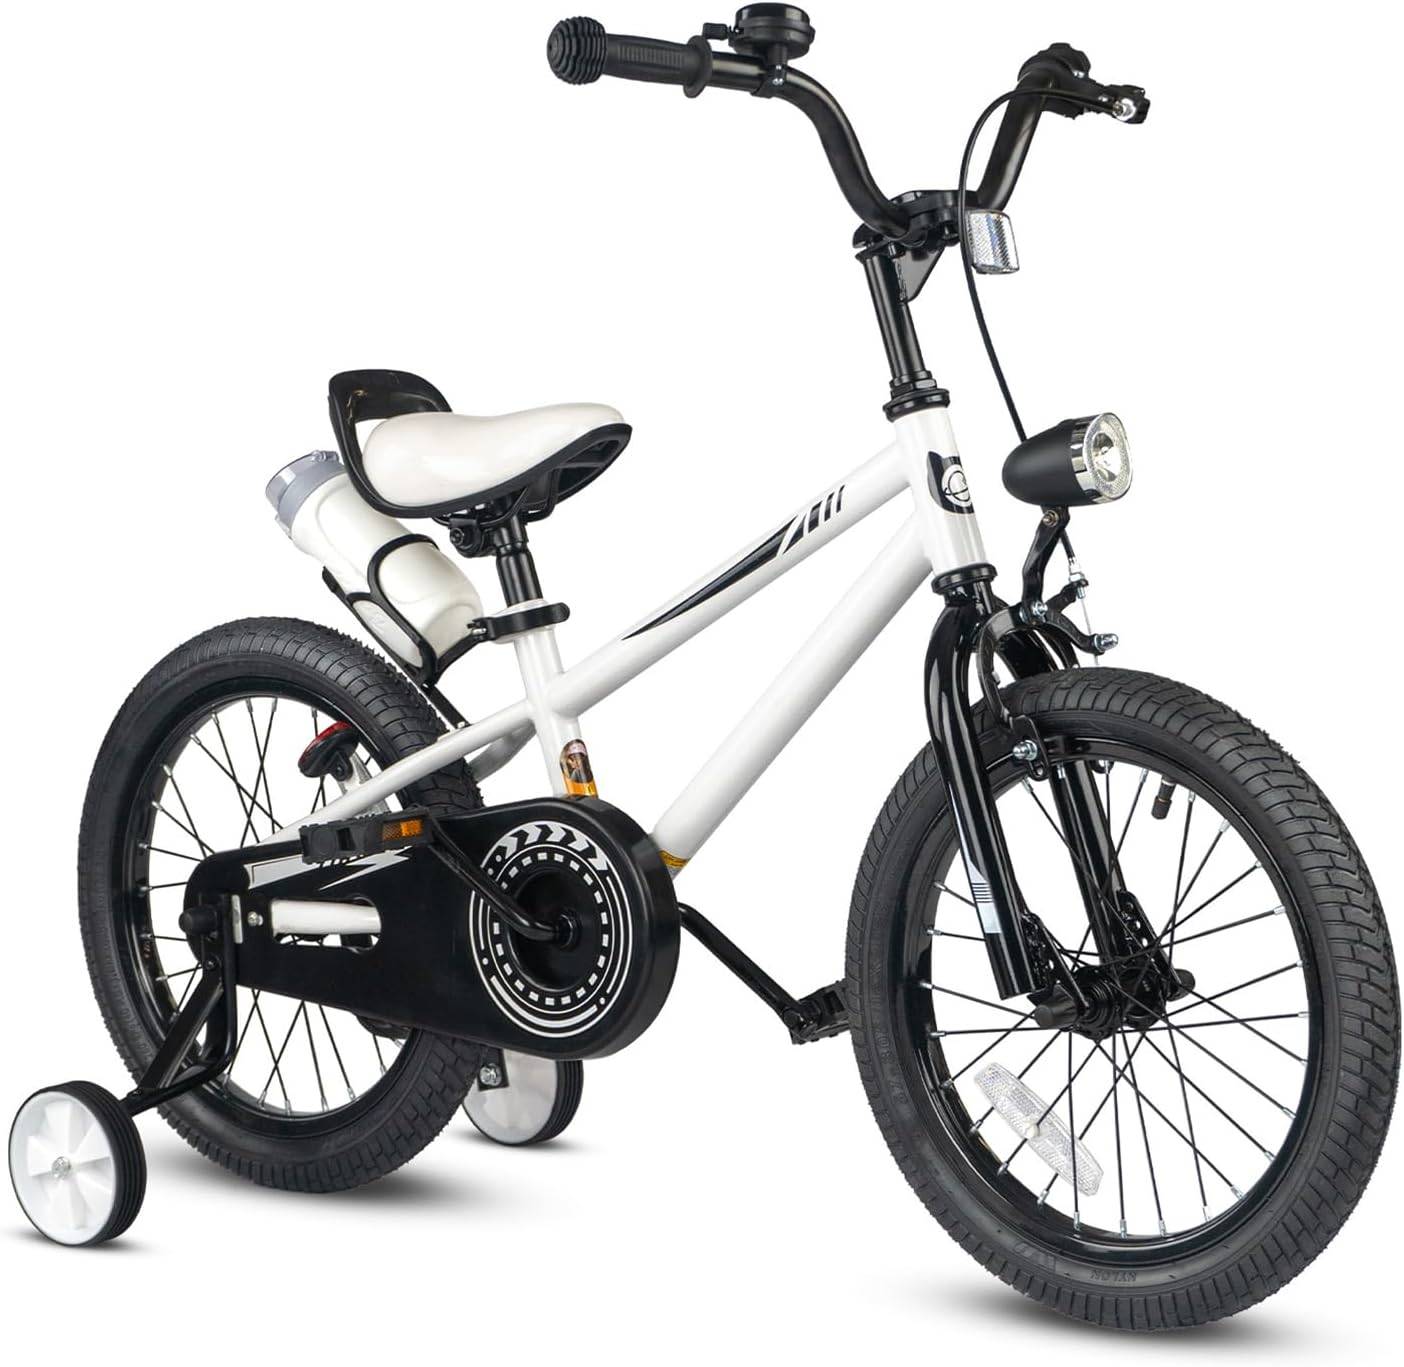
This product is not automatically appropriate merely because the child is learning without stabilisers. It is also not a substitute when measurements and control indicate another wheel size. Confirm how its stabilisers and saddle may be adjusted or removed in the exact product manual, or ask a qualified bicycle mechanic.
Make the next-session decision
Before the next ride, record the child’s height and inseam, test stand-over, reach and brake operation, and select a correctly fitting bike. Then remove the stabilisers according to the manual and begin with scooting. Move to pedalling only after the child can glide, steer and stop calmly; pause and correct fit or control problems before trying again.
Recommended products
-
Save 12%
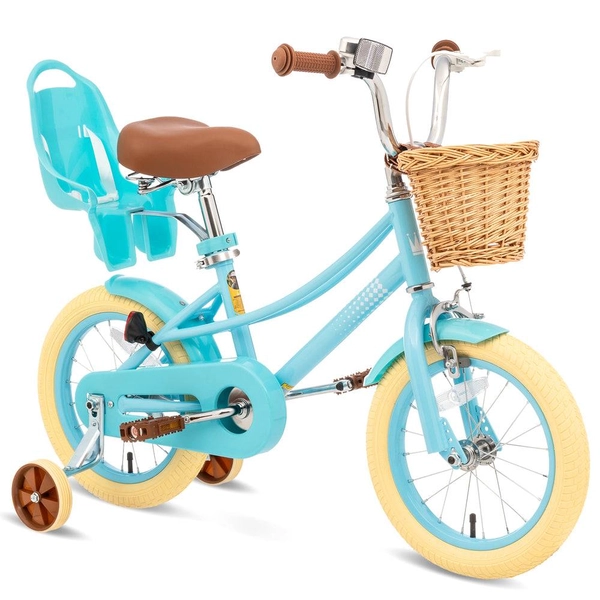
Girls' Training Wheel Bike by XJD, 12–20 Inch Wheels – Blue
This XJD girls' training wheel bike in Blue covers one of the widest fit ranges …
Training Wheel Bikes Wheel Size 12 Inch / 14 Inch / 16 Inch / 20 Inch Recommended Height 86–152 cm Training Wheels Yes 12 Inch -
Save 15%
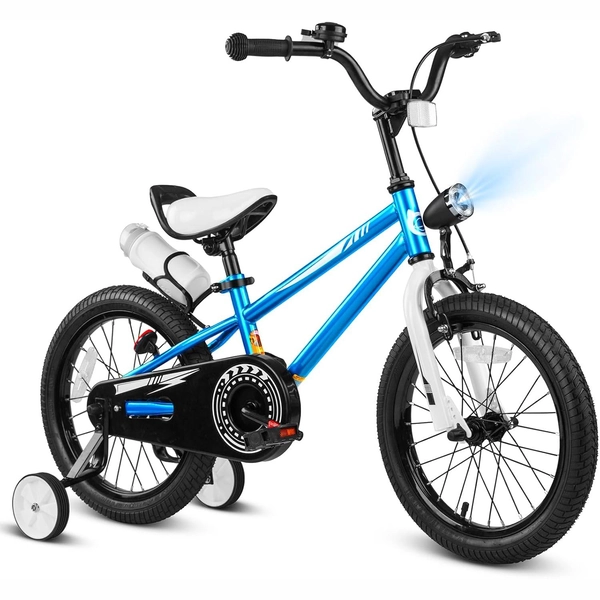
XJD Boys 12/14/16" Training Wheel Bike – Blue
The XJD Boys Bike in Blue is a training wheel bike for riders 71–122 cm tall—rou…
Training Wheel Bikes Wheel Size 12 Inch / 14 Inch / 16 Inch Recommended Height 86–122 cm Training Wheels Yes 16 Inch -
Save 15%
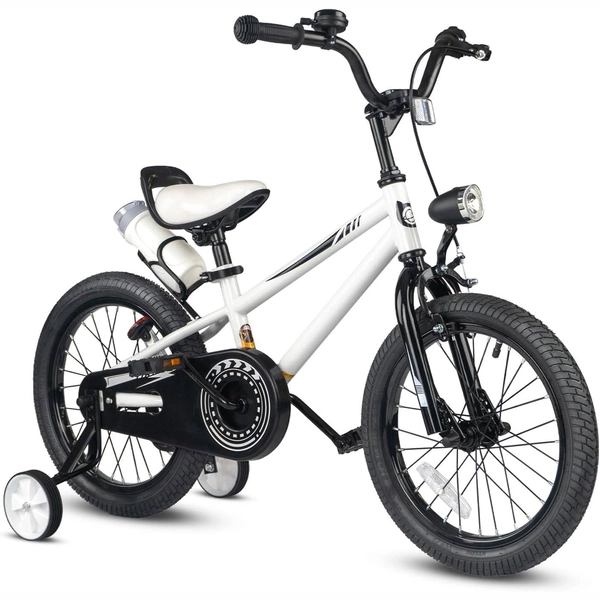
XJD Kids' Training Wheel Bike for Boys & Girls, 12/14/16 Inch – White
The XJD kids' training wheel bike in White is made for riders ages 3–8 (roughly …
Training Wheel Bikes Wheel Size 12 Inch / 14 Inch / 16 Inch Recommended Height 86–122 cm Training Wheels Yes 14 Inch -
Save 12%
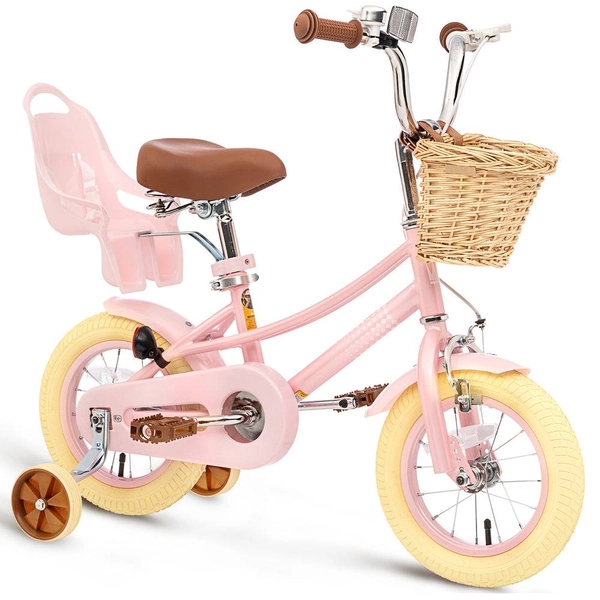
XJD Kids Bike for Girls – Pink, 12/14/16/20 Inch with Training Wheels
The XJD Kids Bike for Girls in Pink is a training-wheel bike built to carry your…
Training Wheel Bikes Wheel Size 12 Inch / 14 Inch / 16 Inch / 20 Inch Recommended Height 86–152 cm Training Wheels Yes 12 Inch