How to teach child to ride bike without training wheels
Teach a child to ride without training wheels by confirming the bike fits, removing the supports, practicing balance first, then adding pedaling and braking.
Check readiness before removing the training wheels
Start with confidence and control, not age. A child is ready to try when they want to learn, can listen to short instructions, and can operate the brakes while keeping the handlebar reasonably steady. Reluctance is a reason to pause, not to push harder.
Have the child wear a properly fitting bicycle helmet. It should sit level, with its straps adjusted according to the helmet manufacturer’s instructions. Choose a flat, open practice area away from traffic, parked vehicles, steep slopes and other obstacles.
Measure the rider and check the bicycle fit
Measure the child’s height and inseam while they are wearing the shoes they will ride in. Then have them try the bicycle. They need comfortable stand-over clearance, an easy reach to the handlebar, and the ability to operate the brakes without stretching or shifting their hands awkwardly. Do not choose an oversized bicycle merely to allow room for growth.
Use the XBikes ranges below only as starting points. Overlapping sizes are normal; measured fit, inseam, reach, brake control and current confidence decide whether a particular bicycle works.
| Wheel size | Starting age | Starting rider height |
|---|---|---|
| 12 Inch | 3–4 | 34–40 in / 86–102 cm |
| 14 Inch | 3–6 | 37–45 in / 94–114 cm |
| 16 Inch | 4–7 | 40–48 in / 102–122 cm |
| 18 Inch | 5–9 | 43–52 in / 109–132 cm |
| 20 Inch | 7–12 | 48–60 in / 122–152 cm |
If the child cannot stand over the bicycle comfortably, reach the controls, or squeeze the brakes reliably, correct the fit or use another size before practicing.
Set up the bike for balance practice
Remove the training wheels only as directed by the exact bicycle manual. If removal, adjustment or reassembly is unclear, use a qualified bicycle mechanic. Do not improvise with compatibility, fastener or torque requirements.
Adjust the seat only within the manufacturer’s directions so the child can place both feet securely on the ground while seated. This temporary position helps them catch themselves as they learn balance. Check that the bicycle is assembled correctly and that its brakes, steering, wheels and tires function as the manual specifies.
Teach balance before pedaling
Ask the child to sit, look ahead and move the bicycle by walking with alternating feet. When that feels controlled, encourage longer pushes followed by brief glides with both feet lifted slightly. Practice stopping after every few glides so braking becomes part of the lesson rather than an afterthought.
- Walk the bicycle while seated and stop on request.
- Push with both feet, glide briefly and place the feet down calmly.
- Steer toward a visible point instead of staring at the front wheel.
- Repeat until several controlled glides feel ordinary.
Stand beside the child and, if support is needed, steady their torso rather than holding the handlebar. Steering the bike for them hides the balance feedback they need to learn.
Add pedaling, steering and independent starts
Once gliding is consistent, place one pedal in a raised starting position. The child presses that pedal down while pushing from the ground with the other foot, then brings the second foot onto its pedal. Keep the first attempts short and finish each one with a deliberate stop.
Next, practice gentle turns in both directions, starting without assistance, and stopping at a chosen marker. Use one instruction at a time: look ahead, push, pedal, or brake. End the session while the child is still attentive; several short practices are usually easier to absorb than one tiring session.
Where the supplied training-wheel bikes fit
The catalog options are relevant when the child needs a correctly sized training-wheel bicycle now, or when a parent is comparing available wheel sizes before beginning this transition. Both supplied models offer 12, 14, 16 and 20 Inch SKU labels, so their useful comparison is size and color; fit must still be checked on the individual child.
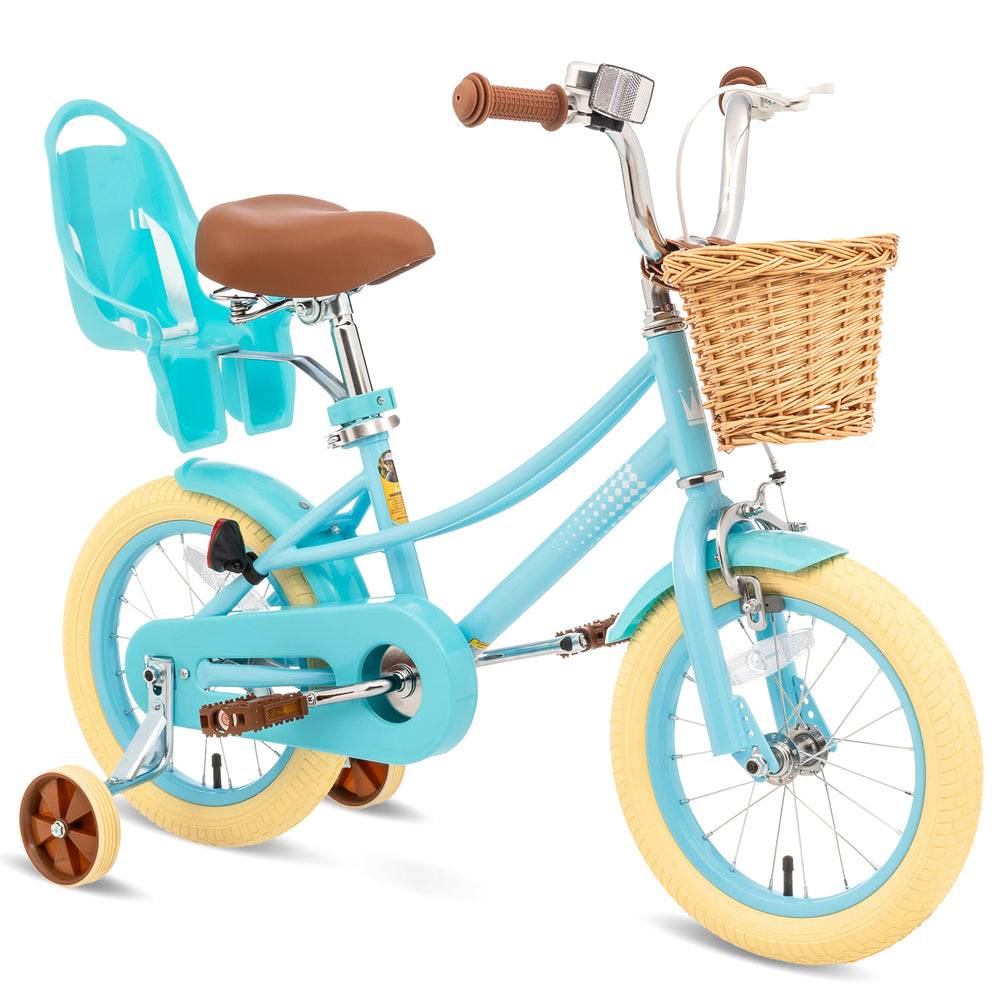 Girls' Training Wheel Bike by XJD, 12–20 Inch Wheels – Blue
Blue training-wheel bicycle offered with 12, 14, 16 and 20 Inch SKU labels; relevant for comparing a child’s measured fit before beginning the transition.
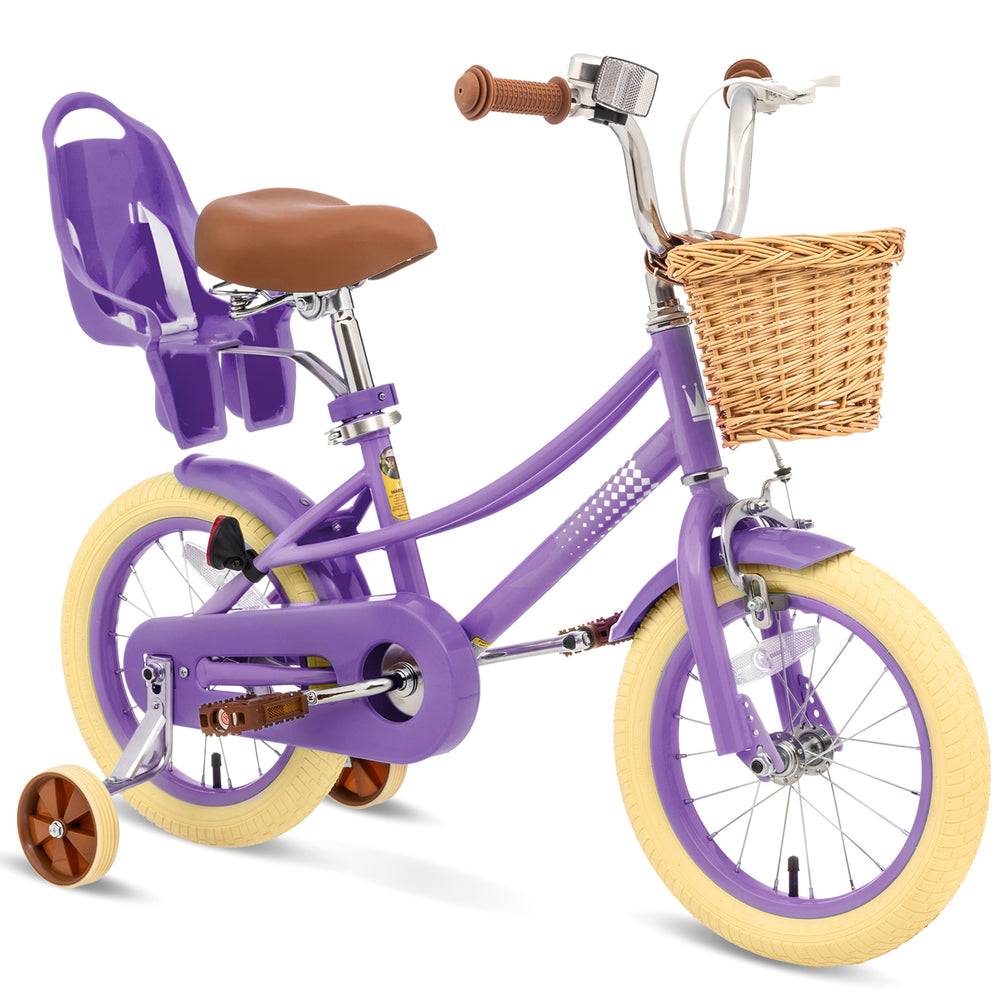 XJD Girls' Bike with Training Wheels, 12/14/16/20 Inch – Purple
Purple training-wheel bicycle offered with 12, 14, 16 and 20 Inch SKU labels; compare the rider’s height and hands-on control rather than choosing by age alone.
Girls' Training Wheel Bike by XJD, 12–20 Inch Wheels – Blue is listed in blue with 12, 14, 16 and 20 Inch choices. XJD Girls' Bike with Training Wheels, 12/14/16/20 Inch – Purple is listed in purple with the same four choices. The supplied facts do not establish differences in brakes, weight, materials, assembly, load limits or certification, so consult the exact product manual or a qualified bicycle mechanic for those details.
Neither listing includes an 18 Inch SKU label. If the rider’s measurements and hands-on fit point to an 18 Inch bicycle, these products are not substitutes for that size.
Decide what to do next
If fit and brake control are sound, remove the supports according to the manual and begin with walking, gliding and stopping. If the child cannot control the bike or feels frightened, restore the appropriate setup as directed, correct the fit, and try again later rather than forcing a pedal-first attempt.
Recommended products
-
Save 12%
Girls' Training Wheel Bike by XJD, 12–20 Inch Wheels – Blue
This XJD girls' training wheel bike in Blue covers one of the widest fit ranges …
Training Wheel Bikes Wheel Size 12 Inch / 14 Inch / 16 Inch / 20 Inch Recommended Height 86–152 cm Training Wheels Yes 12 Inch -
Save 15%
XJD Boys 12/14/16" Training Wheel Bike – Blue
The XJD Boys Bike in Blue is a training wheel bike for riders 71–122 cm tall—rou…
Training Wheel Bikes Wheel Size 12 Inch / 14 Inch / 16 Inch Recommended Height 86–122 cm Training Wheels Yes 16 Inch -
Save 15%
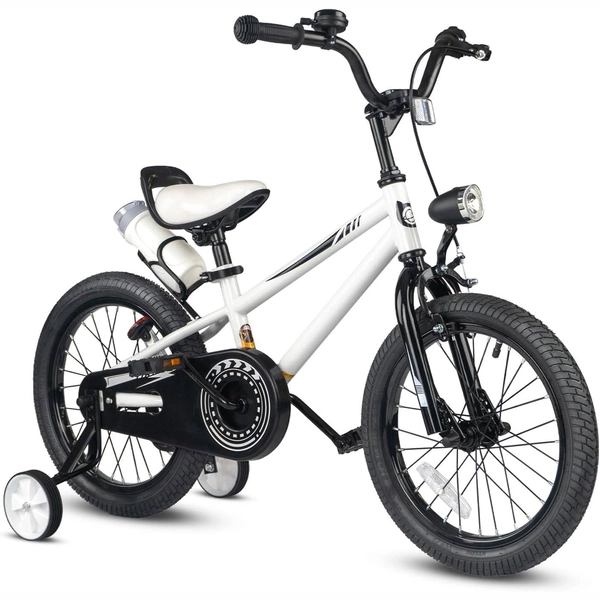
XJD Kids' Training Wheel Bike for Boys & Girls, 12/14/16 Inch – White
The XJD kids' training wheel bike in White is made for riders ages 3–8 (roughly …
Training Wheel Bikes Wheel Size 12 Inch / 14 Inch / 16 Inch Recommended Height 86–122 cm Training Wheels Yes 14 Inch -
Save 12%
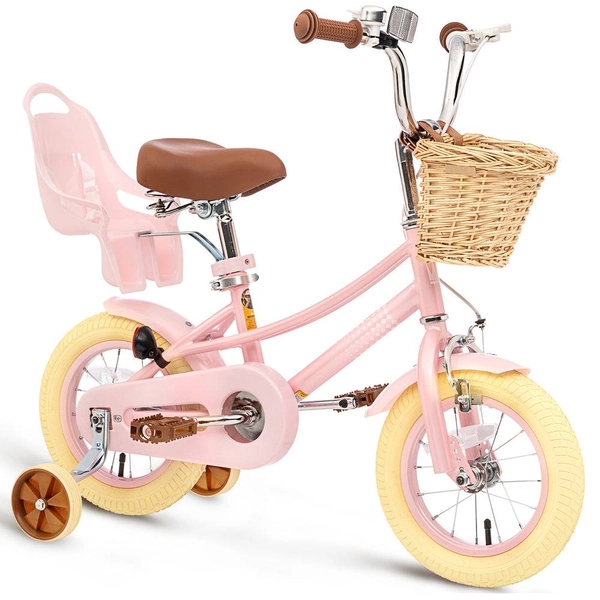
XJD Kids Bike for Girls – Pink, 12/14/16/20 Inch with Training Wheels
The XJD Kids Bike for Girls in Pink is a training-wheel bike built to carry your…
Training Wheel Bikes Wheel Size 12 Inch / 14 Inch / 16 Inch / 20 Inch Recommended Height 86–152 cm Training Wheels Yes 12 Inch