How to teach kid to ride bike without stabilisers
Teach a child to ride without stabilisers by checking bike fit first, then practising balance, gliding, steering, braking and independent starts in short, calm sessions.
Measure the rider and check the bike
Measure the child’s standing height and inseam without shoes. Height helps identify a starting wheel size; inseam helps you check whether the child can stand over the bicycle comfortably. Then have the child sit on the actual bike and assess reach, brake control and confidence.
Do not choose an oversized bicycle simply to allow room for growth. The rider needs to mount, stop and steer without stretching or leaning awkwardly. Check that the child can reach and operate the brakes, turn the handlebar comfortably and place their feet down confidently when stopping. A wheel-size label alone cannot confirm fit.
| Wheel size | Age starting point | Rider-height starting point |
|---|---|---|
| 12 Inch | 3–4 | 34–40 in / 86–102 cm |
| 14 Inch | 3–6 | 37–45 in / 94–114 cm |
| 16 Inch | 4–7 | 40–48 in / 102–122 cm |
These ranges overlap, so age should never decide the size by itself. Prioritise measured height, inseam, reach, brake control and the child’s present confidence.
Decide whether the child is ready
A child is ready to try riding without stabilisers when they willingly practise, can steer where they intend to go, understand how to stop and remain reasonably calm when the bicycle tips slightly. They do not need perfect balance before beginning.
Delay the change if the child cannot reach the controls, is frightened throughout practice or depends on the stabilisers to remain upright at every moment. Correcting fit or building confidence first is more useful than forcing a milestone. If the bicycle seems difficult to control despite an appropriate size, ask a qualified bicycle mechanic to inspect it.
Prepare the bicycle and practice area
Fit a bicycle helmet that sits level and follows the helmet manufacturer’s strap instructions. Choose a quiet, open, level area away from traffic, obstacles and steep slopes. Closed-toe footwear and practical clothing help the child concentrate on riding.
Remove or adjust stabilisers only as directed by the exact bicycle manual. Fasteners, compatibility and assembly arrangements vary; if the instructions are missing or unclear, use a qualified bicycle mechanic. Before each session, follow the manual’s checks and confirm that the child can operate the brakes while seated.
Teach balance before pedalling
- Walking: Let the child move the bicycle forward using both feet while looking ahead rather than down at the front wheel.
- Gliding: Encourage progressively longer moments with both feet lifted slightly, returning them to the ground whenever balance is lost.
- Steering: Place a visible destination ahead and ask the rider to make gentle direction changes while gliding.
- Stopping: Practise slowing with the bicycle’s brakes, stopping in control and putting feet down.
- Pedalling: Once gliding is steady, have the child set a pedal in a comfortable starting position, push away and begin pedalling while looking ahead.
Stay beside the rider and, if support is requested, steady the child lightly around the torso rather than steering the handlebar for them. Reduce that support as balance improves. Avoid secretly letting go; tell the child before changing how much help you provide.
Compare progress between sessions
Watch for practical improvements: longer glides, straighter steering, controlled stops, smoother starts and fewer reminders to look ahead. Work on one weak point at a time. If starting remains difficult but gliding is controlled, repeat starts rather than returning to every earlier exercise.
End a session when concentration or confidence drops, even after only a few successful attempts. A calm finish preserves progress. After a fall, check the child, helmet and bicycle before continuing; replace or inspect equipment according to its manufacturer’s instructions.
When these training-wheel bikes are relevant
The supplied catalog choices are relevant when comparing complete training-wheel bicycles in 12, 14 or 16 Inch labels. Blue XJD Girls Bike with Training Wheels – 12/14/16 Inch, XJD Boys 12/14/16" Training Wheel Bike – Blue and Black XJD Kids Bike for Boys – 12, 14 & 16 Inch Sizes each offer those same three listed size options. Their titles and size labels do not establish individual fit, readiness or suitability.
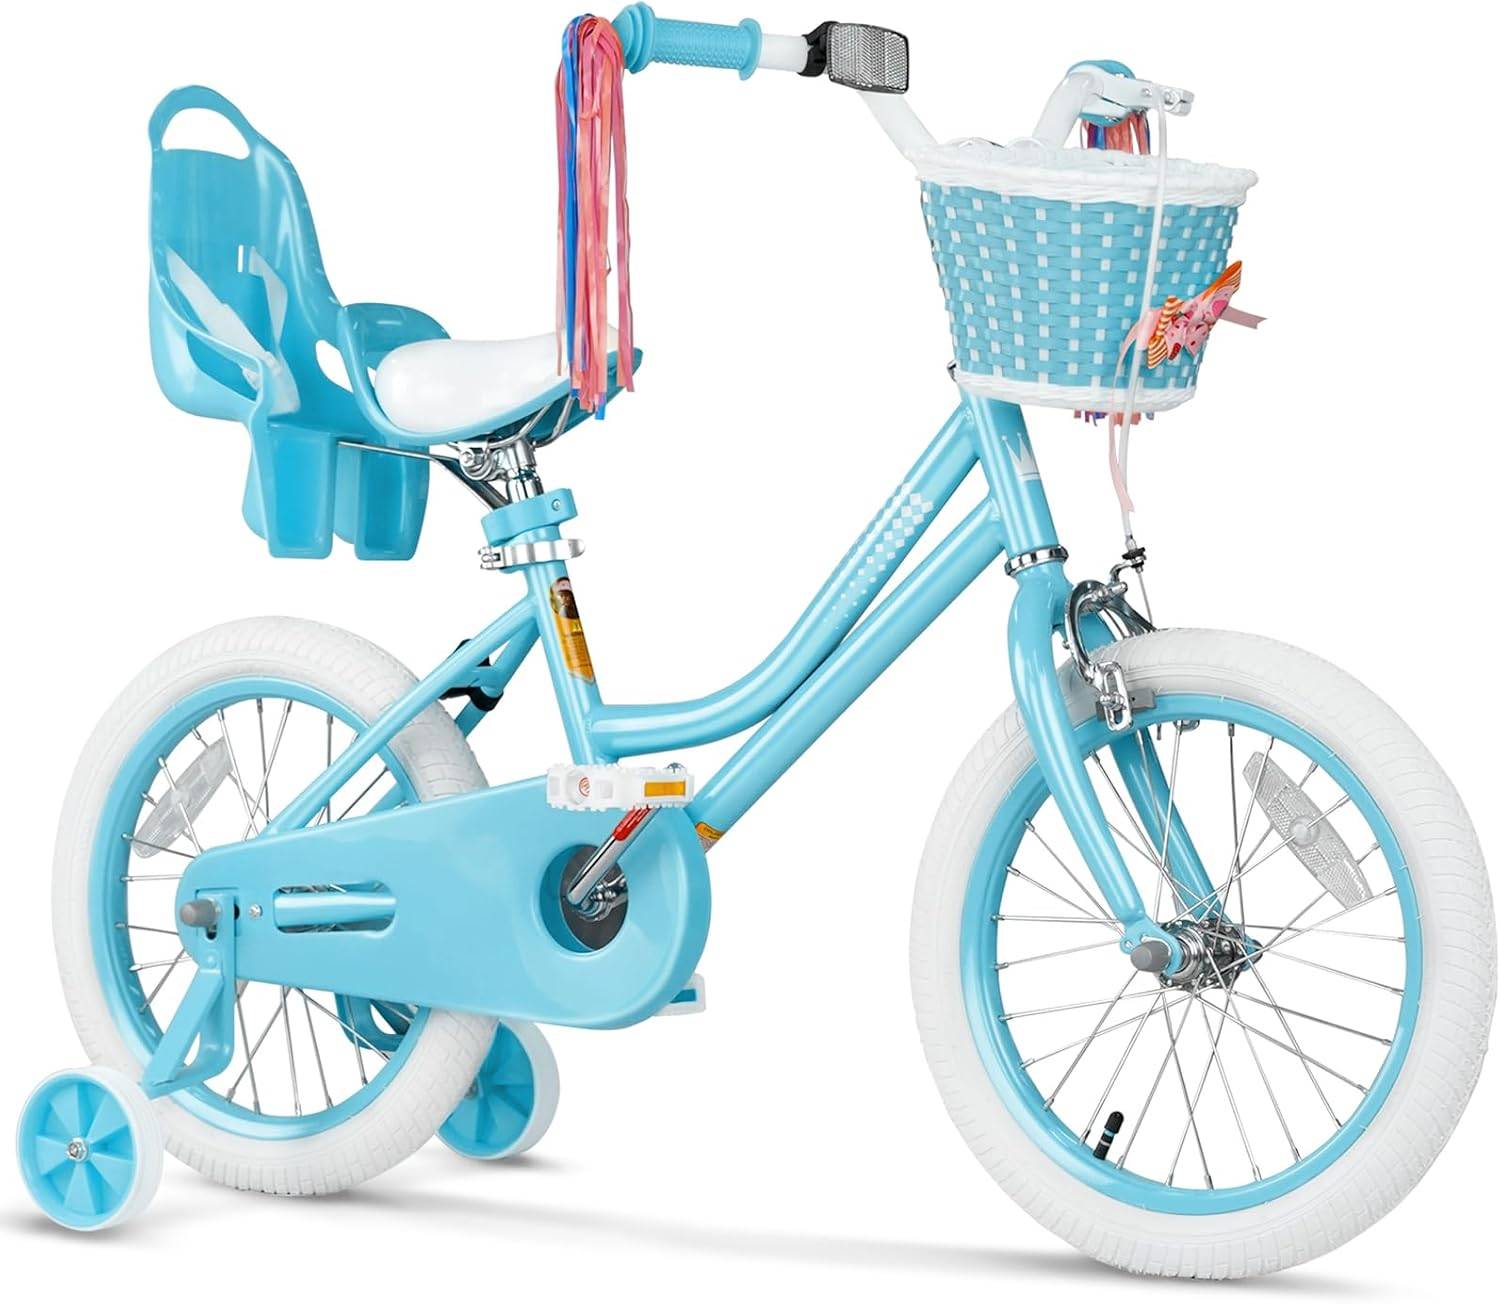 Blue XJD Girls Bike with Training Wheels – 12/14/16 Inch
A training-wheel bicycle offered in 12, 14 and 16 Inch labels. Compare the rider’s measurements with the XBikes starting points, then confirm individual stand-over, reach, brake control and confidence.
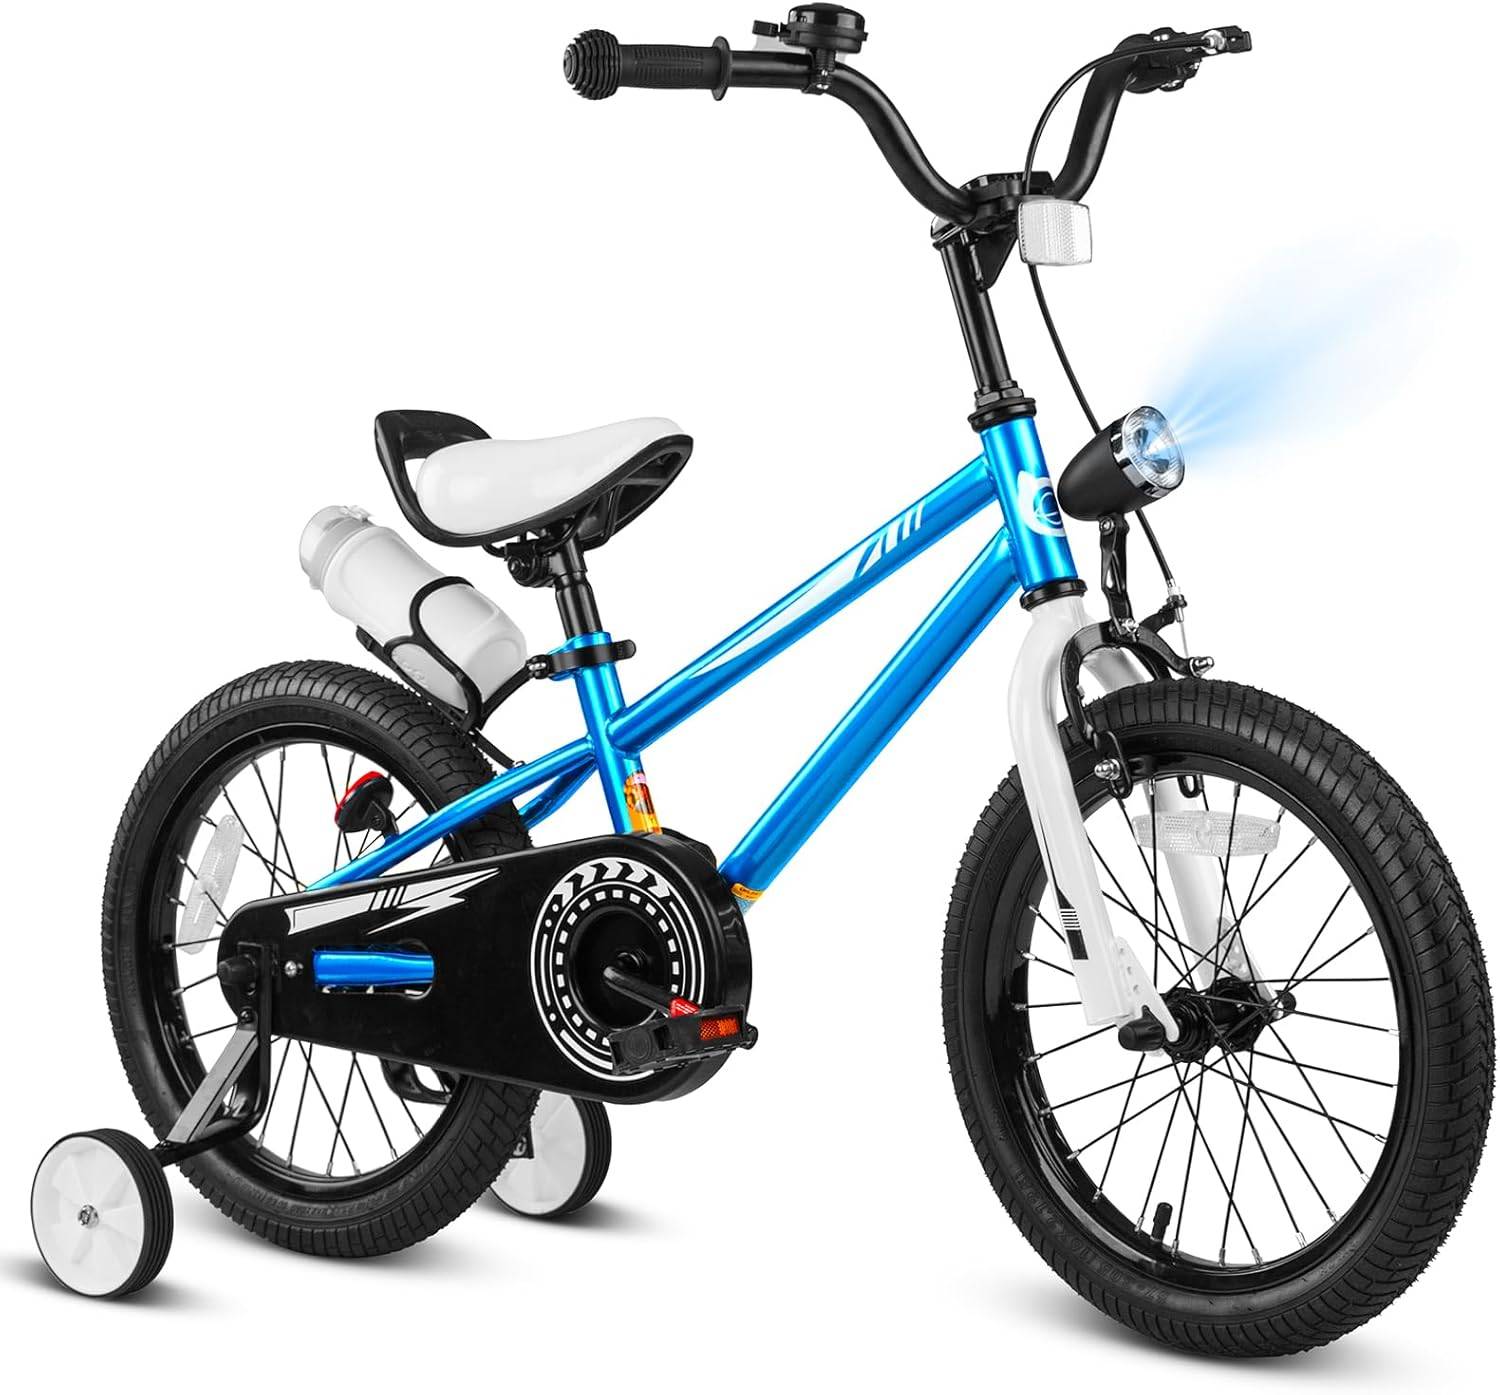 XJD Boys 12/14/16" Training Wheel Bike – Blue
This blue training-wheel bike is listed in 12, 14 and 16 Inch options. Its size choices make it relevant for fit comparison, but the rider still needs an individual physical check.
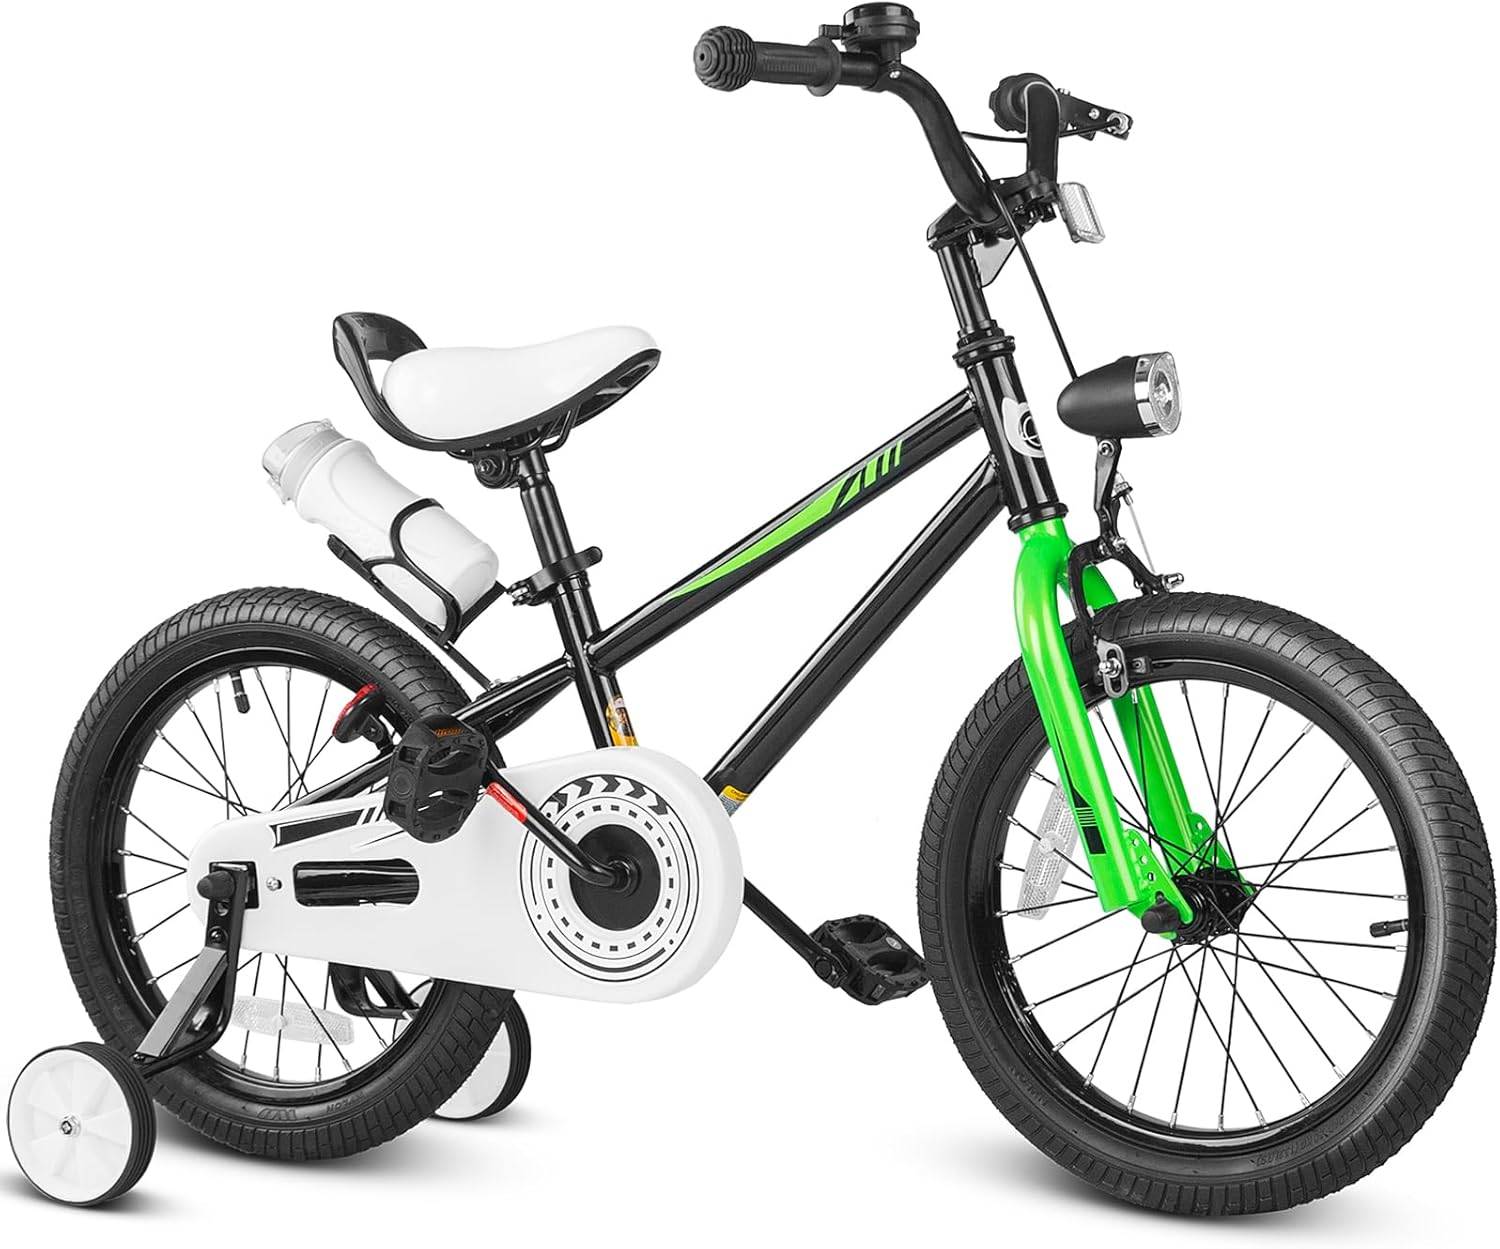 Black XJD Kids Bike for Boys – 12, 14 & 16 Inch Sizes
A kids training-wheel bicycle with listed 12, 14 and 16 Inch sizes. Use measured height only as a starting point and verify inseam, reach, braking control and current confidence.
Measure first, compare the rider with the 12, 14 and 16 Inch starting points, and then have the child try the chosen bicycle for stand-over clearance, reach and brake control. These products are relevant only if one of their listed sizes fits that individual rider and training wheels are still useful. If the current bike already fits and the child is ready, follow its manual to remove the stabilisers and begin with balance-and-glide practice.
Recommended products
-
Save 12%
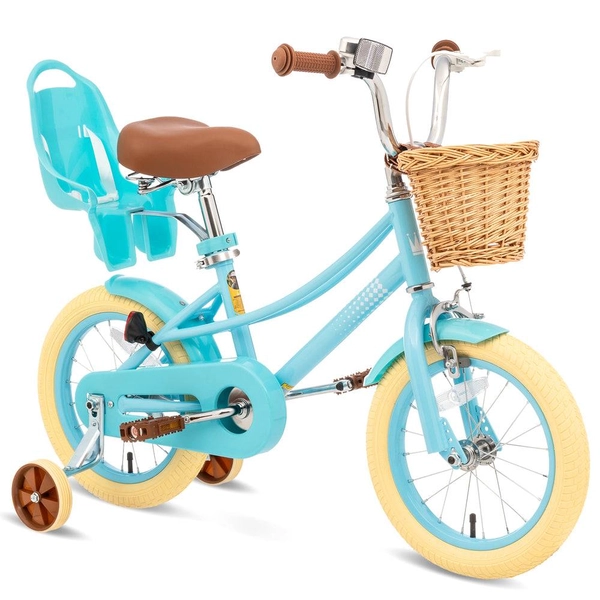
Girls' Training Wheel Bike by XJD, 12–20 Inch Wheels – Blue
This XJD girls' training wheel bike in Blue covers one of the widest fit ranges …
Training Wheel Bikes Wheel Size 12 Inch / 14 Inch / 16 Inch / 20 Inch Recommended Height 86–152 cm Training Wheels Yes 12 Inch -
Save 15%
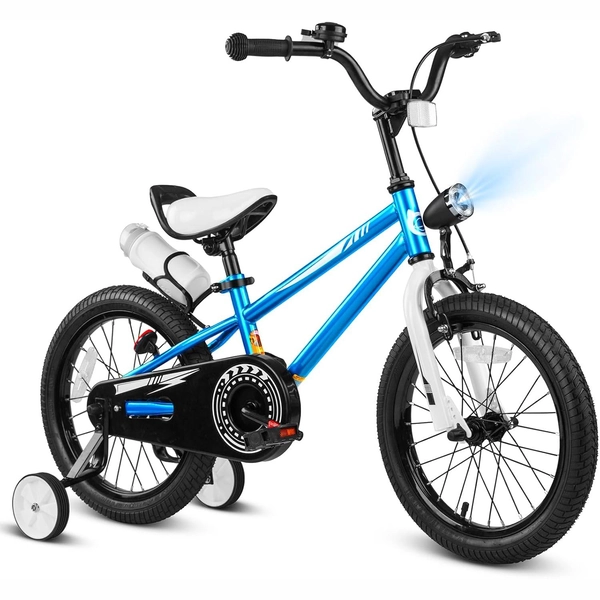
XJD Boys 12/14/16" Training Wheel Bike – Blue
The XJD Boys Bike in Blue is a training wheel bike for riders 71–122 cm tall—rou…
Training Wheel Bikes Wheel Size 12 Inch / 14 Inch / 16 Inch Recommended Height 86–122 cm Training Wheels Yes 16 Inch -
Save 15%
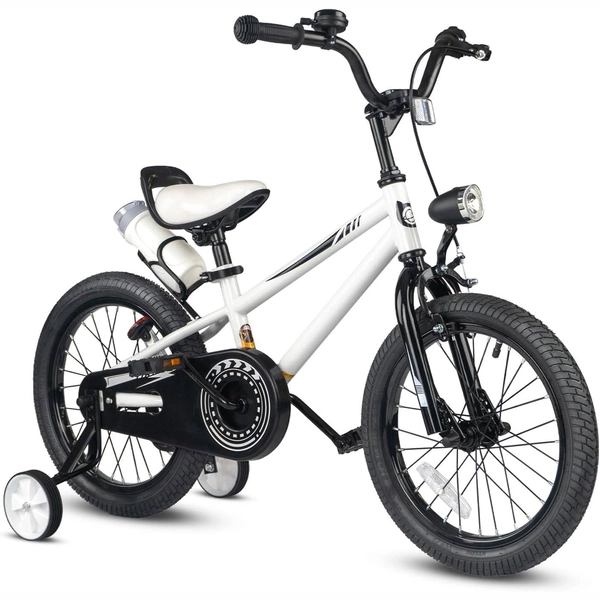
XJD Kids' Training Wheel Bike for Boys & Girls, 12/14/16 Inch – White
The XJD kids' training wheel bike in White is made for riders ages 3–8 (roughly …
Training Wheel Bikes Wheel Size 12 Inch / 14 Inch / 16 Inch Recommended Height 86–122 cm Training Wheels Yes 14 Inch -
Save 12%
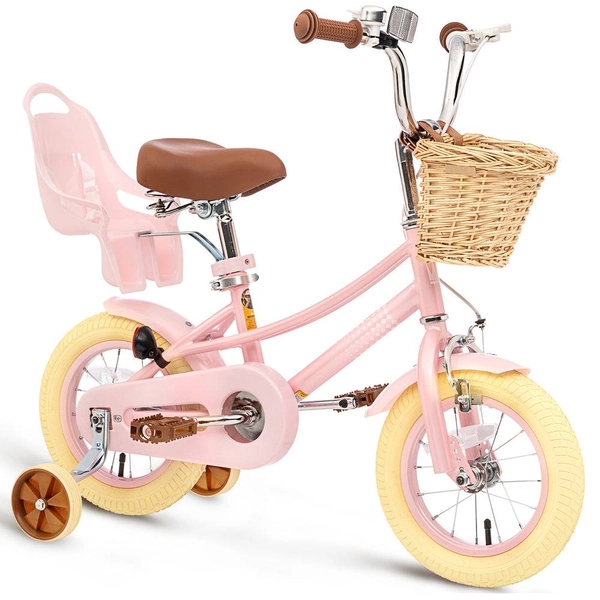
XJD Kids Bike for Girls – Pink, 12/14/16/20 Inch with Training Wheels
The XJD Kids Bike for Girls in Pink is a training-wheel bike built to carry your…
Training Wheel Bikes Wheel Size 12 Inch / 14 Inch / 16 Inch / 20 Inch Recommended Height 86–152 cm Training Wheels Yes 12 Inch