What age do kids start riding bikes without training wheels
There is no single correct age for riding without training wheels. A child is ready when the bike fits, they can balance and steer, and they can start, stop and brake with control.
Readiness matters more than a birthday
Age can provide a wheel-size starting point, but it cannot determine when training wheels should come off. Two children of the same age may have different balance, coordination, confidence and experience.
Look for a rider who can keep the bicycle upright with little support, steer where intended, look ahead, place a foot down when needed and use the brakes without struggling to reach them. Hesitation is not failure; it means the child may benefit from more short, pressure-free practice.
Measure fit before removing the training wheels
Measure the child’s standing height and inseam, then have them try the actual bicycle. Check that they can stand over it comfortably, reach the handlebars without stretching, turn the bars while remaining balanced and operate the brakes confidently. The American Academy of Pediatrics advises against buying an oversized bicycle for a child to grow into.
Use these XBikes ranges only as starting points, followed by an individual fit check:
| Wheel size | Starting age | Rider height |
|---|---|---|
| 12 Inch | 3–4 | 34–40 in / 86–102 cm |
| 14 Inch | 3–6 | 37–45 in / 94–114 cm |
| 16 Inch | 4–7 | 40–48 in / 102–122 cm |
| 18 Inch | 5–9 | 43–52 in / 109–132 cm |
| 20 Inch | 7–12 | 48–60 in / 122–152 cm |
| 24 Inch | 10–14 | 54–64 in / 137–163 cm |
| 26 Inch | Youth and adults | Over 60 in / 153 cm |
If age and measured height point toward different sizes, prioritize measured height, inseam, reach, brake control and current confidence. A familiar, correctly fitting smaller bike may be easier to control than an oversized replacement.
Use a simple readiness check
- Check the fit: confirm stand-over clearance, comfortable reach and easy access to the brakes.
- Test basic control: ask the child to steer, stop and put a foot down on command.
- Observe balance: with appropriate adult supervision, see whether the child can stay centered instead of depending continuously on the training wheels.
- Listen to the rider: proceed when they are willing to try; pause if fear is causing stiff steering or panic braking.
Practice in a flat, open area away from traffic and obstacles. Keep sessions brief and end before fatigue reduces control. Follow the exact bicycle manual for training-wheel adjustment or removal; if the instructions are missing or the setup is uncertain, use a qualified bicycle mechanic rather than inventing a procedure or torque setting.
How the supplied bikes help with the decision
The catalog options are relevant when a child still needs training wheels or when you are comparing a correctly fitting training-wheel bike before the transition. They provide overlapping wheel-size choices, allowing the child’s measurements to guide the comparison instead of choosing by age alone.
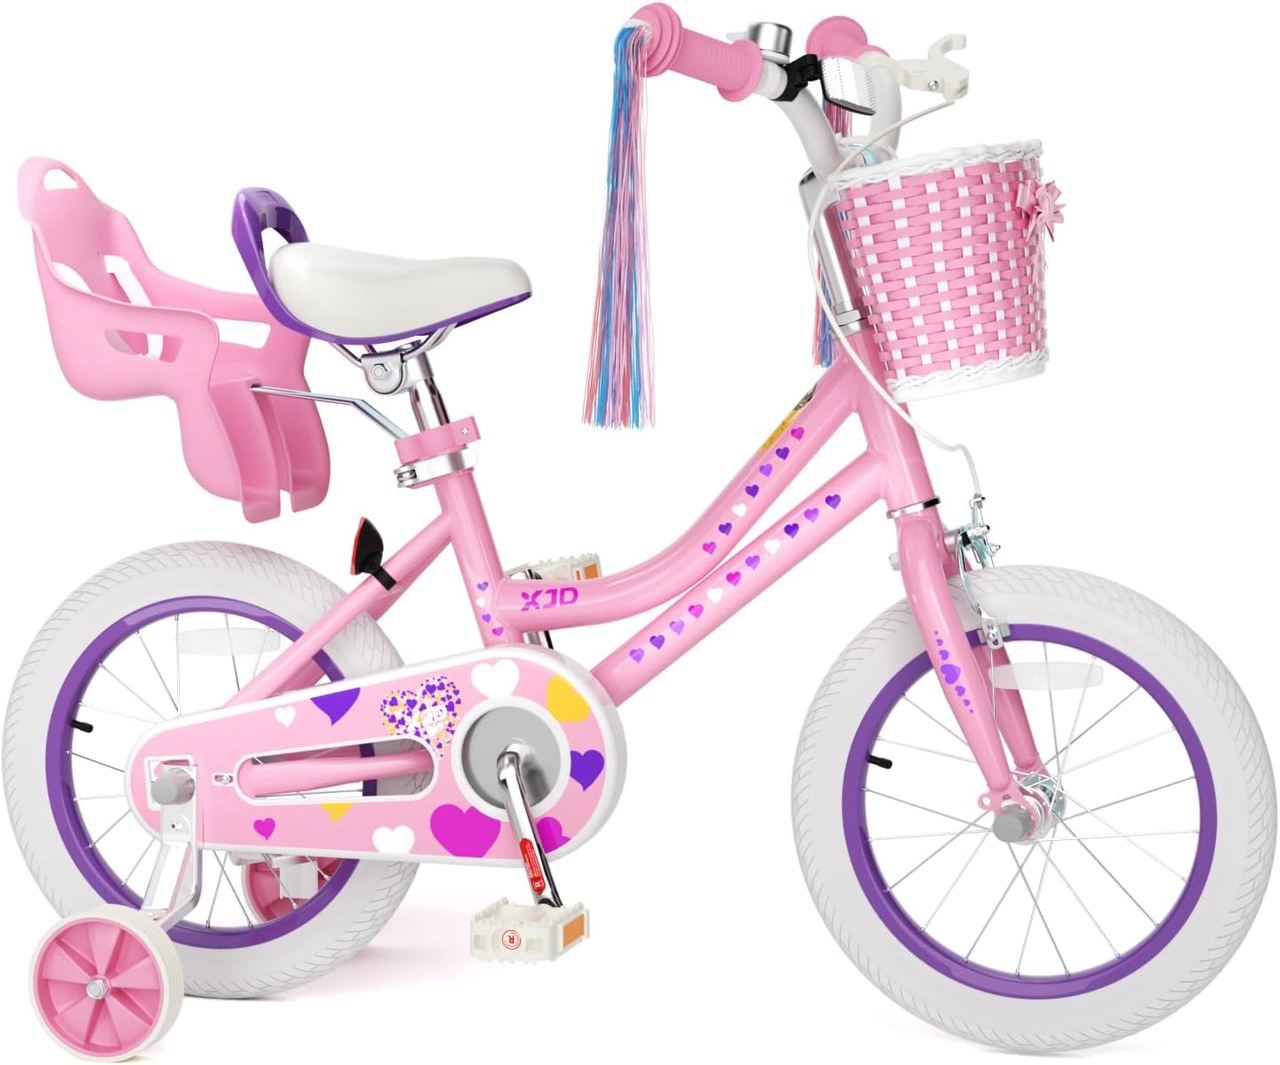 Pink Girls' 12/14/16" Bike by XJD – Basket & Doll Seat
Offers 12, 14 and 16 Inch size labels for comparing a training-wheel bike against the rider’s measured height and individual fit. It does not provide a 20 Inch option.
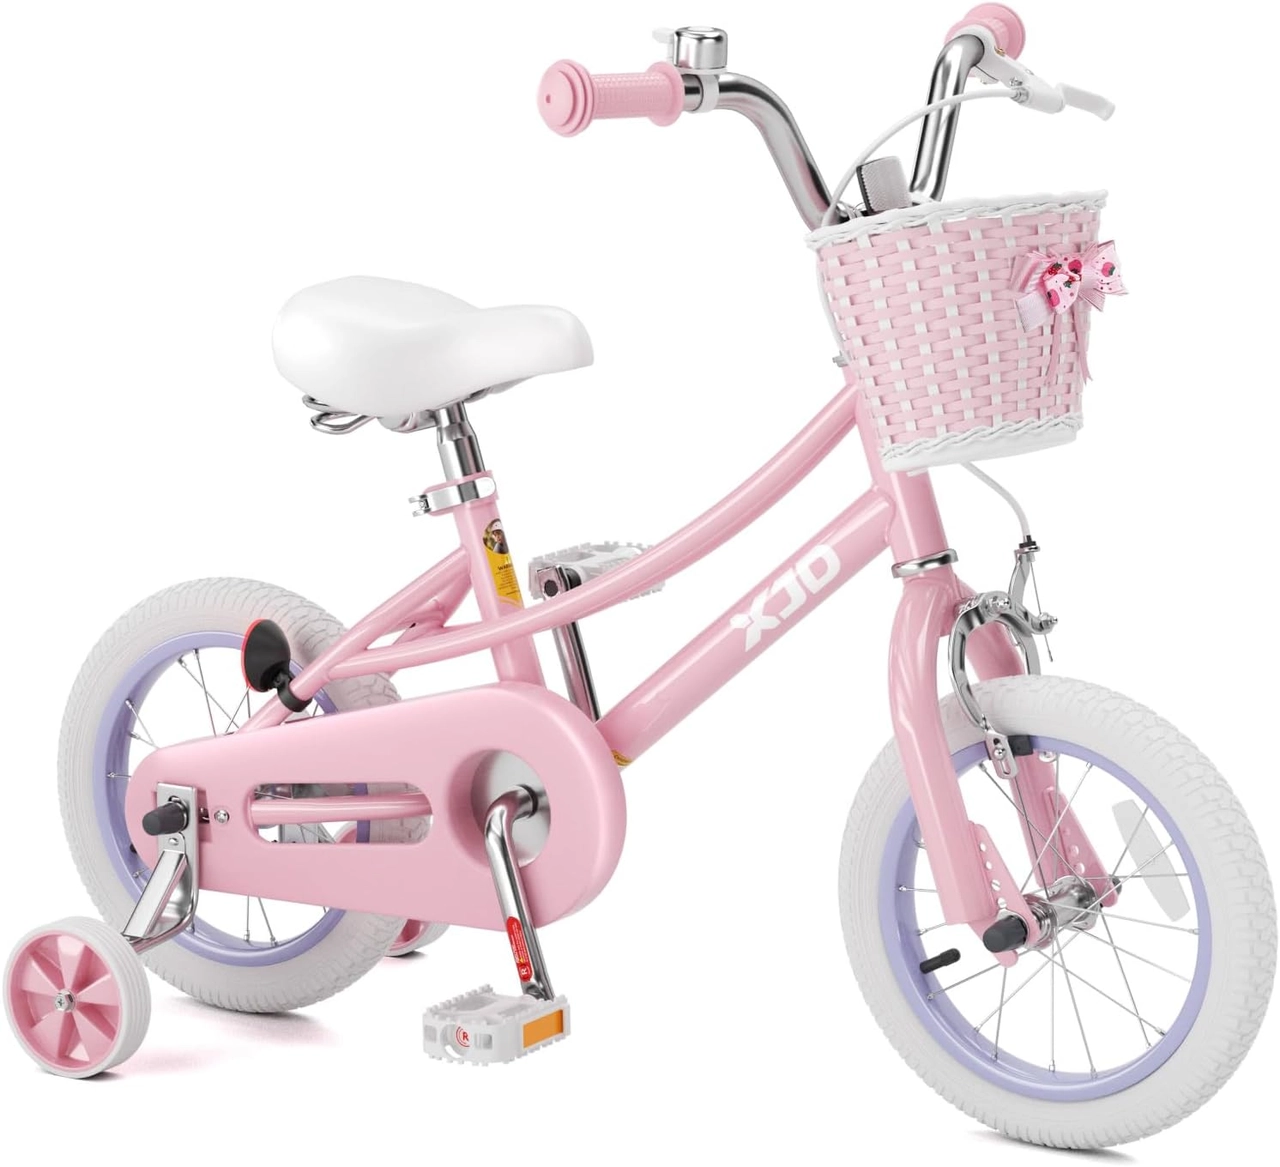 Pink 12/14/16/20" XJD Girls Bike with Training Wheels & Basket
Offers 12, 14, 16 and 20 Inch size labels, making it relevant for measurement-led comparison across four XBikes starting ranges. The exact bicycle still requires a fit and control check.
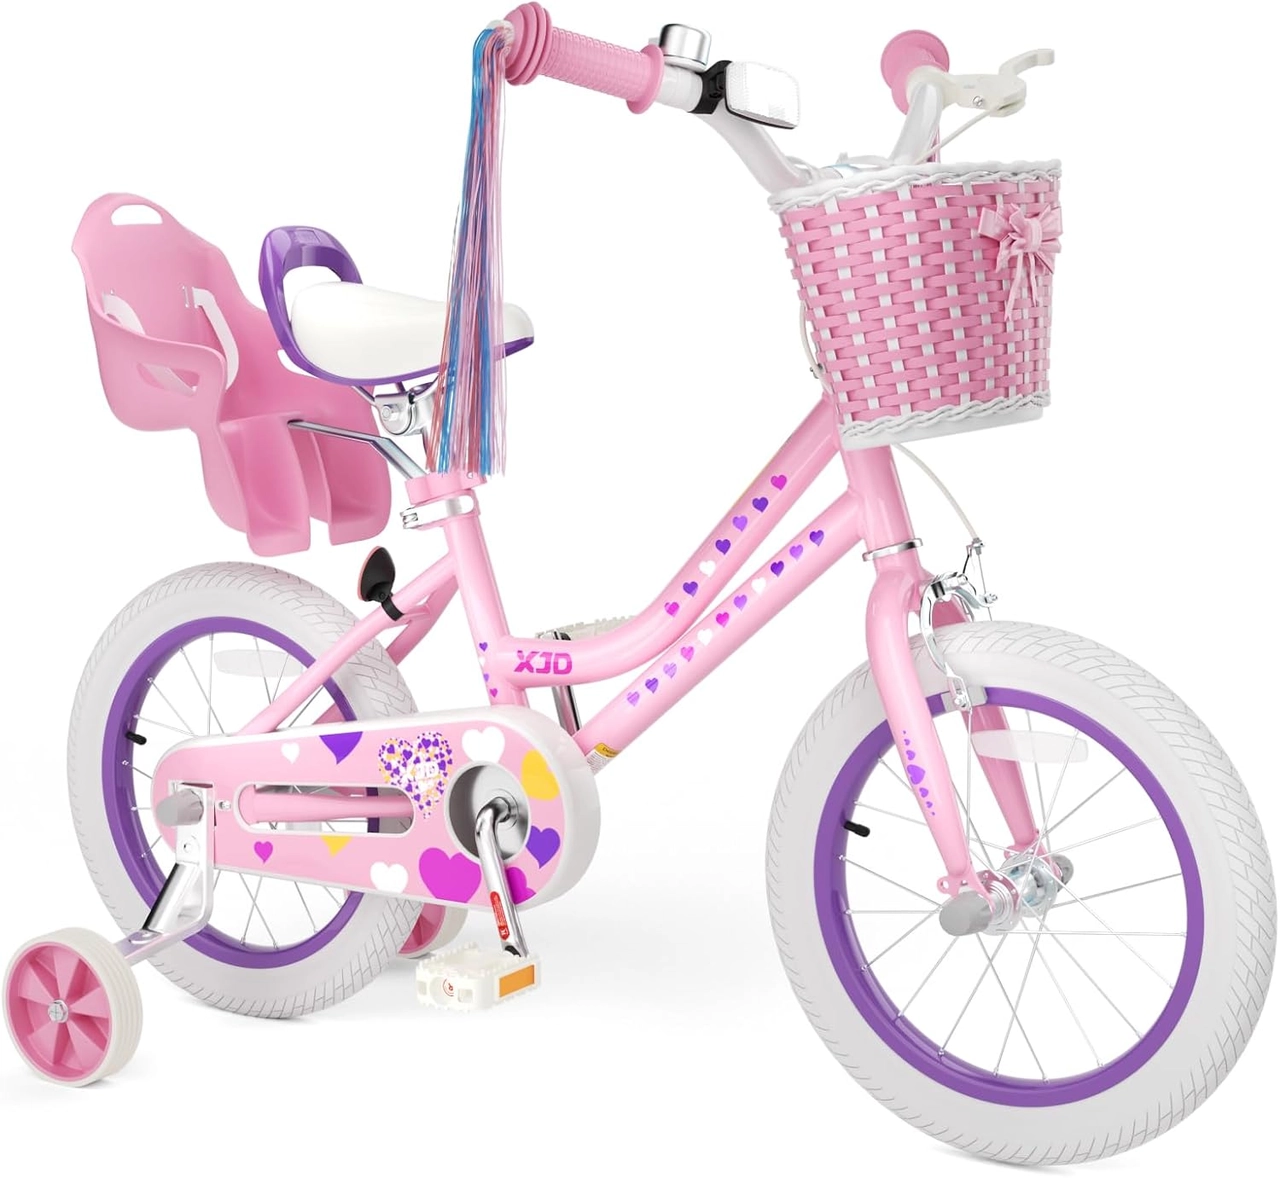 Light Pink XJD Girls' Bicycle with Basket & Training Wheels
A training-wheel bicycle offered in 12, 14, 16 and 20 Inch labels. Use the rider’s height, inseam, reach, brake control and confidence to assess the exact size.
Pink Girls' 12/14/16" Bike by XJD – Basket & Doll Seat is offered in 12, 14 and 16 Inch labels. Pink 12/14/16/20" XJD Girls Bike with Training Wheels & Basket and Light Pink XJD Girls' Bicycle with Basket & Training Wheels each offer 12, 14, 16 and 20 Inch labels. Those labels identify available size choices, not proof that a particular child fits.
The two options extending to 20 Inch may be comparison points for a rider whose measured height falls in the 20 Inch starting range. The first option stops at 16 Inch. Do not substitute one wheel size for another merely because both products include training wheels; have the child try the exact size and confirm reach, stand-over position and brake control.
When these products are not the answer
These products are not automatically relevant just because a child is learning. They may be unsuitable if none of their offered wheel sizes matches the rider’s measurements, if the child cannot control the exact bike during a fit check, or if the child already rides confidently without training wheels and does not need this category.
For assembly, maintenance, compatibility and adjustment details not provided here, use the exact product manual or a qualified bicycle mechanic. Do not infer those details from a product title.
What to do next
Measure height and inseam, compare the result with the wheel-size starting points, and arrange an exact-bike fit check. Before every ride, use a properly fitting bicycle helmet that sits level, with straps positioned according to the helmet manufacturer’s instructions, as advised by the U.S. Consumer Product Safety Commission.
If the child fits the bike, controls the brakes and steering, balances with little reliance on the training wheels and wants to try, begin supervised practice without them. If any one of those checks fails, keep practicing or correct the fit first—the decision should follow demonstrated control, not age.
Recommended products
-
Save 16%
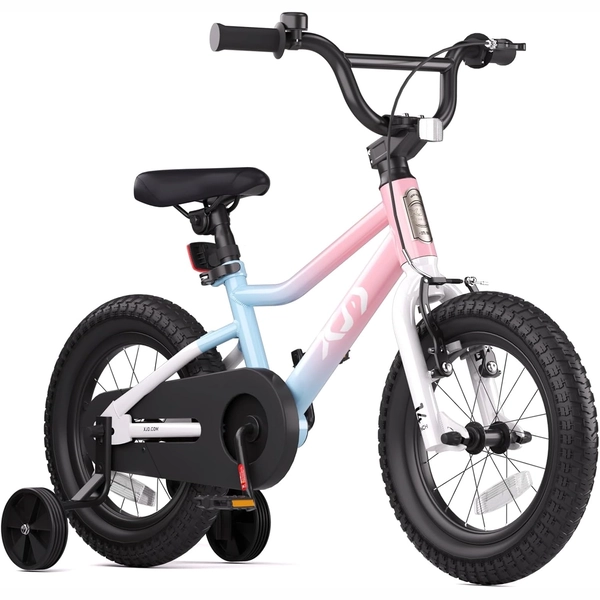
XJD Girls BMX Bike 12/14/16 Inch with Training Wheels – Pink Blue
The XJD Girls BMX Bike in Pink/Blue is built as a first pedal bike for kids roug…
Kids' BMX Bikes Wheel Size 12 Inch / 14 Inch / 16 Inch Recommended Height 86–122 cm Training Wheels Yes Single Speed 12 Inch -
Save 11%
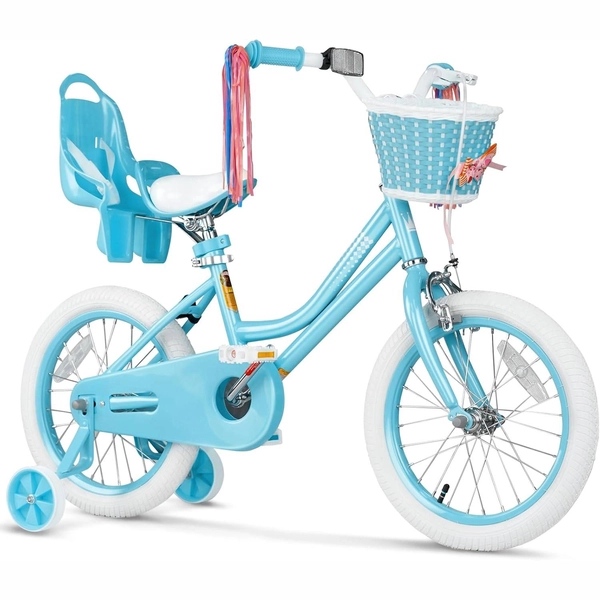
Blue XJD Girls Bike with Training Wheels – 12/14/16 Inch
If you're shopping for a first pedal bike for a daughter roughly 3 to 8 years ol…
Training Wheel Bikes Wheel Size 12 Inch / 14 Inch / 16 Inch Recommended Height 86–122 cm Training Wheels Yes 16 Inch -
Save 5%
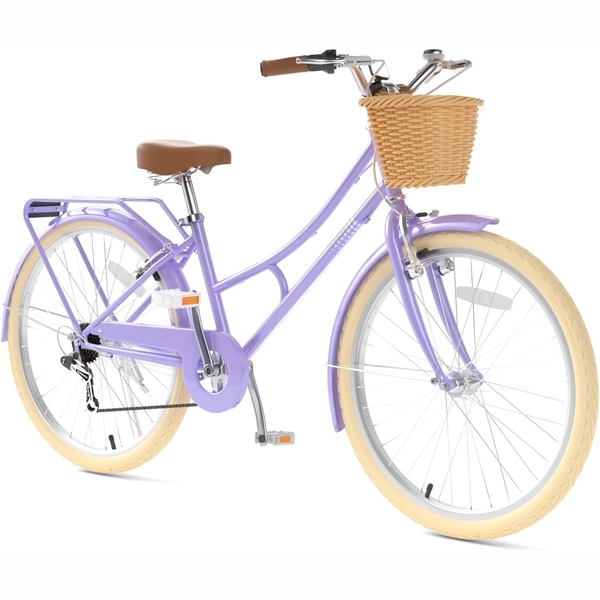
26-Inch XJD Beach Cruiser Bike for Girls – Purple, V-Brake
This XJD 26-inch purple beach cruiser is sized for big kids and teens — suggeste…
Beach Cruiser Bikes Wheel Size 20 Inch / 24 Inch / 26 Inch Recommended Height 122–200 cm Training Wheels No Geared Purple / 26 Inch -
Save 14%
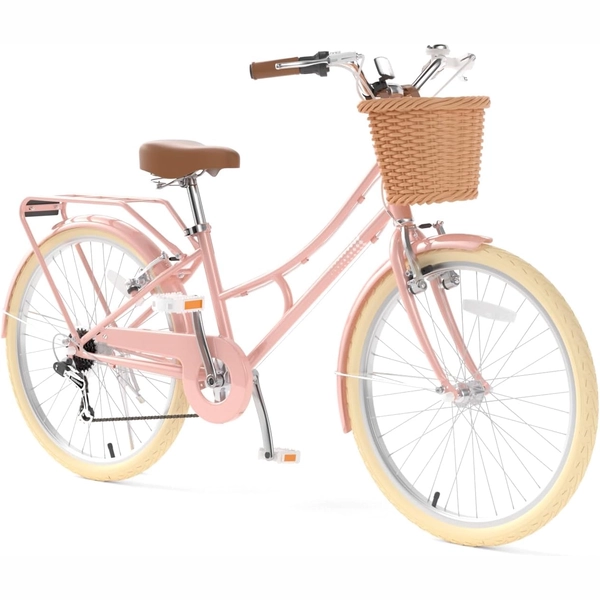
XJD Pink Beach Cruiser for Girls – Rear Rack & V-Brake
The XJD Pink Beach Cruiser for girls is the step-up bike for riders who've outgr…
Beach Cruiser Bikes Wheel Size 20 Inch / 24 Inch / 26 Inch Recommended Height 122–200 cm Training Wheels No Geared 20 Inch