

What to look for on 20 boy's bike
For a 20-inch boy’s bike, first check the child’s measured height, inseam, stand-over clearance, reach, brake access and control—not age or the “boys’” label alone.
Start with the 20-inch size range
XBikes uses 20-inch wheels as a starting point for ages 7–12 and rider heights of 48–60 inches (122–152 cm). Height is more useful than age, but neither proves that a particular frame fits. Children with the same height can have different leg, arm and torso proportions.
Measure the child without shoes, standing straight against a wall. Record total height. Then measure the inseam from the floor to the crotch while the child stands with feet slightly apart. Use those measurements to select a likely wheel size, then have the child try the actual bicycle.
Do not move up to a larger bicycle simply to allow room for growth. An oversized bike can make mounting, stopping and steering harder.
Check the fit on the actual bicycle
With the child standing over the frame, confirm that there is comfortable clearance rather than contact with the top of the bicycle. The exact clearance requirement depends on the bicycle and its manual, so do not rely on a universal number.
Next, seat the rider and check whether the child can:
- Reach the handlebar without stretching, locking the elbows or leaning excessively forward.
- Turn the handlebar in both directions while remaining balanced and in control.
- Place feet down confidently when starting and stopping.
- Reach and operate the brakes without shifting the hands into an unstable position.
If the child looks cramped, stretched or hesitant during these checks, compare another frame or wheel size even when age and height fall within the starting range.
Compare the neighboring wheel sizes
| Wheel size | XBikes starting age | XBikes starting height |
|---|---|---|
| 18 Inch | 5–9 | 43–52 in / 109–132 cm |
| 20 Inch | 7–12 | 48–60 in / 122–152 cm |
| 24 Inch | 10–14 | 54–64 in / 137–163 cm |
The overlapping ranges are intentional starting points, not a rule that the sizes are interchangeable. A rider near an overlap should try the relevant bicycles and choose according to stand-over room, reach, brake control and confidence. Do not assume a 24-inch bike is appropriate merely because the child is approaching the upper end of the 20-inch age range.
Use the catalog choices as focused comparisons
Two supplied XBikes products make the decision concrete: one is explicitly a 20-inch kids’ BMX bike, while the other is a beach cruiser offered with 20-, 24- and 26-inch SKU labels. They help compare the requested size and bicycle categories after measurements identify which sizes deserve a fit check.
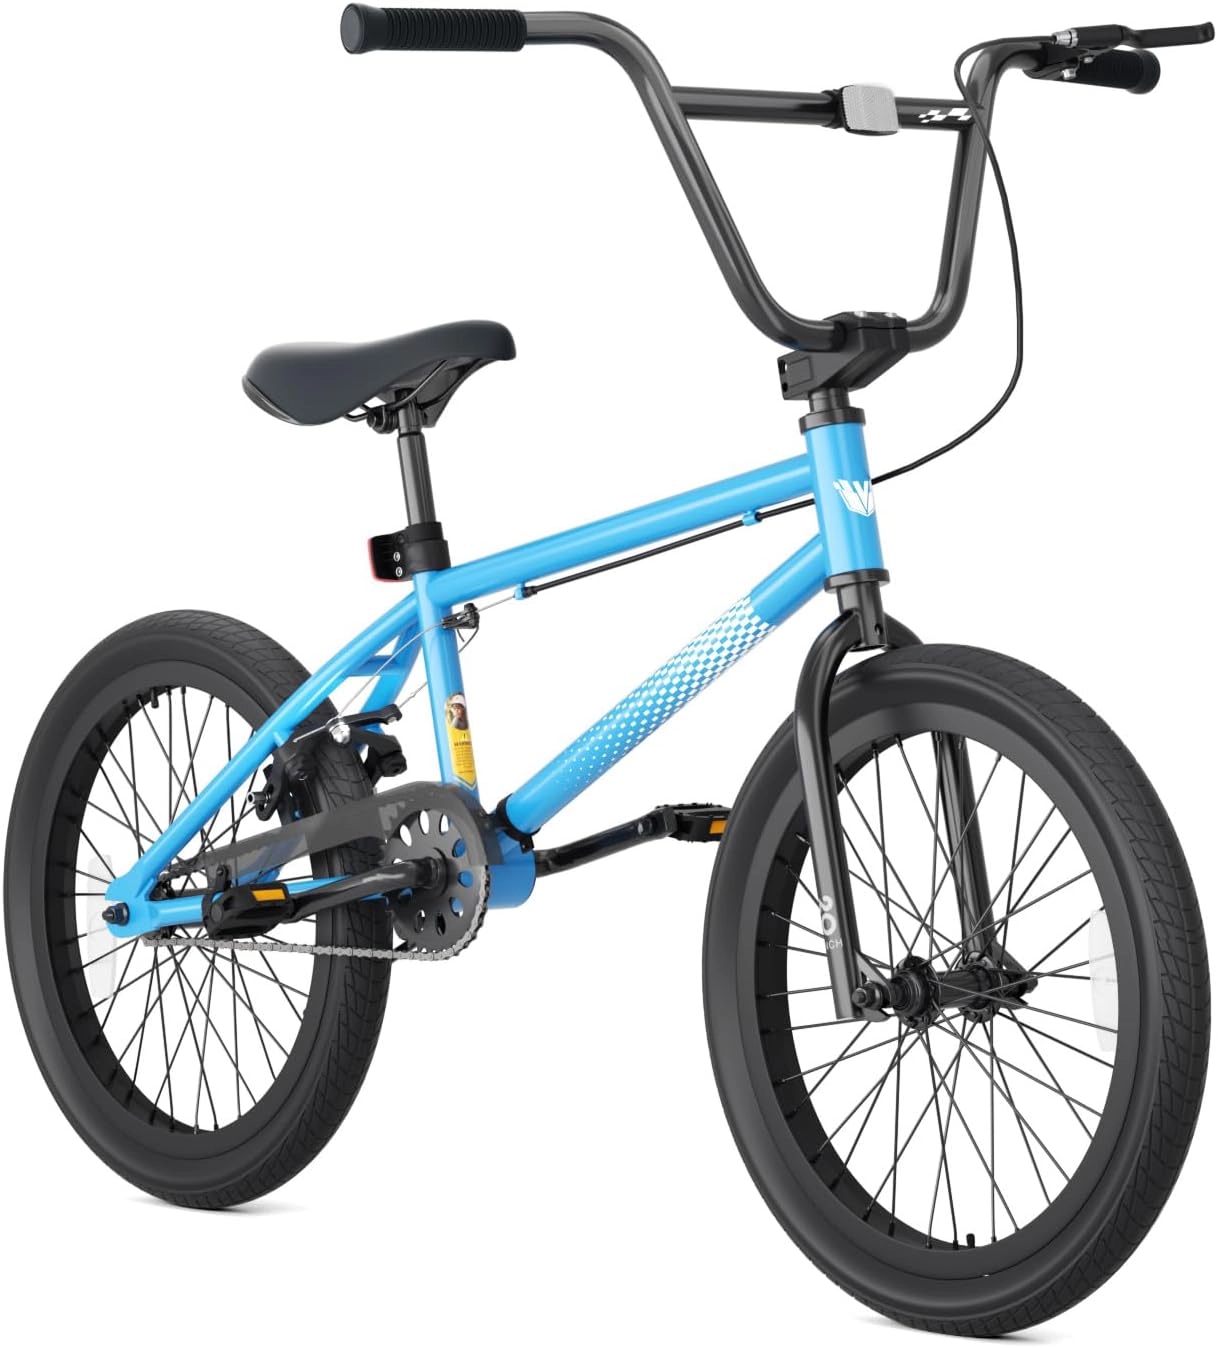 Blue XJD Freestyle BMX Bike, 20-Inch – No Pegs
A direct 20-inch comparison in the Kids’ BMX Bikes category. Its supplied title confirms a blue XJD freestyle BMX format and no pegs; final relevance depends on the child’s measurements and fit check.
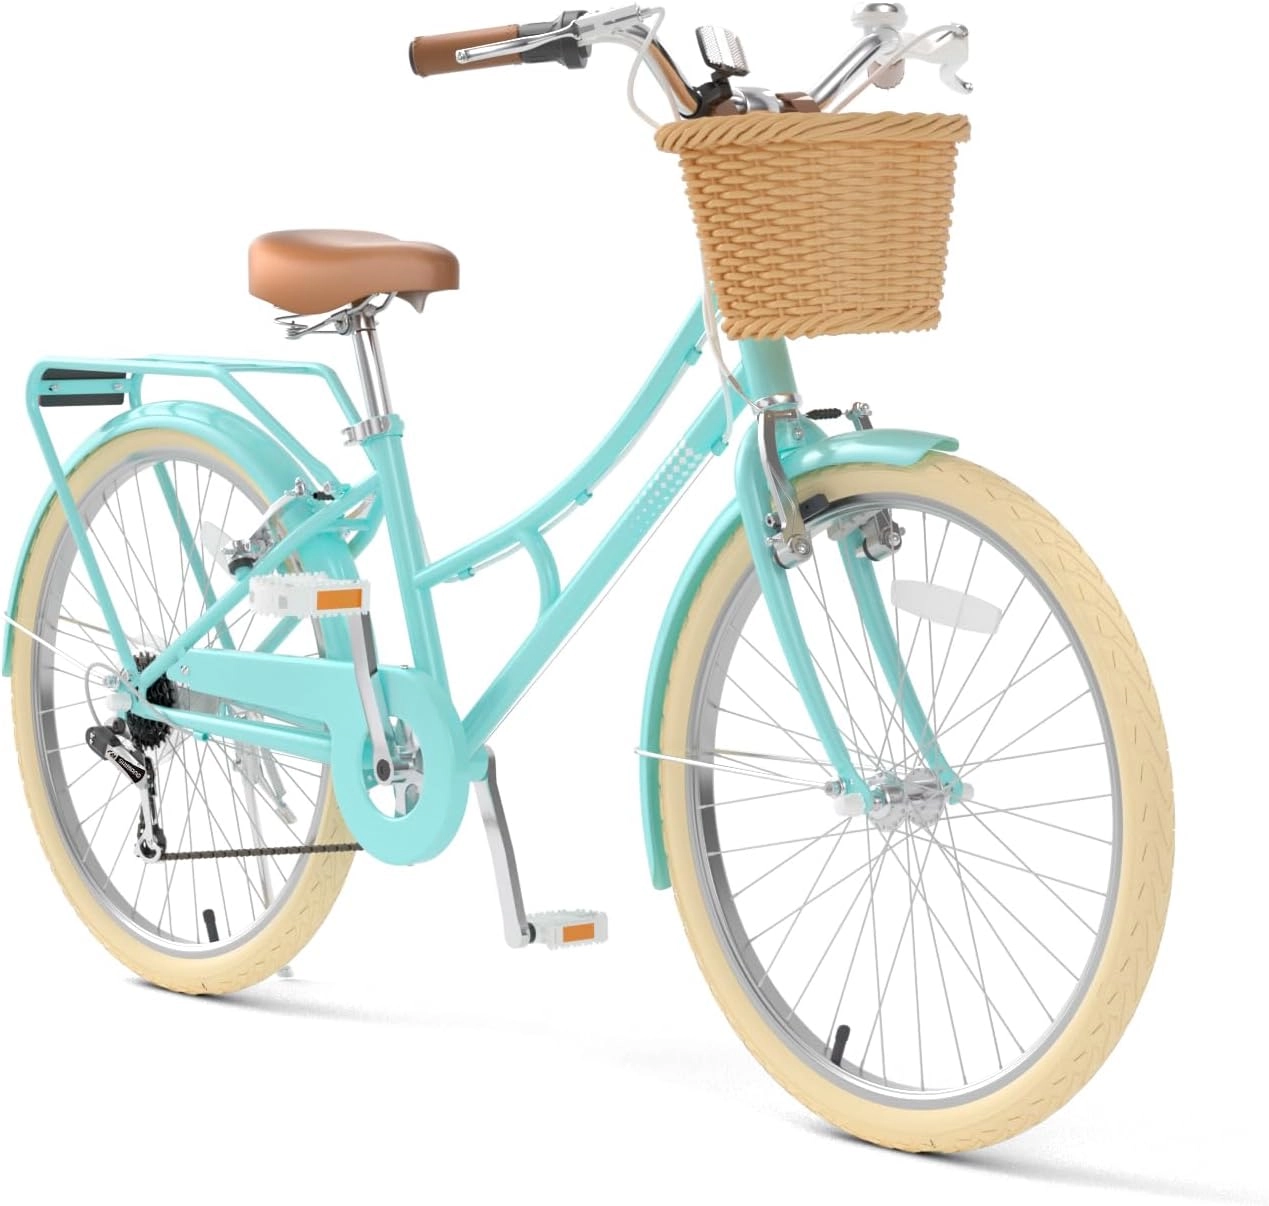 XJD Kids Beach Cruiser Bicycle, Rear Rack & V-Brakes, Mint Green
The 20 Inch SKU is relevant to the requested size, while its 24 Inch and 26 Inch SKUs are comparison sizes, not substitutes. Supplied facts identify a beach cruiser with rear rack and V-brakes.
The Blue XJD Freestyle BMX Bike, 20-Inch – No Pegs directly matches the requested 20-inch wheel label and belongs to the Kids’ BMX Bikes category. Its title also establishes that it has no pegs. Consider it when a 20-inch starting point is supported by the rider’s measurements and an individual trial confirms control.
The XJD Kids Beach Cruiser Bicycle, Rear Rack & V-Brakes, Mint Green belongs to the Beach Cruiser Bikes category and is offered in 20 Inch, 24 Inch and 26 Inch labels. Its 20 Inch option is relevant to this search; the larger options are comparison sizes, not equivalent substitutes. The supplied facts also identify a rear rack and V-brakes, but the rider must still demonstrate comfortable brake reach and operation.
These catalog details do not establish frame dimensions, bicycle weight, load limits, adjustability or assembly requirements. Check the exact product manual for those details. Use a qualified bicycle mechanic when assembly, adjustment, compatibility or maintenance instructions are unclear.
Confirm control before deciding
Arrange a supervised trial in a clear, low-traffic area. Ask the child to mount, start, ride straight, turn both ways, brake smoothly and dismount. Watch for wobbling caused by an awkward reach, difficulty squeezing or operating the brakes, or repeated trouble putting a foot down. Current confidence matters: fitting within a numerical range does not mean the rider is ready for every bicycle in that range.
Repeat the check after any allowed seat or handlebar adjustment, following the product manual. If acceptable control requires an adjustment outside the manual’s limits, reject that bicycle rather than improvising.
Finish with helmet and manual checks
Before riding, provide a bicycle helmet that fits properly, sits level and has straps adjusted according to the helmet manufacturer’s instructions. Inspect and maintain the bicycle as directed by its exact manual; use a qualified bicycle mechanic for procedures or specifications the supplied catalog information does not cover.
The next step is simple: record height and inseam, shortlist the 20-inch option only if the range supports it, and buy only after the child proves stand-over clearance, comfortable reach, reliable brake control and confident starting, turning and stopping.
Bikes for your next adventure
-
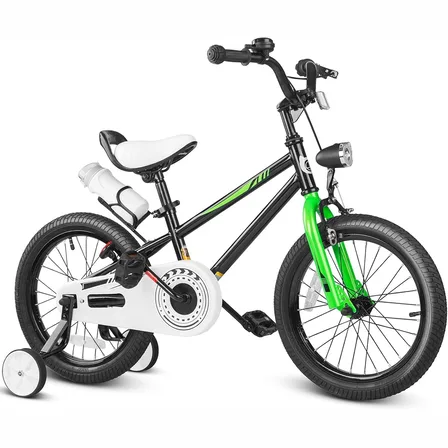
Black XJD Kids Bike for Boys – 12, 14 & 16 Inch Sizes
For a son between roughly 3 and 8 years old, the XJD Kids Bike in Black covers t…$169
$199 -
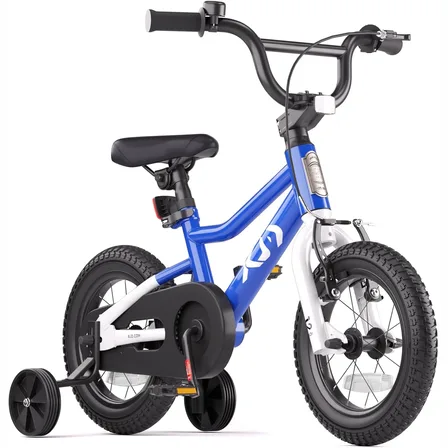
XJD Boys & Girls BMX Bike with Training Wheels, 12/14/16" – Blue
The XJD Boys & Girls BMX Bike in Blue is a first pedal bike for kids roughly age…$99.99
$119.99 -
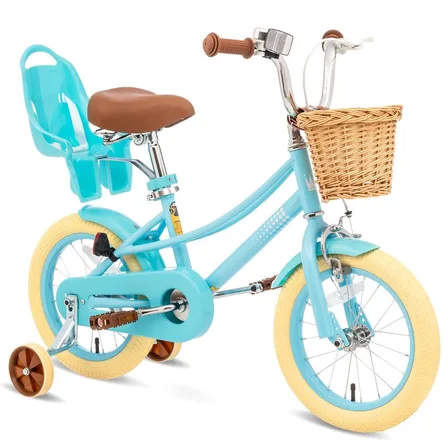
Girls' Training Wheel Bike by XJD, 12–20 Inch Wheels – Blue
This XJD girls' training wheel bike in Blue covers one of the widest fit ranges …$139
$159