

How to buy a bike for a child'
To buy a bike for a child, measure the child’s height and inseam, shortlist the matching wheel size, then confirm stand-over clearance, reach, braking control and confidence on the actual bike. Do not size up simply for future growth.
Measure before choosing a wheel size
Have the child wear the shoes they will normally ride in. Measure standing height on a level floor. For inseam, measure from the floor to the crotch with the child standing upright. Record both measurements rather than relying on age or clothing size.
Height narrows the search, but inseam helps you judge whether the child can stand over and manage a particular frame. Bicycle geometry can differ even when two models share a wheel size, so measurements do not replace trying the bike.
Use wheel size as the starting point
| Wheel size | Starting age | Rider height |
|---|---|---|
| 12 Inch | 3–4 | 34–40 in / 86–102 cm |
| 14 Inch | 3–6 | 37–45 in / 94–114 cm |
| 16 Inch | 4–7 | 40–48 in / 102–122 cm |
| 18 Inch | 5–9 | 43–52 in / 109–132 cm |
| 20 Inch | 7–12 | 48–60 in / 122–152 cm |
| 24 Inch | 10–14 | 54–64 in / 137–163 cm |
| 26 Inch | Youth and adults | Over 60 in / 153 cm |
Where ranges overlap, compare both sizes in person if possible. Favor the bike the child can control confidently now. Age is only a starting clue; measured height, inseam, reach, brake control and current riding confidence have priority.
Check the fit on the actual bicycle
Ask the child to stand over the bicycle with both feet stable on the ground. There should be usable clearance rather than contact or an awkward tiptoe stance. Then seat the child and check that the handlebars can be reached without a strained posture or excessive stretching.
Have the child demonstrate that they can steer, start, stop and operate the brakes without shifting into an unstable position. Brake controls must be comfortably within reach and manageable by the child’s hands. If control looks forced, compare a different size or model rather than assuming practice will solve a poor fit.
This follows pediatric guidance to let the child try the bicycle and avoid buying an oversized model for growth. A bike that fits later but is difficult to control today is not the right purchase today.
Compare the supplied training-wheel options
The supplied catalog choices are relevant when you want a training-wheel bike and the fit check points to 12, 14 or 16 Inch wheels; one option also extends to 20 Inch. Their listed size choices make them useful comparisons after measuring the rider, but their titles and wheel labels cannot confirm fit by themselves.
 Light Pink XJD Girls' Bicycle with Basket & Training Wheels
Relevant for riders whose fit check supports a 12, 14, 16 or 20 Inch training-wheel bike; its catalog title also identifies a basket.
 Blue XJD Girls Bike with Training Wheels – 12/14/16 Inch
A training-wheel option in 12, 14 and 16 Inch sizes. Use the child’s measurements and an actual-bike control check to choose among them.
 XJD Boys 12/14/16" Training Wheel Bike – Blue
A blue training-wheel bike listed in 12, 14 and 16 Inch options. Its title wording does not establish fit for an individual child.
- Light Pink XJD Girls' Bicycle with Basket & Training Wheels is listed in 12, 14, 16 and 20 Inch options. It is the only supplied product with a 20 Inch label and the only title that mentions a basket.
- Blue XJD Girls Bike with Training Wheels – 12/14/16 Inch is listed in 12, 14 and 16 Inch options. Compare it only when one of those wheel sizes matches the child’s measurements and actual-bike fit.
- XJD Boys 12/14/16" Training Wheel Bike – Blue is also listed in 12, 14 and 16 Inch options. The wording in its title is a catalog description, not evidence that it will fit a particular child.
None of these supplied choices is relevant if the child needs an 18, 24 or 26 Inch starting point, or if the child cannot achieve comfortable stand-over, reach and brake control on the available sizes. Training wheels should also match the child’s present skills and confidence rather than serving as a substitute for correct sizing.
Check safety and setup before riding
Choose a bicycle helmet made for cycling and confirm that it fits properly. Following U.S. Consumer Product Safety Commission guidance, position it level and adjust its straps according to the helmet manufacturer’s instructions. Recheck the fit whenever the child rides.
Before use, follow the exact bicycle manual for assembly, adjustments, maintenance, compatibility and any limits or torque requirements. If the instructions are missing, unclear or beyond your experience, use a qualified bicycle mechanic. Do not guess at safety-critical setup.
Make the purchase decision
- Record the child’s current height and inseam.
- Use the XBikes table to identify one or two candidate wheel sizes.
- Confirm stand-over clearance, comfortable reach, brake operation and controlled starting, steering and stopping on the actual bike.
- Reject any option that is oversized for growth or difficult to control.
- Select among the supplied products only if its available wheel label and individual fit check both agree.
Buy the bike the child can handle comfortably now; if none passes every fit and control check, take fresh measurements and continue comparing instead of compromising on size.
Bikes for your next adventure
-

Kids Bike Helmet by XJD for Boys & Girls – Black, Blue, Green, Pink, Purple
The XJD Kids Bike Helmet covers a wide 2-to-8-year age range thanks to two head-…$59.99
-
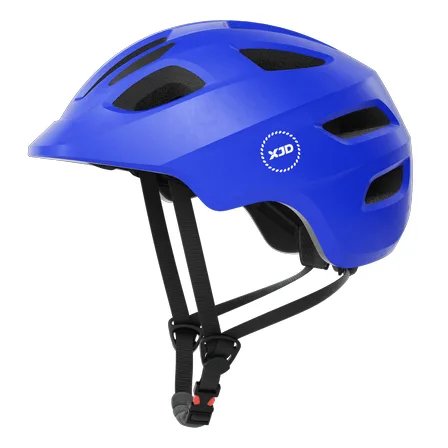
Blue XJD Kids Bike Helmet for Boys & Girls
The Blue XJD Kids Bike Helmet is a lightweight, adjustable multi-sport helmet fo…$59.99
$99 -
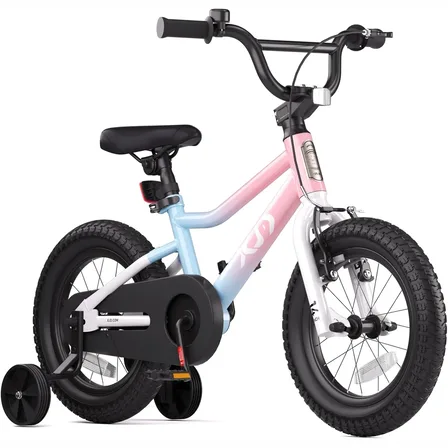
XJD Girls BMX Bike 12/14/16 Inch with Training Wheels – Pink Blue
The XJD Girls BMX Bike in Pink/Blue is built as a first pedal bike for kids roug…$99.99
$119.99