

How to determine bike size for toddler
Measure your toddler’s standing height and inseam, then compare height with the XBikes wheel-size starting points. Confirm the child can stand over, reach, steer and brake comfortably before choosing.
Measure the rider first
Use the child’s current measurements, without shoes, rather than relying on age or clothing size. Measure standing height from the floor to the top of the head. For inseam, have the child stand straight with feet slightly apart, then measure from the floor to the crotch.
Record both measurements in inches or centimetres. Height provides a starting wheel-size range; inseam helps you judge whether the child can clear the bicycle and place their feet securely. Bicycle geometry varies, so an inseam measurement does not produce a universal wheel size by itself.
Compare height with the XBikes starting points
| Wheel size | Starting age range | Rider height |
|---|---|---|
| 12 Inch | Ages 3–4 | 34–40 in / 86–102 cm |
| 14 Inch | Ages 3–6 | 37–45 in / 94–114 cm |
| 16 Inch | Ages 4–7 | 40–48 in / 102–122 cm |
| 18 Inch | Ages 5–9 | 43–52 in / 109–132 cm |
| 20 Inch | Ages 7–12 | 48–60 in / 122–152 cm |
| 24 Inch | Ages 10–14 | 54–64 in / 137–163 cm |
| 26 Inch | Youth and adults | Over 60 in / 153 cm |
For most toddlers within this table, 12 Inch or 14 Inch will be the first sizes to investigate. Overlapping ranges are intentional: they identify bicycles to try, not an automatic answer. Prioritize measured height, inseam, reach, brake control and current confidence over age alone.
Perform the fit check on the actual bicycle
Have the child try the assembled bicycle with close adult supervision. The American Academy of Pediatrics advises against buying an oversized bicycle for a child to grow into. A bicycle that looks economical for future growth may be difficult to mount, stop or control today.
- Check stand-over: With the child straddling the bicycle, confirm they can stand securely rather than being forced onto tiptoes or against the frame.
- Check the seated position: Confirm they can get on and off without struggling and can place their feet securely for their present skill level.
- Check reach: The child should hold the handlebars without stretching, locking the elbows or losing a stable posture.
- Check steering: Ask them to turn the handlebars both ways while remaining balanced and in control.
- Check braking: Confirm they can reach and operate the bicycle’s braking controls consistently. Do not assume a control suits small hands without trying it.
If any check fails, do not compensate by telling the child they will grow into the bicycle. Try another size or design and repeat the complete check.
How the supplied catalog option relates
Girls' Training Wheel Bike by XJD with Basket – Purple is listed in 14 Inch, 16 Inch and 20 Inch SKU labels. Those three choices make it useful for comparing the rider’s measured height with several XBikes starting ranges, but only the 14 Inch option commonly overlaps the supplied toddler-height ranges. The larger labels may be relevant only when the child’s measurements fall within their stated ranges and the individual fit check succeeds.

The catalog facts do not specify frame geometry, minimum inseam, brake type, adjustability, assembly details or compatibility. Verify those points in the exact product information and manual. Follow the manual for assembly and maintenance, or ask a qualified bicycle mechanic when instructions or fit are uncertain.
Resolve overlaps and borderline measurements
If height falls within two wheel-size ranges, try both rather than automatically choosing the larger one. Compare how easily the child stands over each bicycle, mounts, reaches the controls, steers and stops. Current confidence matters: a hesitant beginner may control one option more effectively even though two sizes match the height chart.
If the measured height sits outside a SKU’s range, treat that as a reason to investigate another wheel size. If height matches but stand-over, reach or braking does not, the bicycle still does not fit. Wheel diameter alone cannot confirm suitability.
Finish with a helmet and a clear decision
A properly fitting bicycle helmet is part of every ride. Following U.S. Consumer Product Safety Commission guidance, position it level and adjust its straps according to the helmet manufacturer’s instructions. A helmet cannot correct an oversized or poorly controlled bicycle.
Choose the wheel-size candidate indicated by current height, then buy only after the toddler passes the stand-over, mounting, reach, steering and brake-control checks on that bicycle. If those checks cannot be completed or any one fails, postpone that option and try a different size.
Bikes for your next adventure
-
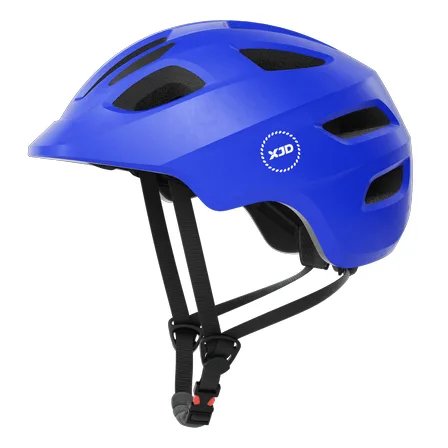
Blue XJD Kids Bike Helmet for Boys & Girls
The Blue XJD Kids Bike Helmet is a lightweight, adjustable multi-sport helmet fo…$59.99
$99 -
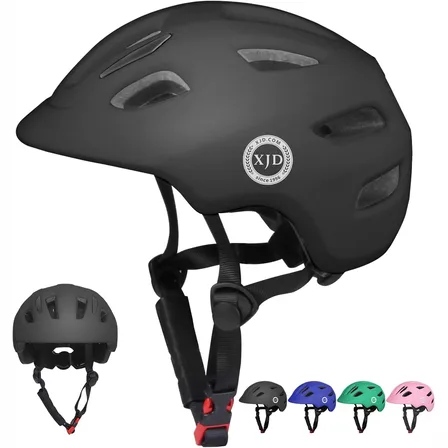
Black XJD Toddler Bike Helmet, Adjustable – Kids' Protective Helmet
The XJD Toddler Bike Helmet in black is an adjustable protective helmet for kids…$20.39
-

Kids Bike Helmet by XJD for Girls – Pink
The XJD Kids Bike Helmet in Pink is a lightweight multi-sport helmet for girls r…$59.99
$99