

How to get your kid to ride a bike
To get your kid to ride a bike, choose a bike they can control now, make the first sessions short and pressure-free, and practise one skill at a time.
Start with readiness, not persuasion
Ask what is stopping your child: an unfamiliar bike, fear of falling, difficulty reaching the controls, or simply no interest today. The answer determines the next step. Let them inspect the bike, choose a quiet practice time and stop before frustration takes over.
A child is more likely to try when the goal is small. The first session might involve wearing the helmet, sitting on the saddle and walking the bike. Riding independently does not need to happen on day one.
Measure before choosing a bike
Measure the child’s standing height and inseam in the shoes they will normally wear. Use age only as a starting point. The rider must also try the bicycle so you can compare stand-over clearance, reach, brake control and current confidence. Do not buy an oversized bicycle merely to allow room for growth.
| Wheel-size starting point | Age | Rider height |
|---|---|---|
| 12 Inch | 3–4 | 34–40 in / 86–102 cm |
| 14 Inch | 3–6 | 37–45 in / 94–114 cm |
| 16 Inch | 4–7 | 40–48 in / 102–122 cm |
| 18 Inch | 5–9 | 43–52 in / 109–132 cm |
| 20 Inch | 7–12 | 48–60 in / 122–152 cm |
| 24 Inch | 10–14 | 54–64 in / 137–163 cm |
| 26 Inch | Youth and adults | Over 60 in / 153 cm |
These ranges are starting points, not a substitute for a fit check. If height points toward two sizes, compare both in person. Choose according to the child’s ability to stand over the bike, reach the controls comfortably, steer without stretching and operate the brakes reliably.
Make the bike and helmet feel manageable
Before practising, check that the bicycle is assembled and adjusted according to its exact product manual. For any maintenance, assembly, compatibility, load-limit or torque question that the manual does not resolve, use a qualified bicycle mechanic.
A bicycle helmet should fit properly, sit level and have its straps adjusted according to the helmet manufacturer’s instructions. A poorly positioned helmet is not corrected by simply tightening one strap. Practise putting it on correctly before the child starts moving.
Teach one movement at a time
Use a flat, open area away from traffic, obstacles and steep slopes. Break riding into a calm sequence:
- Have the child walk the bike while holding the handlebar and using the brakes to stop.
- Let them sit and move slowly while learning to look ahead and steer toward a clear point.
- Practise starts separately: one foot ready to push, eyes forward and hands settled on the controls.
- Add pedalling only after balancing, steering and stopping feel predictable.
- Finish with several controlled stops rather than chasing distance or speed.
Stay close enough to help, but avoid pulling the handlebar because that removes the child’s control. Use simple cues such as “look ahead,” “easy steering” and “brake gently.” Repeat the same small practice loop so the environment does not become another challenge.
Use motivation without creating pressure
Offer limited choices: practise before or after lunch, wear one of two suitable outfits, or choose which marker to ride toward. Praise a specific action such as looking ahead or stopping under control. Avoid comparing siblings, setting surprise distance targets or promising a reward only for independent riding.
If the child freezes, repeatedly loses control or cannot reach the brakes comfortably, stop and reassess fit rather than insisting on another attempt. A break is productive when fatigue or fear is replacing learning.
Where the supplied bikes are relevant
The supplied catalog options are relevant when training-wheel bikes suit your child’s current confidence and their measured fit falls within an available wheel-size starting point. They help you compare available size labels and included catalog features, but the title alone cannot establish fit.
 Girls' Training Wheel Bike by XJD with Basket – Purple
A training-wheel bike offered in 14 Inch, 16 Inch and 20 Inch labels. It is relevant for comparing those size starting points after measuring the rider and confirming stand-over, reach, brake control and confidence.
 Flower Pink XJD Girls Bike with Doll Seat & Basket
A training-wheel bike offered in 12 Inch, 14 Inch and 16 Inch labels. Its smaller supplied size range makes it a useful comparison option when measurements point there, subject to an individual fit and control check.
Girls' Training Wheel Bike by XJD with Basket – Purple is listed in 14 Inch, 16 Inch and 20 Inch options. Flower Pink XJD Girls Bike with Doll Seat & Basket is listed in 12 Inch, 14 Inch and 16 Inch options. Compare the child’s measured height with the table first, then require an individual check of inseam, stand-over, reach, brake operation and control.
The first option provides a comparison point extending through the supplied 20 Inch label; the second provides a comparison point beginning at the supplied 12 Inch label. Neither should be selected because of appearance or accessories before fit. If your measurement indicates 18, 24 or 26 Inch, neither supplied product has that exact size; these products are nearest-size comparison points only and are not substitutes for the required size.
Decide what to do next
Measure height and inseam today, identify the table’s starting size, and arrange a real fit check. If the child can stand over the bike, reach and operate the controls, steer comfortably and stop reliably, schedule a short first practice. If any check fails—or confidence drops sharply—change the fit, seek a mechanic’s help where needed, or pause before asking the child to ride again.
Bikes for your next adventure
-

Kids Bike Helmet by XJD for Girls – Pink
The XJD Kids Bike Helmet in Pink is a lightweight multi-sport helmet for girls r…$59.99
$99 -
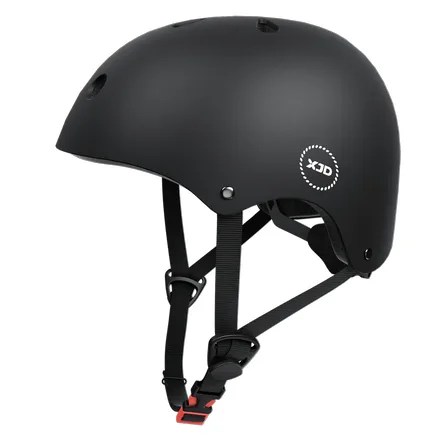
7-in-1 Kids Helmet & Protective Gear Set from XJD – Black or Blue
If you're outfitting one kid (or a couple of siblings) for biking, scootering, o…$59.99
-
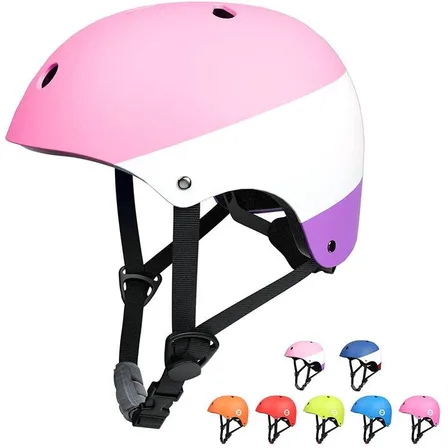
XJD Kids Bike Helmet for Boys & Girls, B White / Pink White
The XJD Kids Bike Helmet covers a wide age range — suggested for ages 2 through …$59.99