

How to install front baby bike seat
To install a front baby bike seat, first confirm that the seat, bicycle, child and mounting system are compatible. Then follow the seat manual exactly, check steering and brake access, and have a qualified bicycle mechanic inspect anything uncertain before carrying a child.
Check compatibility before fitting the seat
Do not start by attaching the bracket. Identify the exact seat model and read its compatibility requirements alongside the bicycle manual. Front seats may depend on specific frame, fork, handlebar or steering-area dimensions, and those requirements vary by product.
Confirm that the bicycle permits a child seat and that the proposed mounting location matches the seat manufacturer’s instructions. Check the stated child size and load limits, approved bicycle types, required clearances, included hardware and any restrictions involving cables, brakes or steering components. These details cannot be inferred from wheel size or appearance.
If either manual is missing, the bicycle has an unusual steering arrangement, or the mounting surfaces do not match the diagrams precisely, pause and consult the manufacturer or a qualified bicycle mechanic. Do not improvise hardware, drill the frame or substitute a similar-looking clamp.
Measure and compare the critical spaces
Use the seat manual to learn exactly where each measurement must be taken. Record the bicycle’s mounting-area dimensions and compare them with the permitted range in the manual. Also check:
- Space for the complete bracket without trapping or sharply bending control cables.
- Clearance between the seat, handlebar, rider’s knees and bicycle frame.
- Room for the handlebar to turn through its normal range.
- Access to both brake controls and any gear controls.
- Clearance around the front wheel, fork and other moving parts.
A close visual match is not enough. If a measurement falls outside the seat maker’s range, that seat is not suitable for that mounting point. Use only the supplied fasteners and spacers specified for the exact seat model.
Install in the manual’s sequence
Work with the bicycle stable and unloaded. Lay out the supplied components, identify them against the parts list, and inspect the bicycle and seat hardware for damage or missing pieces. Position the mount exactly where the instructions show, orient every clamp and spacer correctly, and route existing cables as directed.
- Fit the mounting bracket without forcing it onto an incompatible surface.
- Install the specified hardware in the stated order.
- Tighten each fastener to the exact torque and sequence in the product manual.
- Attach the seat to the bracket and engage every specified lock or retaining device.
- Adjust foot supports and the restraint system according to the child-seat instructions.
No universal torque, clamp position or fastening order applies to every front seat. If a fastener will not engage normally, a bracket shifts, or the instructions are ambiguous, stop rather than modifying the installation.
Test the bicycle before adding the child
With the seat empty, turn the handlebar fully in both directions. Confirm that nothing contacts the wheel, fork, frame, controls or cables. Squeeze both brakes and verify that the rider can reach and operate them normally. Check that the mount cannot rotate or slide and that all locking features are engaged.
Next, assess rider fit and control. The adult rider needs enough space to pedal, mount, dismount and steer without striking the seat. A front load changes balance and low-speed handling, so practise only as the seat manual directs before carrying the child. Recheck the installation after the initial use and maintain it on the schedule specified by the manufacturer.
Fit the child and helmet correctly
Use the child-seat maker’s eligibility, size and load rules; bicycle wheel-size guidance does not determine whether a baby fits a seat. Secure the restraint and foot retention exactly as instructed, ensuring clothing, straps and feet cannot reach moving parts. Never exceed a stated limit or carry a child who cannot meet the seat manufacturer’s requirements.
The child’s bicycle helmet must fit properly, sit level and have its straps adjusted according to the helmet manufacturer’s instructions. Before every ride, check the seat lock, harness, foot retention, mounting hardware, tire condition, steering and brakes. Stop using the setup if anything is loose, damaged or difficult to control.
How the supplied bicycle relates to this task
The 26-Inch XJD Beach Cruiser Bike for Girls – Purple, V-Brake is a Beach Cruiser Bikes catalog option with a Purple / 26 Inch SKU; its available labels also include Mint Green and Pink choices in 20, 24 and 26 Inch. These sizes can help frame a bicycle-size comparison, but the catalog facts do not establish child-seat compatibility, mounting dimensions or load limits. Under the XBikes starting points, 26 Inch is for youth and adults over 60 in / 153 cm, subject to measured height, inseam, reach, brake control and confidence. It is therefore a comparison point, not proof that a front baby seat will fit.

Before proceeding with this bicycle or any other, have the intended rider try it rather than choosing an oversized bicycle for growth. Check stand-over clearance, reach, control and brake access. Then compare the actual mounting measurements with the exact child-seat manual. Install only when both manuals permit the combination and every clearance, control and locking check passes; otherwise choose a compatible seat or ask a qualified bicycle mechanic to identify one.
Bikes for your next adventure
-
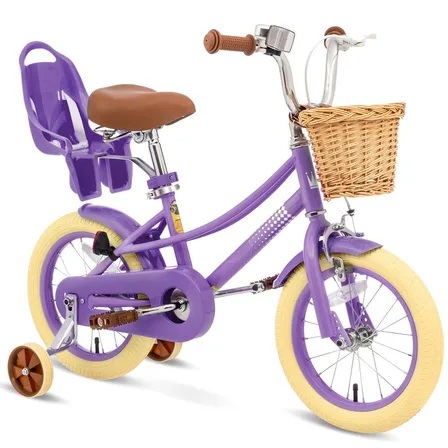
XJD Girls' Bike with Training Wheels, 12/14/16/20 Inch – Purple
The XJD girls' bike with training wheels in Purple is built to grow with your ri…$139
$159 -
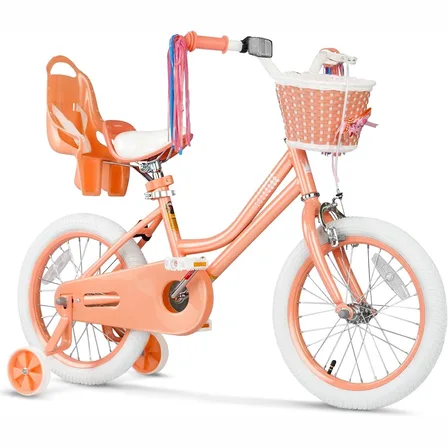
Girls 12/14/16 Inch Kids Bike by XJD with Training Wheels – Peach
The XJD Girls Bike in Peach is a training-wheel bike built for girls roughly 3 t…$149
$169 -
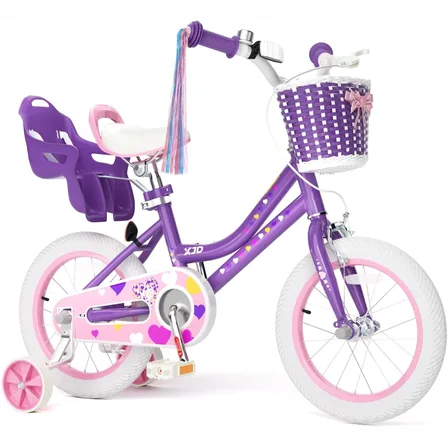
XJD Light Purple Girls Bike with Basket, Training Wheels, 12/14/16/20 Inch
The XJD Girls Bike with Basket in Light Purple is a single-speed training-wheel …$99.99
$119.99