

How to take your toddler along for a bicycle ride
To take your toddler along for a bicycle ride, first choose a child-carrying setup that fits your bicycle, your child, and the route; verify every limit and attachment in the manuals, fit a level helmet, and practise before riding in traffic.
Measure before choosing the setup
Start with facts rather than the toddler’s age alone. Record the child’s current height and weight, then check whether the child can maintain the seated posture required by the carrier or trailer manufacturer. Measure your bicycle where the chosen system attaches, and identify any racks, unusual frame tubes, cables, axles, or other parts that may affect compatibility.
Compare those measurements with the exact manuals for both the bicycle and the child-carrying product. Confirm the permitted child size, total load, mounting requirements, bicycle compatibility, and whether the system is designed for one child or more. None of those figures can be assumed across different products. If a manual is absent or the fit is uncertain, ask the manufacturer or a qualified bicycle mechanic before riding.
Compare the three common ways to ride together
| Setup | What to compare | When it may not suit |
|---|---|---|
| Child seat | Bicycle mounting points, child fit, load limit, restraints, foot protection, and the effect on balance | When the bicycle is incompatible or the added weight makes starting, steering, or stopping difficult |
| Trailer | Hitch and axle compatibility, child fit, harness, visibility equipment, route width, and storage space | On routes with narrow gaps, rough access, or conditions prohibited by either manual |
| Family or cargo bicycle | Passenger system, restraints, load limits, parking stability, handling, and the child-carrying configuration specified by its maker | When the required passenger equipment is missing or the rider cannot confidently control it when loaded |
A toddler riding independently beside you is a different activity. It does not replace an appropriate passenger-carrying system when the plan is to take the child along on your bicycle.
Check the child and bicycle separately
Before departure, inspect the carrying system exactly as its manual directs. Check that every specified attachment and restraint is correctly positioned, that loose clothing or straps cannot reach moving parts, and that the toddler remains properly seated. Follow the bicycle manual for maintenance and the carrying product manual for assembly, load limits, compatibility, and tightening requirements; use a qualified bicycle mechanic when anything is unclear.
Also confirm that the adult bicycle is controllable with the added load. In a quiet, traffic-free area, practise mounting, starting, turning, braking, stopping, and parking first without the child, using an equivalent permitted load only if the product instructions allow it. Then make the first ride with the toddler short and familiar. Stop if the setup shifts, handling feels uncertain, or the child cannot remain correctly positioned.
Fit the toddler’s helmet correctly
Use a bicycle helmet that fits the child now. Following U.S. Consumer Product Safety Commission guidance, position it level and adjust its straps according to the helmet manufacturer’s instructions. A loose, tilted, or growth-sized helmet is not an acceptable fit.
Check helmet interaction with the seat, trailer, or passenger area before the ride. The child should be able to hold the required position without the helmet being pushed forward by the seatback. Resolve any conflict through the relevant manufacturer’s instructions rather than improvising padding or altering the helmet.
Choose a low-complexity first route
Begin away from busy traffic, steep descents, sharp turns, rough surfaces, and tight barriers. Account for the setup’s changed width, length, balance, and stopping response. Ride conservatively, avoid abrupt manoeuvres, and reassess weather and visibility before leaving. The adult should be comfortable controlling the loaded bicycle throughout the route, not merely on a straight path.
Use this final departure check: compatible equipment, correct assembly, limits confirmed, secure child position, properly fitted helmet, controllable bicycle, and a suitable route. If any answer is uncertain, postpone the ride.
Where the supplied XBikes option fits
The supplied catalog item is not a toddler carrier, trailer, or passenger-equipped bicycle. The XJD Girls Bike for Kids Ages 3-8, 12/14/16 Inch with Training Wheels – Purple is a training-wheel bicycle offered in 12 Inch, 14 Inch, and 16 Inch sizes. It helps only as a comparison if the child is moving toward riding independently; it does not solve how to carry a toddler along.

Treat “Ages 3-8” in its exact title only as a catalog label. XBikes starting points are 12 Inch for heights 34–40 in / 86–102 cm and ages 3–4, 14 Inch for 37–45 in / 94–114 cm and ages 3–6, and 16 Inch for 40–48 in / 102–122 cm and ages 4–7. Measure height first, then require an individual check of inseam, stand-over clearance, reach, brake control, and confidence. HealthyChildren guidance supports trying the bicycle and avoiding an oversized model bought merely for growth.
For your next ride together, select and verify a genuine child-carrying system first; consider the supplied training-wheel bike only later, when the child’s measurements and control show that independent riding is the actual goal.
Bikes for your next adventure
-
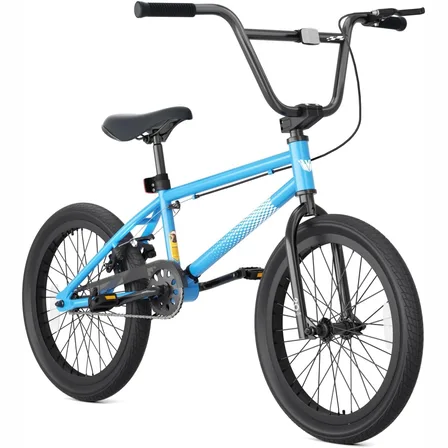
Blue XJD Freestyle BMX Bike, 20-Inch – No Pegs
The XJD 20-Inch Blue Freestyle BMX is an entry-level BMX bike for boys and girls…$189.99
-

Light Pink XJD Girls' Bicycle with Basket & Training Wheels
The Light Pink XJD Girls' Bicycle with Basket & Training Wheels is a retro-style…$109.99
$129.99 -
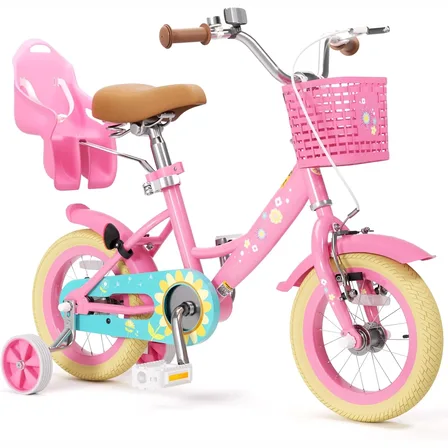
Flower Pink XJD Girls Bike with Doll Seat & Basket
The XJD Flower Pink girls' bike is made for riders 71–122 cm tall (roughly ages …$69.99