

How to train kid to ride bike
To train a kid to ride a bike, first confirm the bike fits, then teach balance, braking, steering and pedaling in short, calm practice sessions.
Measure before the first lesson
Measure your child’s height and inseam while they wear the shoes they will ride in. Height gives you a wheel-size starting point; inseam helps you judge stand-over clearance and whether the child can put their feet down confidently. Age is only a rough reference.
Have the child try the actual bicycle. Check that they can stand over it, reach the handlebars without stretching, turn them comfortably and operate the brakes with control. Do not buy an oversized bicycle for future growth. A bike that is difficult to mount, balance or stop can make learning harder.
| Wheel size | XBikes starting point |
|---|---|
| 12 Inch | Ages 3–4; 34–40 in / 86–102 cm |
| 14 Inch | Ages 3–6; 37–45 in / 94–114 cm |
| 16 Inch | Ages 4–7; 40–48 in / 102–122 cm |
| 18 Inch | Ages 5–9; 43–52 in / 109–132 cm |
| 20 Inch | Ages 7–12; 48–60 in / 122–152 cm |
| 24 Inch | Ages 10–14; 54–64 in / 137–163 cm |
| 26 Inch | Youth and adults over 60 in / 153 cm |
Where ranges overlap, compare the child’s measured fit, reach, brake control and confidence on each candidate. The chart cannot replace that hands-on check.
Prepare a simple practice area
Choose a wide, flat space away from traffic, parked cars, steep slopes and obstacles. Dress the child in secure shoes and clothing that cannot catch in moving parts. A bicycle helmet should fit properly, sit level and have its straps adjusted according to the helmet manufacturer’s instructions.
Before riding, follow the exact bicycle manual for assembly and maintenance checks. If anything is loose, damaged or unclear—or if you do not know the specified compatibility or torque—use a qualified bicycle mechanic rather than guessing.
Teach the skills in a useful order
- Mount and stop: Let the child practise getting on, placing both hands on the bars and stopping on command. Confirm they can reach and operate the bicycle’s braking system before adding speed.
- Balance: Support the child lightly at the upper back or under the arms while they move forward. Avoid steering the bike for them. Gradually reduce support as they learn to keep the front wheel steady.
- Steer: Set two visible turning points several bike lengths apart. Ask the child to look toward the destination, make broad turns and straighten the bars before stopping.
- Start and pedal: Position one pedal where the child can press it forward to begin. Practise one strong push, eyes ahead and steady pedaling. Work on starts separately from longer rides.
- Stop predictably: Call out a stopping point. The child should slow under control, keep the bars straight and put a foot down only as the bike comes to a stop.
Keep sessions short enough that technique does not collapse into frustration. Finish after a successful start, turn or stop, even if the child is not yet riding independently.
Decide whether training wheels help
Training wheels can let a child rehearse pedaling, steering and stopping while receiving lateral support. They do not remove the need to learn balance, and they should not compensate for a bicycle that is too large or difficult to control.
When the child starts, steers and stops consistently, follow the bicycle’s exact manual for any training-wheel adjustment or removal. Do not invent an adjustment sequence. If the instructions are missing or the setup seems uncertain, ask a qualified bicycle mechanic.
Compare the supplied XBikes options
The supplied catalog options are relevant because both are training-wheel bicycles offered in 12 Inch, 14 Inch and 16 Inch labels. This makes them useful comparison points after measuring the rider and identifying a likely starting size.
 Blue XJD Girls Bike with Training Wheels – 12/14/16 Inch
A training-wheel bicycle offered with 12 Inch, 14 Inch and 16 Inch SKU labels; relevant for comparing measured fit and control within those wheel-size starting ranges.
 XJD Boys 12/14/16" Training Wheel Bike – Blue
Listed as a blue training-wheel bicycle with 12 Inch, 14 Inch and 16 Inch SKU labels; compare the intended size through an individual stand-over, reach and brake-control check.
Blue XJD Girls Bike with Training Wheels – 12/14/16 Inch is listed in the Training Wheel Bikes category with 12 Inch, 14 Inch and 16 Inch SKU labels. XJD Boys 12/14/16" Training Wheel Bike – Blue is listed in the same category with the same three size labels.
On the supplied facts, wheel-size availability does not distinguish them. Compare the child’s actual stand-over position, reach, brake control and confidence on the intended SKU. The catalog titles are identifiers, not evidence that either bicycle fits a particular child. For assembly, maintenance, load limits and adjustments, use the exact product manual or a qualified mechanic.
Know what to do next
If your child cannot stand comfortably, reach the controls or stop reliably, pause training and reassess the size or setup. If fit and braking are controlled but balance is inconsistent, continue balance and stopping drills before expecting independent pedaling. Move to unassisted riding only when the child can start, steer and stop without being held.
Your next action is straightforward: measure height and inseam, test the actual bike for fit and control, fit the helmet, then practise stopping and balance before pedaling farther.
Bikes for your next adventure
-
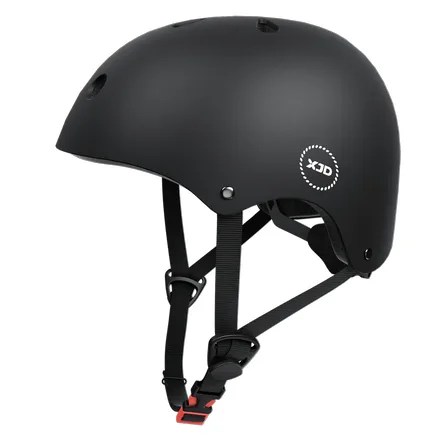
7-in-1 Kids Helmet & Protective Gear Set from XJD – Black or Blue
If you're outfitting one kid (or a couple of siblings) for biking, scootering, o…$59.99
-
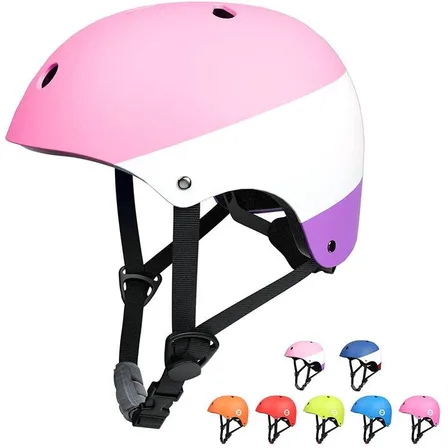
XJD Kids Bike Helmet for Boys & Girls, B White / Pink White
The XJD Kids Bike Helmet covers a wide age range — suggested for ages 2 through …$59.99
-

Blue XJD Girls Bike with Training Wheels – 12/14/16 Inch
If you're shopping for a first pedal bike for a daughter roughly 3 to 8 years ol…$149
$169