

How to train your kid to ride a bike
Teach your child to ride by checking bike fit first, then practising braking, balancing, steering and pedalling in short sessions on a quiet, level space.
Measure your child before choosing the bike
Measure standing height and inseam without shoes. Use height to identify a starting wheel size, then have your child try the actual bicycle. Age is only a rough guide because children of the same age can differ in proportions, strength and confidence.
| Wheel size | Starting age | Rider height |
|---|---|---|
| 12 Inch | 3–4 | 34–40 in / 86–102 cm |
| 14 Inch | 3–6 | 37–45 in / 94–114 cm |
| 16 Inch | 4–7 | 40–48 in / 102–122 cm |
| 18 Inch | 5–9 | 43–52 in / 109–132 cm |
| 20 Inch | 7–12 | 48–60 in / 122–152 cm |
| 24 Inch | 10–14 | 54–64 in / 137–163 cm |
| 26 Inch | Youth and adults | Over 60 in / 153 cm |
These XBikes figures are starting points, not proof of fit. Check that the child can stand over the bike comfortably, reach the handlebar without stretching, steer without losing posture and operate the brakes reliably. Do not buy an oversized bicycle for the child to grow into.
Prepare the bike, helmet and practice area
Choose a quiet, level, open area away from traffic, slopes and obstacles. A properly fitting bicycle helmet should sit level and be secured with its straps according to the helmet manufacturer’s instructions. Closed-toe shoes and practical clothing help the child move without loose fabric getting caught.
Before each session, confirm that the bicycle is assembled and functioning as its exact manual specifies. Maintenance, fastener torque, adjustments and compatibility vary, so follow that manual or ask a qualified bicycle mechanic rather than guessing.
Teach control before pedalling
Begin with the child seated and you holding the bike steady. Ask them to locate and operate the brakes while stationary. Next, have them walk the bicycle and practise stopping it on command. They should understand that stopping is deliberate, not a last-second reaction.
Then develop balance. If the particular bike and its manual permit an appropriate setup for balance practice, let the child push along with their feet and coast briefly. Otherwise, use the bicycle as configured and support the child lightly at the torso. Avoid gripping the handlebar: the child needs to feel how their own steering affects the bike.
Build the start–ride–stop sequence
- Set one pedal in a useful starting position and place the other foot on the ground.
- Look ahead toward a clear destination rather than down at the front wheel.
- Push from the ground, press the raised pedal and place the second foot on its pedal.
- Keep pedalling while making small steering corrections.
- Slow with the brakes, stop under control and put a foot down.
Practise one part at a time. Start with a few metres between two visible markers, then increase the distance after starts and stops become repeatable. Finish while the child is still engaged; fatigue can make balance and brake control deteriorate.
Decide whether training wheels are useful
Training wheels can help a child rehearse pedalling, steering and braking while receiving lateral support. They do not remove the need to learn independent balance. Keep them only while they help the current learning goal, and follow the bicycle manual for installation, adjustment or removal. If the child leans heavily on them or avoids balancing, return attention to coasting and controlled stops.
The supplied catalog choices are relevant when a training-wheel bicycle is appropriate and the child’s measured fit points toward one of their listed sizes. XJD Kids' Training Wheel Bike for Boys & Girls, 12/14/16 Inch – White lists 12 Inch, 14 Inch and 16 Inch options. Girls' Training Wheel Bike by XJD, 12–20 Inch Wheels – Blue lists those three plus 20 Inch. These labels narrow the comparison, but the child must still try the selected bicycle for stand-over clearance, reach and brake control.
 XJD Kids' Training Wheel Bike for Boys & Girls, 12/14/16 Inch – White
A training-wheel bicycle offered in 12 Inch, 14 Inch and 16 Inch labels. Compare the child’s measured height with the XBikes starting points, then verify stand-over, reach and brake control on the actual bike.
 Girls' Training Wheel Bike by XJD, 12–20 Inch Wheels – Blue
A training-wheel bicycle with 12 Inch, 14 Inch, 16 Inch and 20 Inch labels. Its broader listed size range supports comparison, but measured height, individual fit and current riding confidence should determine relevance.
Neither supplied product lists an 18 Inch option, so an 18 Inch shopper should treat them only as nearby comparison points, not substitutes. Neither lists 24 Inch or 26 Inch. For any requested size, never move up or down merely because it is available.
Know when your child is ready to ride independently
Move to unsupported riding when the child can start with minimal help, look ahead, steer around a gentle course, brake on request and stop without panic. Reduce physical support gradually, telling the child before you let go. If control disappears, shorten the distance or return to the previous skill rather than raising the bicycle size.
Your next step is simple: measure height and inseam, shortlist the matching wheel-size starting point, conduct an individual fit check, and then practise balance, braking and controlled starts before expecting a complete independent ride.
Bikes for your next adventure
-
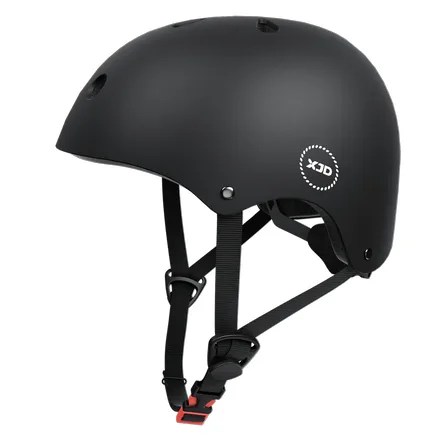
7-in-1 Kids Helmet & Protective Gear Set from XJD – Black or Blue
If you're outfitting one kid (or a couple of siblings) for biking, scootering, o…$59.99
-
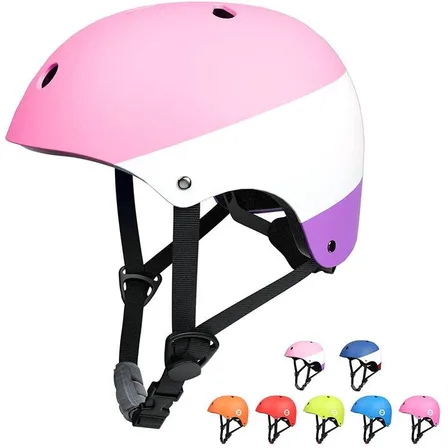
XJD Kids Bike Helmet for Boys & Girls, B White / Pink White
The XJD Kids Bike Helmet covers a wide age range — suggested for ages 2 through …$59.99
-

Blue XJD Girls Bike with Training Wheels – 12/14/16 Inch
If you're shopping for a first pedal bike for a daughter roughly 3 to 8 years ol…$149
$169