

What age child bike seat
There is no single age for a child bike seat. If you mean a child’s own bicycle, measure height and check fit; if you mean a passenger seat, follow that seat’s manual.
First identify which “bike seat” you mean
Parents use this phrase for two different products: the saddle on a bicycle the child rides, or a passenger seat attached to an adult bicycle. Age alone cannot determine suitability in either case.
For a child’s own bike, use the XBikes wheel-size starting points below, then have the child try the bicycle. For an attached passenger seat, no universal age, load or compatibility limit can be inferred from these bicycle sizes. Use the exact passenger-seat and bicycle manuals, and ask a qualified bicycle mechanic if compatibility is unclear.
Wheel-size starting points for a child’s own bike
| Wheel size | Starting age | Rider height |
|---|---|---|
| 12 Inch | 3–4 | 34–40 in / 86–102 cm |
| 14 Inch | 3–6 | 37–45 in / 94–114 cm |
| 16 Inch | 4–7 | 40–48 in / 102–122 cm |
| 18 Inch | 5–9 | 43–52 in / 109–132 cm |
| 20 Inch | 7–12 | 48–60 in / 122–152 cm |
| 24 Inch | 10–14 | 54–64 in / 137–163 cm |
| 26 Inch | Youth and adults | Over 60 in / 153 cm |
These ranges overlap because children of the same age can have different proportions and abilities. Start with measured height, not a birthday. Never move up merely because a child is near the top of an age range.
What to measure and compare
- Standing height: Measure the child without shoes, against a wall. Compare the result with the height column before considering age.
- Inseam and stand-over: Measure from the floor to the crotch while the child stands naturally. When trying the bicycle, confirm that the child can straddle it as directed by its manual rather than being forced onto tiptoes.
- Reach: With the child seated and looking forward, check that the handlebar can be reached without an extreme stretch or cramped posture.
- Brake control: The child must be able to reach and operate the bicycle’s controls. Do not assume small wheels automatically mean suitable brake reach.
- Current confidence: Starting, stopping, steering and putting feet down should feel controlled. A nervous or inexperienced rider may need a different fit from a confident child of identical height.
Have the child try the bicycle whenever possible. Do not buy an oversized model “to grow into”; extra size can make standing over, steering and braking harder to control.
How the supplied 12, 14 and 16 Inch bikes help
The supplied catalog choices are relevant only when the child’s measurements and individual fit check point toward 12, 14 or 16 Inch wheels. They let you compare three adjacent starting ranges, and both catalog titles state that training wheels are included. Training wheels do not correct a frame, reach or brake-control mismatch.
The XJD Girls BMX Bike 12/14/16 Inch with Training Wheels – Pink Blue and XJD Boys & Girls BMX Bike with Training Wheels, 12/14/16" – Blue each have 12 Inch, 14 Inch and 16 Inch SKU labels. Their supplied facts do not establish frame dimensions, saddle adjustment range, brake type, load limits or suitability for a particular child, so compare the chosen SKU through an actual fit check and its exact manual.
 XJD Girls BMX Bike 12/14/16 Inch with Training Wheels – Pink Blue
Relevant when an individual fit check points to its available 12 Inch, 14 Inch or 16 Inch SKU; the catalog title states that training wheels are included.
 XJD Boys & Girls BMX Bike with Training Wheels, 12/14/16" – Blue
Offers 12 Inch, 14 Inch and 16 Inch SKU labels for comparison after measuring the rider; its catalog title states that training wheels are included.
If measurements indicate 18, 20, 24 or 26 Inch wheels, these two products are smaller-wheel comparison points only, not substitutes. They are also not passenger seats and are irrelevant when the goal is carrying a child on an adult bicycle.
Before the child rides
- Choose the wheel-size range from measured height, then confirm inseam, stand-over, reach and brake control on the actual bicycle.
- Follow the exact product manual for assembly, adjustment, maintenance, compatibility, load limits and torque. Use a qualified bicycle mechanic when instructions or fit remain uncertain.
- Use a properly fitting bicycle helmet. It should sit level, with its straps adjusted according to the helmet manufacturer’s instructions.
- Recheck fit as the child grows or gains confidence; age changing does not automatically require a larger bicycle.
Make the age decision
For a child riding independently, find the measured height in the table, shortlist the corresponding wheel size, and accept it only after the child demonstrates comfortable stand-over, reach, braking and control. For a passenger seat, set this table aside and use the seat manufacturer’s stated requirements and bicycle compatibility instructions. That distinction—not age by itself—determines what to do next.
Bikes for your next adventure
-
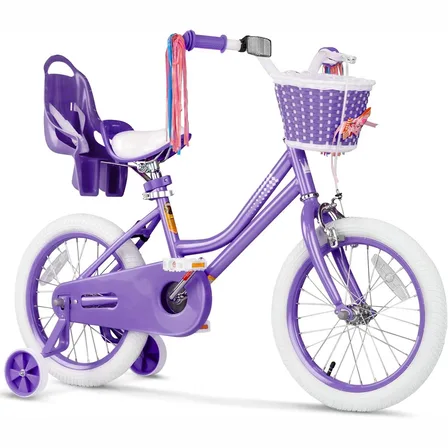
XJD Girls Bike for Kids Ages 3-8, 12/14/16 Inch with Training Wheels – Purple
The XJD Girls Bike in Purple is a training-wheel bicycle for kids ages 3 to 8, f…$149
$169 -
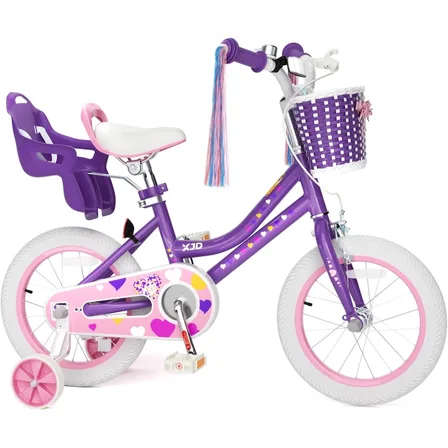
Purple XJD Girls' Bike with Doll Seat & Basket
For girls 71–122 cm tall (about ages 3–7), this XJD girls' bike in Purple pairs …$75.99
$99.99 -
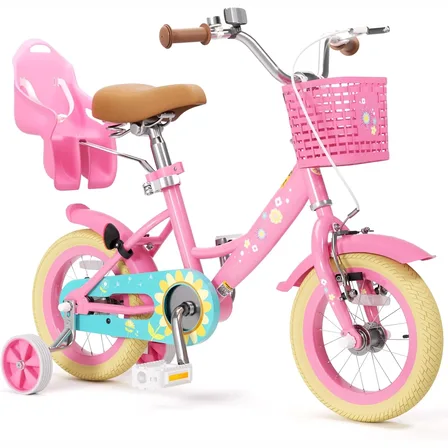
Flower Pink XJD Girls Bike with Doll Seat & Basket
The XJD Flower Pink girls' bike is made for riders 71–122 cm tall (roughly ages …$69.99