

What does bike tire indicate on kids bike
The markings on a kids’ bike tire indicate its tire size and may also show an inflation range. Use the size marking to find a matching replacement, but use the child’s measurements and a hands-on fit check to choose the bike.
What the tire marking tells you
A tire sidewall commonly carries a size made from numbers separated by a multiplication sign, an “x,” or a dash. One number identifies the tire’s nominal diameter or wheel-size family; another describes its width. The exact format can vary, so copy the complete marking rather than relying on only the largest number.
The sidewall may also provide an inflation range and directional information. Follow the tire marking and the exact bicycle or tire manual. If markings conflict, are unreadable, or do not clearly match the rim, ask a qualified bicycle mechanic instead of guessing.
A label such as 12 Inch, 14 Inch, or 16 Inch on a kids’ bike describes its wheel-size category. It does not mean the tire itself is exactly that many inches across in every measurement, and it does not prove that the bike fits a particular child.
What to measure before choosing a wheel size
Measure the child’s height without shoes and measure inseam from the floor to the crotch. Then compare the measured height with the XBikes starting points below. Where ranges overlap, age does not settle the decision: the child’s stand-over clearance, reach, brake control, and confidence matter more.
| Wheel size | Starting age | Rider height |
|---|---|---|
| 12 Inch | 3–4 | 34–40 in / 86–102 cm |
| 14 Inch | 3–6 | 37–45 in / 94–114 cm |
| 16 Inch | 4–7 | 40–48 in / 102–122 cm |
| 18 Inch | 5–9 | 43–52 in / 109–132 cm |
| 20 Inch | 7–12 | 48–60 in / 122–152 cm |
| 24 Inch | 10–14 | 54–64 in / 137–163 cm |
| 26 Inch | Youth and adults | Over 60 in / 153 cm |
These ranges narrow the search; they do not replace trying the bicycle. Do not move up to an oversized bike merely to allow room for growth.
How to perform the fit check
- Check stand-over: Have the child straddle the bicycle while wearing the shoes used for riding. The frame should not prevent a stable stance.
- Check the seated position: Confirm that the child can start, stop, and place a foot down with confidence. Set-up details should follow the exact product manual.
- Check reach and steering: The child should hold the handlebar and steer without stretching, locking the arms, or losing control.
- Check braking: The child must be able to reach and operate the available brake controls reliably. If controls cannot be adjusted appropriately under the manual’s instructions, consult a qualified bicycle mechanic.
When the supplied 12, 14, and 16 Inch bikes are relevant
The catalog options below are relevant when the measurements and fit check point toward a 12 Inch, 14 Inch, or 16 Inch training-wheel bike. Each offers those same three SKU labels, so they help you compare the indicated wheel-size choices without treating the color or title wording as evidence of fit.
 XJD Boys 12/14/16" Training Wheel Bike – Blue
A Training Wheel Bike offered with 12 Inch, 14 Inch, and 16 Inch SKU labels; relevant when the rider’s measurements and individual fit check support one of those sizes.
 Black XJD Kids Bike for Boys – 12, 14 & 16 Inch Sizes
This Training Wheel Bike provides 12 Inch, 14 Inch, and 16 Inch size choices. Its title wording is a catalog label, while actual fit depends on measured height, inseam, reach, brake control, and confidence.
 XJD Kids' Training Wheel Bike for Boys & Girls, 12/14/16 Inch – White
A Training Wheel Bike cataloged in 12 Inch, 14 Inch, and 16 Inch SKUs. It is useful for comparing those wheel-size categories after measuring the rider and confirming fit in person.
XJD Boys 12/14/16" Training Wheel Bike – Blue, Black XJD Kids Bike for Boys – 12, 14 & 16 Inch Sizes, and XJD Kids' Training Wheel Bike for Boys & Girls, 12/14/16 Inch – White are all cataloged as Training Wheel Bikes with 12 Inch, 14 Inch, and 16 Inch SKU labels. Any gender wording in the titles is a catalog label, not a sizing standard.
These products are not relevant substitutes if the child needs an 18 Inch, 20 Inch, 24 Inch, or 26 Inch bike. A nearby size is only a comparison point; it is not equivalent to the size supported by the child’s measurements and fit.
Using the marking for a replacement tire
For tire replacement, record every size character from the existing sidewall and compare the full specification with the replacement and rim requirements. The bike’s broad wheel-size label alone may not identify the required width or sizing system. Compatibility, installation, inflation, and torque instructions should come from the exact product manual or a qualified bicycle mechanic.
Before riding, inspect the tire for visible damage and confirm inflation according to its marking and manual. The child should also wear a properly fitting bicycle helmet that sits level, with its straps adjusted according to the helmet manufacturer’s instructions.
The decision to make next
First, copy the complete tire marking if replacing a tire. If choosing a bike, measure height and inseam, select the likely wheel-size range, and have the child try that size. Choose only when stand-over, reach, braking, and control all work now—not because a larger tire promises future growth.
Bikes for your next adventure
-
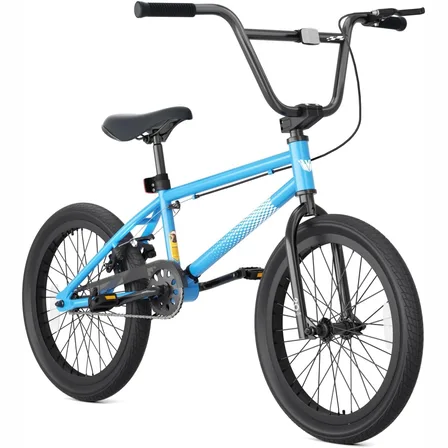
Blue XJD Freestyle BMX Bike, 20-Inch – No Pegs
The XJD 20-Inch Blue Freestyle BMX is an entry-level BMX bike for boys and girls…$189.99
-
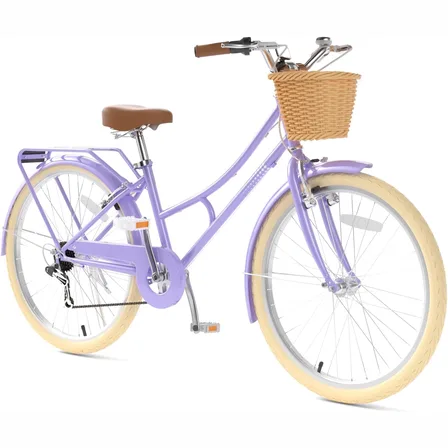
26-Inch XJD Beach Cruiser Bike for Girls – Purple, V-Brake
This XJD 26-inch purple beach cruiser is sized for big kids and teens — suggeste…$218.49
$229.99 -
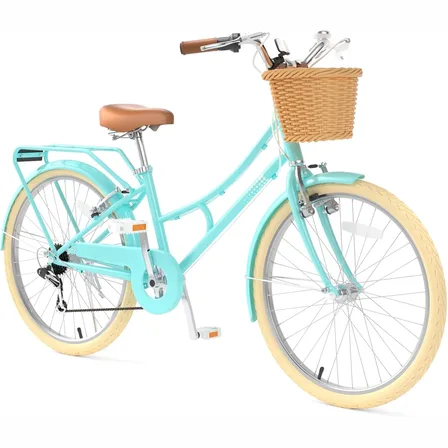
XJD 24-Inch Green Beach Cruiser Bike with U-Brake
This XJD 24-inch beach cruiser in green is made for riders about 4'8" to 5'4" ta…$159.99
$199.99