

What is the safest toddler bike seat
The safest toddler bike seat is one that fits the child now, is approved by its manufacturer for the adult bicycle, and can be installed exactly as its manual directs. No seat type is automatically safest for every bicycle or family.
Check the child before comparing seats
Begin with the child-seat manufacturer’s minimum and maximum requirements. Measure the child’s current height and weight, and check any stated developmental or age requirements. Do not estimate, round up, or choose a seat the child can “grow into.” If the child falls outside even one limit, that seat is not suitable.
The child must be able to use the complete restraint system as designed. Check that the harness can be adjusted snugly in ordinary riding clothes, the buckle closes correctly, and the feet can remain in the provided foot supports or restraints. A bulky coat can change harness fit, so reassess the adjustment whenever clothing changes.
Confirm that the seat fits the adult bicycle
A secure-looking attachment is not enough. Identify the bicycle’s exact make, model, frame size and any rack already installed, then compare them with the child-seat manual. Check the approved mounting location, required attachment points, clearance around the wheel, and every stated compatibility or load limit.
- Do not improvise adapters, substitute hardware or assume that a similar frame is compatible.
- Make sure the seat, child and any luggage remain within every applicable bicycle, rack and seat limit.
- Follow the exact manual for assembly, maintenance, fastener checks and torque values.
- If compatibility or installation is uncertain, have a qualified bicycle mechanic inspect the complete setup.
Front-, rear-frame- and rack-mounted seats place the child and load differently. Compare only models explicitly permitted for your bicycle; the mounting position alone does not prove that one option is safer.
Test control before carrying the child
A child seat changes how a bicycle feels while starting, steering, braking and stopping. After installation, test the bicycle without the child in a quiet, traffic-free place. Confirm that the rider can mount, pedal, turn, brake and put a foot down without the seat, foot supports or load interfering.
Next, practice with an appropriate non-living test load only if the seat manufacturer permits it. If the bicycle feels unstable, the rider cannot control it confidently, or any part shifts or contacts a wheel, stop. Recheck the manual or use a qualified mechanic rather than modifying the installation.
Use a pre-ride safety check every time
- Check that the seat and mounting hardware are secure, with no looseness, cracks or missing parts.
- Secure the harness, buckle, foot supports and foot restraints exactly as directed.
- Keep straps, clothing, laces and carried items away from wheels and moving parts.
- Give both rider and child properly fitting bicycle helmets. Each helmet should sit level and use its straps according to the helmet manufacturer’s instructions.
- Choose a low-risk route and ride within the adult rider’s demonstrated control.
Stop using the seat when the child exceeds a limit, no longer fits the restraint system, or the bicycle or mounting arrangement changes without confirmed compatibility.
How the supplied XBikes products relate
The catalog options below are children’s bicycles with training wheels, not toddler passenger seats. They help only when comparing a child’s later move to an independently ridden bicycle; they cannot substitute for a compatible child carrier.
 Pink Girls' 12/14/16" Bike by XJD – Basket & Doll Seat
A training-wheel bicycle offered in 12 Inch, 14 Inch and 16 Inch sizes. Despite “Doll Seat” in its title, it is not a toddler passenger seat.
 Light Pink XJD Girls' Bicycle with Basket & Training Wheels
A training-wheel bicycle offered in 12 Inch, 14 Inch, 16 Inch and 20 Inch sizes. It is relevant only when considering a child’s move to an independently ridden bicycle.
Pink Girls' 12/14/16" Bike by XJD – Basket & Doll Seat is listed in 12 Inch, 14 Inch and 16 Inch sizes. Its “Doll Seat” wording is part of the exact product title and does not indicate a seat designed to carry a toddler.
Light Pink XJD Girls' Bicycle with Basket & Training Wheels is listed in 12 Inch, 14 Inch, 16 Inch and 20 Inch sizes. It is also a training-wheel bicycle, not a child passenger-seat option.
| Wheel size | XBikes starting point |
|---|---|
| 12 Inch | Ages 3–4; height 34–40 in / 86–102 cm |
| 14 Inch | Ages 3–6; height 37–45 in / 94–114 cm |
| 16 Inch | Ages 4–7; height 40–48 in / 102–122 cm |
| 20 Inch | Ages 7–12; height 48–60 in / 122–152 cm |
These ranges are starting points, not proof of fit. For an independently ridden bicycle, measure the child’s height and inseam, then have the child try the bicycle. Check stand-over clearance, reach, brake control and current confidence. Do not buy an oversized bicycle for growth, and never rely on age alone.
Make the final decision
Choose a toddler passenger seat only after the child’s measurements and readiness satisfy its manual, the manufacturer confirms bicycle compatibility, and the adult can control the installed setup confidently. If any limit, attachment detail or fit question remains unresolved, do not carry the child; consult the exact manuals or a qualified bicycle mechanic first.
Bikes for your next adventure
-
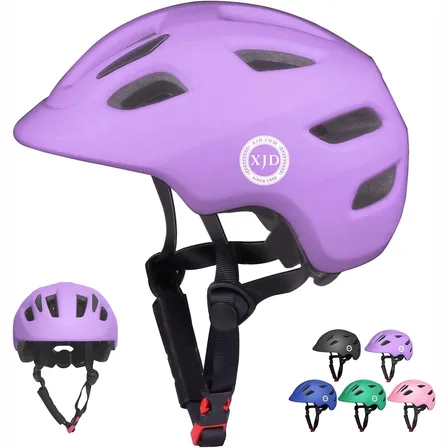
Light Purple XJD Toddler Bike Helmet, Adjustable, Size XS (46–51 cm)
This Light Purple XJD toddler bike helmet is made for the smallest riders — the …$20.39
-
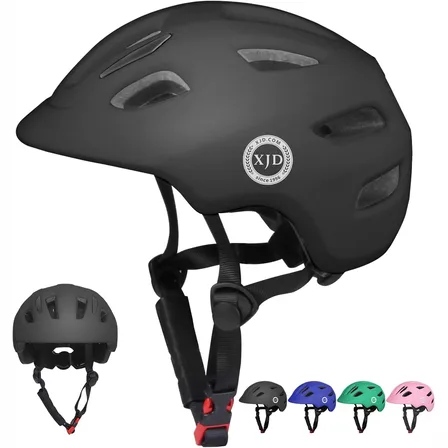
Black XJD Toddler Bike Helmet, Adjustable – Kids' Protective Helmet
The XJD Toddler Bike Helmet in black is an adjustable protective helmet for kids…$20.39
-
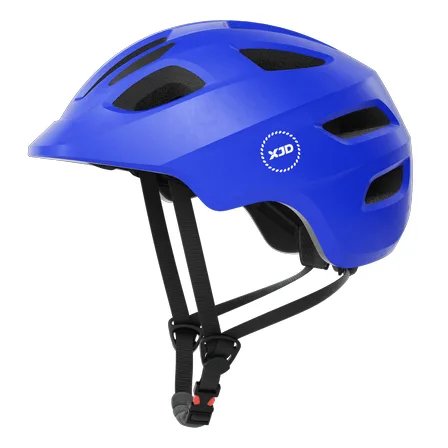
Blue XJD Kids Bike Helmet for Boys & Girls
The Blue XJD Kids Bike Helmet is a lightweight, adjustable multi-sport helmet fo…$59.99
$99