

What kind of bikes support child seats
Bikes support child seats only when the bicycle, seat and mounting system are explicitly compatible. Check the frame, rack, clearances and load limits before riding.
Which bikes can support a child seat?
A suitable bicycle must provide the exact attachment points required by the child-seat manufacturer. Depending on the seat, that may mean an approved rear rack, a compatible frame tube or a suitable front mounting area. Wheel size or bicycle style alone does not establish compatibility.
The bicycle and child-seat manuals must permit the combination. Compare both manufacturers’ restrictions, including total load limits and any excluded frame shapes, rack designs or components. If either manual is unclear, take the bicycle and the proposed seat to a qualified bicycle mechanic. Do not improvise clamps, drill the frame or assume that a seat fits because its bracket can be tightened.
What to measure and compare
Identify the proposed seat’s mounting type first, then inspect the bicycle at the corresponding location. Record measurements rather than judging the fit by sight.
- Mounting area: Measure the relevant frame tube, rack or front mounting space exactly as the child-seat instructions specify.
- Clearance: Check that the seat, mounting hardware and the child’s feet cannot contact a tire, brake, cable, moving component or the rider’s body while pedaling and steering.
- Rack approval: For a rack-mounted seat, confirm that the rack itself is approved for that specific use and that the bicycle permits the rack. A rack that carries luggage is not automatically suitable for a child seat.
- Load limits: Compare the seat limit, rack limit where relevant, and bicycle limit with the combined weight of the rider, child, seat and other cargo. Follow the lowest applicable limit.
- Rider fit: Confirm stand-over room, reach, stable starting and stopping, and confident brake operation after accounting for the added load.
Use the exact product manuals for attachment, assembly, maintenance and torque requirements. Where those details are unavailable, a qualified bicycle mechanic should determine whether the complete setup is compatible.
How mounting position changes the decision
Rear rack-mounted seats
These require more than the presence of a rear rack. The seat must match the rack, the rack must be approved for carrying a child seat, and both must comply with the bicycle’s instructions and load limits. Tire, brake and heel clearance also matter.
Rear frame-mounted seats
These depend on a compatible frame attachment area. Tube shape, diameter, cable routing and nearby components can rule out a bicycle even when there appears to be enough space.
Front-mounted seats
These need the specified mounting area plus enough room for normal steering, braking, pedaling and mounting or dismounting. Confirm that the seat does not restrict the rider’s reach, knees or view.
How the supplied cruiser bikes are relevant
The supplied catalog options are useful as 24-inch and 26-inch bicycle comparison points, but their listings do not state child-seat mounts, rack approval, load limits or child-seat compatibility. Their wheel sizes and brake labels cannot answer the mounting question by themselves.
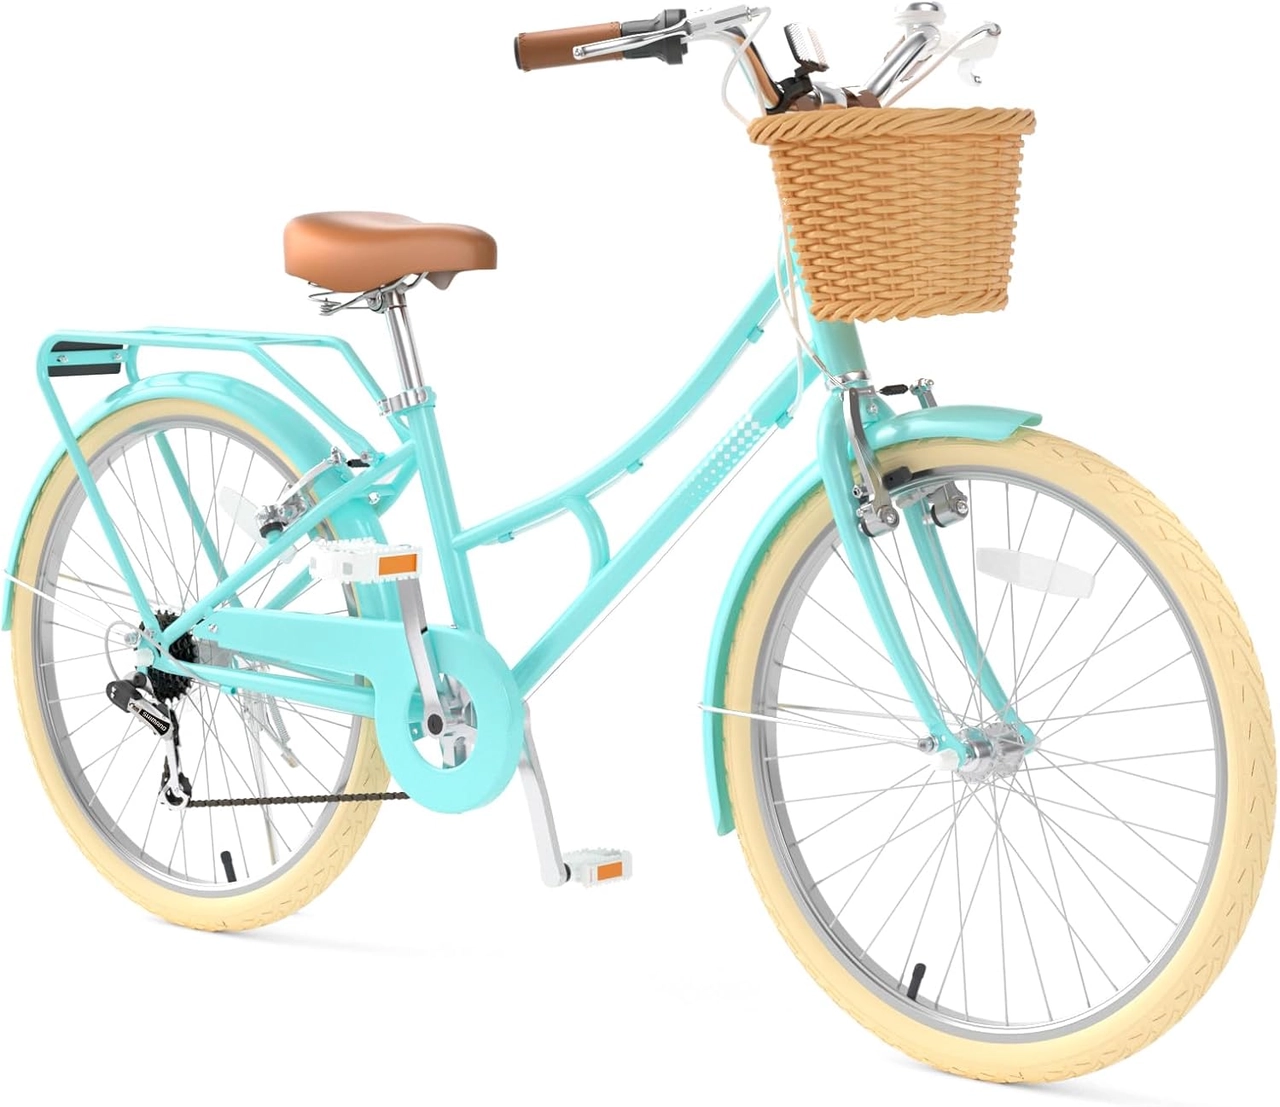 XJD 24-Inch Green Beach Cruiser Bike with U-Brake
A 24-inch and 26-inch cruiser comparison point with U-Brake, but the supplied facts do not confirm mounts, rack approval, load limits or child-seat compatibility.
 Pink XJD Beach Cruiser Bike, 24"/26", U-Brake
Available in 24 Inch and 26 Inch with U-Brake. Use it to compare rider sizing only; verify any child-seat mount and load requirements from the exact manuals or a qualified mechanic.
The XJD 24-Inch Green Beach Cruiser Bike with U-Brake is offered in Green / 24 Inch, Pink / 24 Inch and Pink / 26 Inch. The Pink XJD Beach Cruiser Bike, 24"/26", U-Brake is offered in 24 Inch and 26 Inch. These facts help narrow rider-size comparisons; they do not confirm that either bicycle supports any particular child seat.
For rider sizing, XBikes lists 24 Inch as a starting point for ages 10–14 and heights 54–64 in / 137–163 cm. A 26 Inch bicycle is a starting point for youth and adults over 60 in / 153 cm. Height matters more than age, and the rider should try the bicycle to verify inseam clearance, reach, brake control and current confidence. Do not choose an oversized bicycle merely for future growth.
Check the complete setup before riding
- Choose the child seat and obtain its current instructions.
- Match its mounting requirements against the exact bicycle and any rack manual.
- Have the rider try the bicycle without the child, checking stand-over, reach and brake control.
- Install and maintain every component according to its manual, using a qualified bicycle mechanic when compatibility or procedure is uncertain.
- Before each ride, check the mount, restraints and clearances as directed by the manufacturer.
The child and rider should each use an appropriate bicycle helmet. A child’s helmet must fit properly, sit level and have its straps adjusted according to the helmet manufacturer’s instructions.
Make the final decision
Choose a bicycle only after the seat maker, bicycle maker and any rack maker all allow the exact combination, every required measurement fits, total loading stays within all stated limits, and the rider remains fully in control. For either listed XJD cruiser, obtain the exact manuals or ask a qualified bicycle mechanic to verify compatibility before treating it as a child-seat bicycle.
Bikes for your next adventure
-
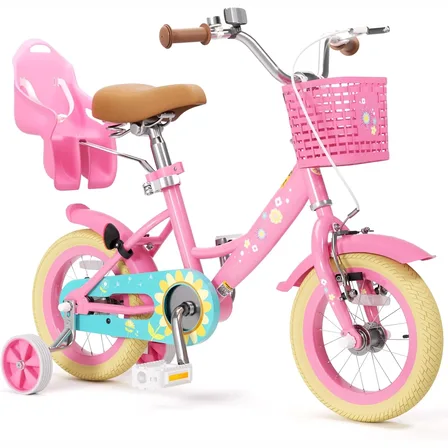
Flower Pink XJD Girls Bike with Doll Seat & Basket
The XJD Flower Pink girls' bike is made for riders 71–122 cm tall (roughly ages …$69.99
-
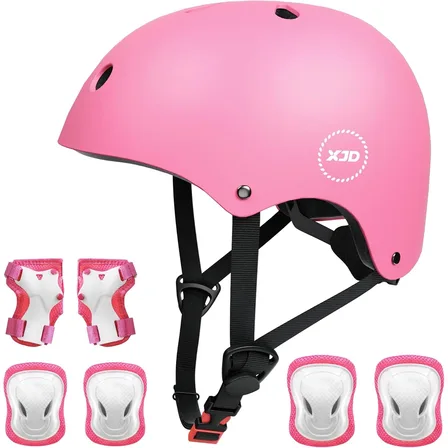
XJD Kids Helmet & Protective Gear Set for Girls, Pink
The XJD Kids Helmet & Protective Gear Set in Pink is a complete safety kit for g…$24.64
-

Kids Bike Helmet by XJD for Boys & Girls – Black, Blue, Green, Pink, Purple
The XJD Kids Bike Helmet covers a wide 2-to-8-year age range thanks to two head-…$59.99