

What sixe bike for my child
Choose your child’s bike by measured height first, then confirm inseam clearance, comfortable reach, brake control and confidence on the exact bicycle.
Start with height, not age
Measure your child without shoes, standing straight against a wall. Record the height from floor to the top of the head. Age can suggest where to begin, but children of the same age often need different sizes.
Next, measure inseam: have the child stand with feet slightly apart, place a firm book upright between the legs as if it were a saddle, and measure from the floor to the book’s top edge. Use this measurement during an in-person stand-over check; do not infer clearance from wheel diameter alone.
| Wheel size | Starting age | Rider height |
|---|---|---|
| 12 Inch | 3–4 | 34–40 in / 86–102 cm |
| 14 Inch | 3–6 | 37–45 in / 94–114 cm |
| 16 Inch | 4–7 | 40–48 in / 102–122 cm |
| 18 Inch | 5–9 | 43–52 in / 109–132 cm |
| 20 Inch | 7–12 | 48–60 in / 122–152 cm |
| 24 Inch | 10–14 | 54–64 in / 137–163 cm |
| 26 Inch | Youth and adults | Over 60 in / 153 cm |
These XBikes figures are starting points, not guarantees. If your child falls in an overlap, compare both sizes on the child rather than automatically choosing the larger one.
Check the bicycle on your child
A correct wheel-size range narrows the search, but frame shapes and adjustment ranges can differ. Have your child try the exact bicycle. The American Academy of Pediatrics advises against buying an oversized bike simply for future growth.
- Stand-over: With feet flat on the ground and the bicycle upright, your child should have usable clearance rather than being pressed against the frame.
- Reach: Seated in a normal riding position, the child should reach the handlebar without stretching, locking the elbows or losing a stable posture.
- Brake control: Confirm that the child can reach and operate the bicycle’s braking controls confidently. Do not assume hand size or strength from age.
- Starting and stopping: Ask the child to demonstrate controlled starts, turns and stops in a traffic-free area with close adult supervision.
- Confidence: If the child appears tense, cannot control the bicycle or struggles to put a foot down, compare another fit instead of encouraging them to grow into it.
How the supplied 12, 14 and 16 Inch options help
The two catalog bicycles below each offer 12 Inch, 14 Inch and 16 Inch SKU labels, so they provide relevant comparison points for children whose measured height falls within those XBikes starting ranges. Their supplied differences are limited to title wording and color; final fit still requires trying the chosen bicycle.
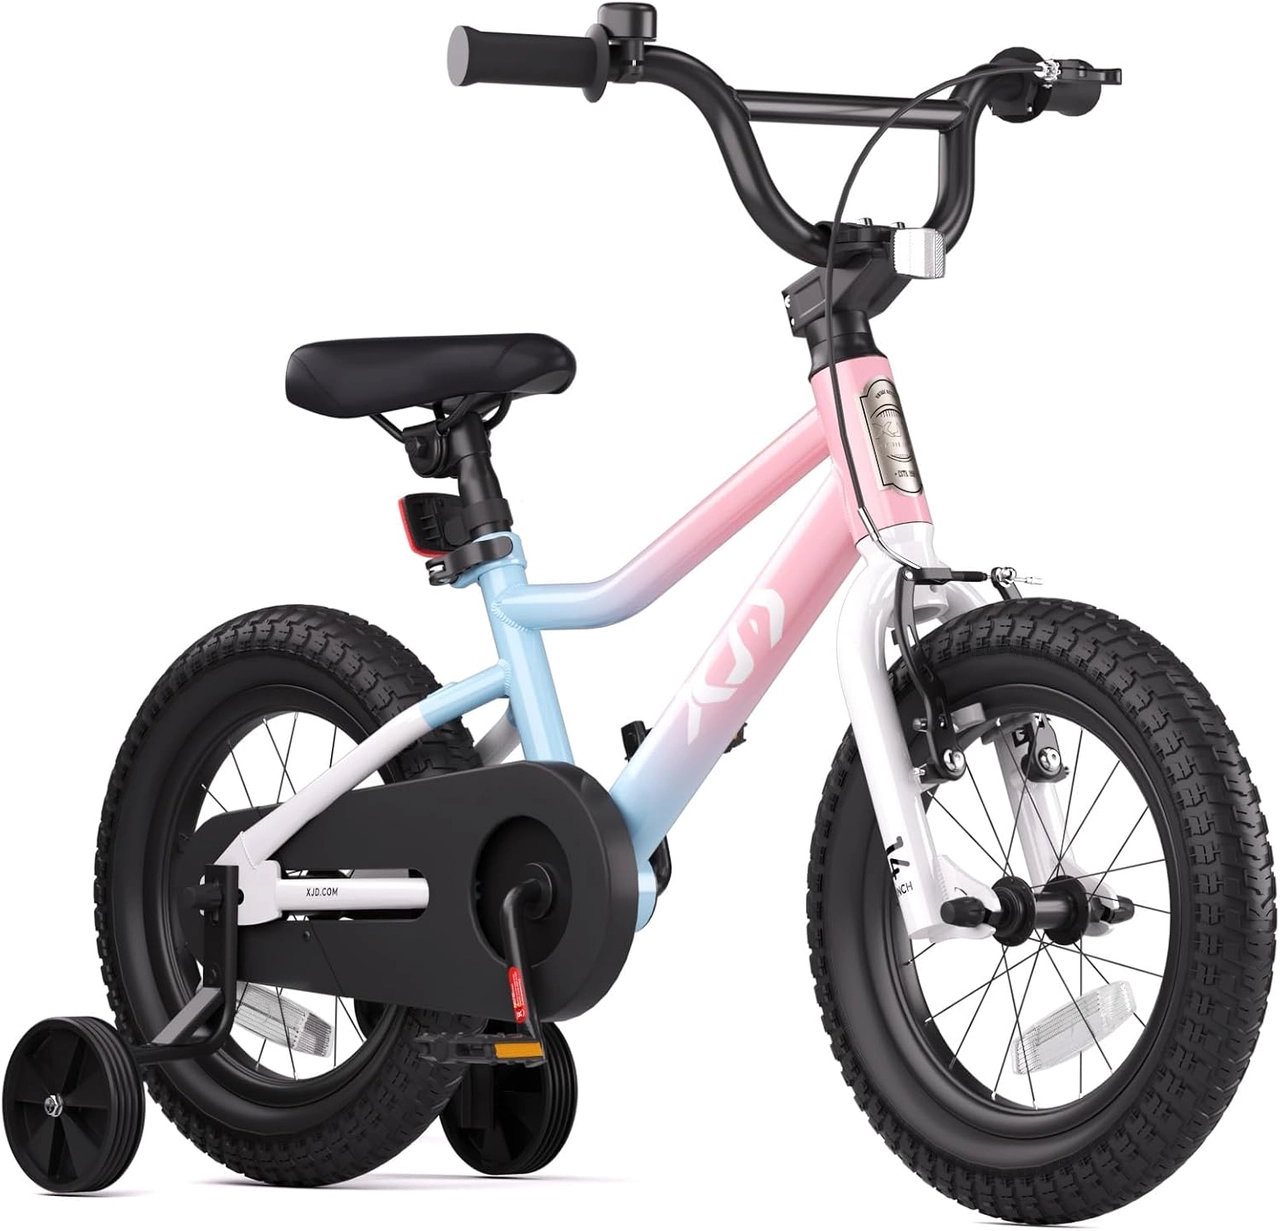 XJD Girls BMX Bike 12/14/16 Inch with Training Wheels – Pink Blue
A Kids’ BMX Bike offered with 12 Inch, 14 Inch and 16 Inch SKU labels. Compare the relevant size with the child’s measured height, then verify individual fit and control.
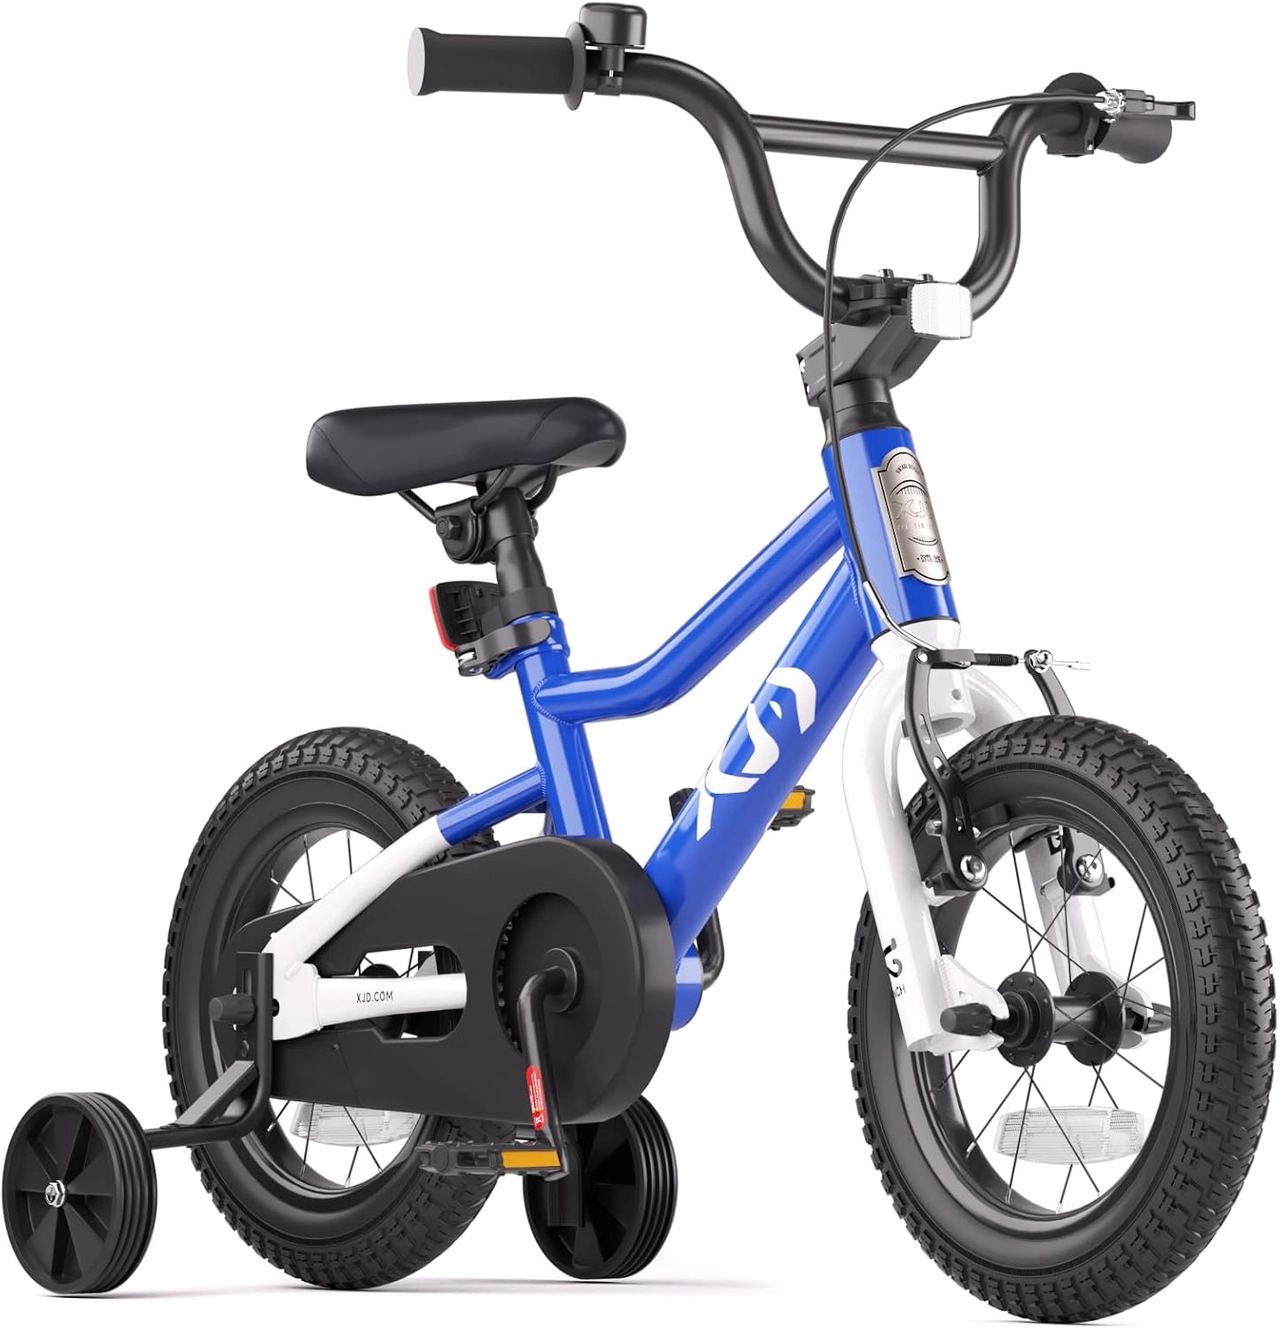 XJD Boys & Girls BMX Bike with Training Wheels, 12/14/16" – Blue
A blue Kids’ BMX Bike with training wheels in 12 Inch, 14 Inch and 16 Inch SKU labels. It is relevant only after height-based sizing and an individual fit check.
XJD Girls BMX Bike 12/14/16 Inch with Training Wheels – Pink Blue is listed in Kids’ BMX Bikes with 12 Inch, 14 Inch and 16 Inch choices. XJD Boys & Girls BMX Bike with Training Wheels, 12/14/16" – Blue is also a Kids’ BMX Bike with the same three wheel-size choices.
Both exact titles mention training wheels. That makes them relevant when comparing the listed sizes for a child who may use that setup, but it does not establish fit, skill level or compatibility details beyond the supplied facts. Follow the exact product manual for assembly, adjustment, maintenance and compatibility, or ask a qualified bicycle mechanic.
If your child measures into the 18, 20, 24 or 26 Inch starting range, neither supplied product provides that exact wheel size. The listed 12, 14 and 16 Inch models are then smaller-size comparison points, not substitutes for the required size.
What to do when two sizes overlap
Height ranges deliberately overlap. For example, a rider may fall within both the 14 Inch and 16 Inch starting ranges. In that situation, do not decide from age or anticipated growth. Put the child on each exact bicycle and compare stand-over clearance, natural handlebar reach, access to braking controls and controlled riding.
Choose the size the child can manage now. A larger wheel label is not evidence of a better fit, and training wheels do not correct excessive reach, inadequate clearance or poor brake access.
Complete the decision safely
Before riding, add a properly fitting bicycle helmet. U.S. Consumer Product Safety Commission guidance says the helmet should sit level and its straps should be used according to the helmet manufacturer’s instructions. Recheck the fit whenever the helmet is adjusted.
Your next step is simple: measure height and inseam, identify the matching row or rows, then have your child try those exact sizes. Buy only after the child demonstrates clearance, comfortable reach, reliable brake control and confident starts and stops on the bicycle they will ride.
Bikes for your next adventure
-
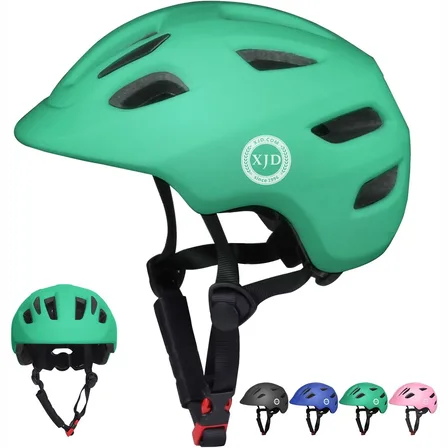
Green XJD Toddler Bike Helmet with Adjustable Fit, XS (46–51 cm)
The XJD toddler bike helmet in Green is built for the youngest riders — the size…$20.39
$23.99 -
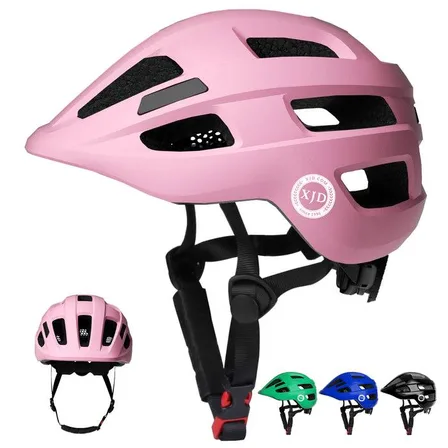
Kids Bike Helmet by XJD for Boys & Girls – Black, Blue, Green, Pink, Purple
The XJD Kids Bike Helmet covers a wide 2-to-8-year age range thanks to two head-…$59.99
-
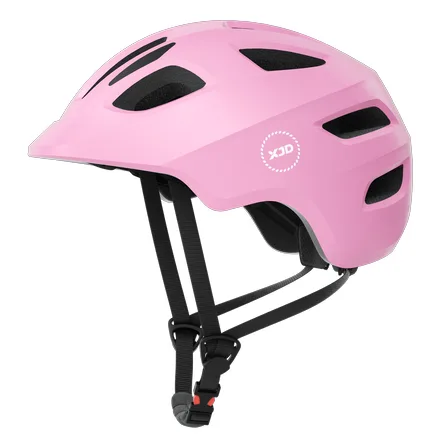
Kids Bike Helmet by XJD for Girls – Pink
The XJD Kids Bike Helmet in Pink is a lightweight multi-sport helmet for girls r…$59.99
$99