

What size bike to get toddler
To choose a toddler’s bike size, measure the child’s height and inseam, compare height with the XBikes wheel-size starting points, then confirm the child can stand over, reach, steer and brake on the actual bike. Do not size up merely to allow room for growth.
Start with height, not age
Measure the child without shoes, standing straight against a wall. Record total height from the floor to the top of the head. Height gives a more useful starting point than age because children of the same age can have very different proportions and confidence.
Next, measure inseam. Have the child stand with feet slightly apart, then measure from the floor to the crotch. This helps you judge whether the child can stand over the bike comfortably. Inseam is a fit-check measurement; the supplied XBikes standard does not assign an inseam number to each wheel size.
Compare the measurement with these sizes
| Wheel size | XBikes age starting point | Rider-height starting point |
|---|---|---|
| 12 Inch | Ages 3–4 | 34–40 in / 86–102 cm |
| 14 Inch | Ages 3–6 | 37–45 in / 94–114 cm |
| 16 Inch | Ages 4–7 | 40–48 in / 102–122 cm |
These ranges overlap deliberately: height narrows the options, but it cannot settle the choice by itself. If the child falls into two ranges, compare both bikes in person. Favor the size on which the child has better control now, rather than assuming the larger wheel will be a better value.
If the child is shorter than the listed 12 Inch starting range, this table does not establish a suitable bicycle size. Do not treat the nearest listed size as an automatic substitute; wait, seek an individually fitted option, or ask a qualified bicycle mechanic for help.
Perform the actual fit check
Have the child try the complete bicycle while an adult keeps it steady. The American Academy of Pediatrics advises trying the bicycle, checking stand-over and control, and avoiding an oversized bike bought for future growth.
- Stand-over: The child should be able to straddle the bike without the frame preventing a stable stance.
- Seat contact: Check that the child can get on and off without struggling and can make the foot contact required for the way the bicycle is intended to be used.
- Reach: With hands on the controls, the child should not have to stretch, lock the elbows or lose a balanced riding position.
- Steering: Ask the child to turn the handlebar both ways while remaining composed and in control.
- Brake control: Confirm that the child can reach and operate the bike’s braking controls. Do not assume small hands can manage an unfamiliar control.
A bike fails the fit check if the child cannot mount, stand over, steer or operate its controls confidently. A wheel-size label cannot override those signs.
How the available XBikes options help
The Girls 12/14/16 Inch Kids Bike by XJD with Training Wheels – Peach is relevant because its available SKU labels—12 Inch, 14 Inch and 16 Inch—cover the three XBikes starting ranges most likely to be compared for this question. They are separate size choices, not interchangeable fits, and each still requires the checks above.

Begin with the SKU whose height range contains the child’s measured height. Where ranges overlap, compare the applicable sizes for stand-over clearance, reach, brake operation and present confidence. The supplied catalog facts do not specify geometry, seat adjustment range, brake type, load limit, assembly details or compatibility, so consult the exact product manual or a qualified bicycle mechanic for those points.
Training wheels do not correct poor sizing
The supplied product is categorized as a training-wheel bike, but training wheels do not make an oversized frame fit. The child must still be able to mount, hold the handlebar naturally, steer and use the controls. Choose according to the child’s current ability, including whether they remain calm enough to start, turn and stop under close adult supervision.
Before riding, provide a properly fitted bicycle helmet. U.S. Consumer Product Safety Commission guidance says the helmet should sit level and its straps should be used according to the helmet manufacturer’s instructions. A helmet also needs a fresh fit check whenever its adjustment changes.
Make the final size decision
Write down the child’s height and inseam, identify every matching wheel-size range, and arrange a supervised try-on of those sizes. Select only the bike on which the child can stand over, reach, steer and brake with present confidence. If none passes every check, do not buy a larger size for growth; pause and obtain an individual fitting instead.
Bikes for your next adventure
-
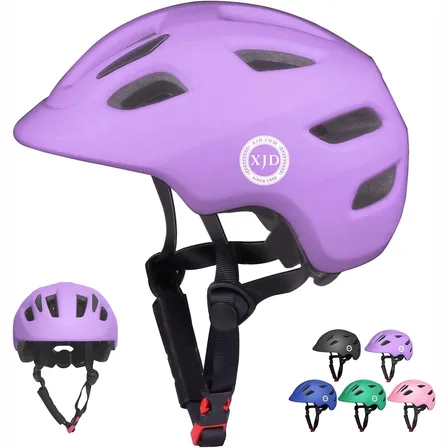
Light Purple XJD Toddler Bike Helmet, Adjustable, Size XS (46–51 cm)
This Light Purple XJD toddler bike helmet is made for the smallest riders — the …$20.39
-
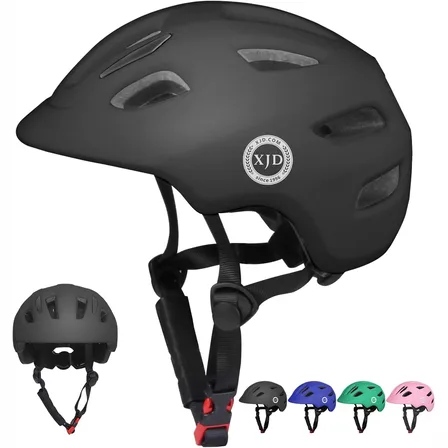
Black XJD Toddler Bike Helmet, Adjustable – Kids' Protective Helmet
The XJD Toddler Bike Helmet in black is an adjustable protective helmet for kids…$20.39
-

XJD Boys 12/14/16" Training Wheel Bike – Blue
The XJD Boys Bike in Blue is a training wheel bike for riders 71–122 cm tall—rou…$169
$199