

When can a baby go on a bike seat
A baby can go on a bike seat only when they can sit unsupported, keep steady head and neck control while wearing a properly fitted helmet, and meet every age, size and load rule in the seat and bicycle manuals. A birthday alone does not establish readiness.
Check the child before planning a ride
Watch the child in ordinary sitting, not just when supported by cushions or an adult. They should remain upright without slumping and control their head when looking around. A helmet adds weight, so confirm that they can maintain the same control while wearing it.
If the child was premature, has delayed motor development, or has a condition affecting posture, muscles or the neck, ask their pediatric clinician before using a bicycle seat. If you are uncertain about readiness, wait. A trailer or different carrier should not be assumed suitable without checking its own manual and the bicycle’s compatibility.
Compare the child, seat and bicycle requirements
Read the exact child-seat manual rather than relying on a general age recommendation. Confirm its minimum requirements, permitted child size and load limits. Then check the bicycle manual to determine whether that bicycle accepts the seat’s mounting position and hardware.
- Child: unsupported sitting, reliable head and neck control, and the ability to wear the helmet without slumping.
- Seat: the child meets every stated minimum and maximum requirement, and the restraint and foot-retention system can be adjusted as directed.
- Bicycle: the manufacturer permits the carrier type and mounting location.
- Rider: the adult can start, steer, brake and stop while managing the changed balance and additional load.
- Rules: local laws allow the setup and the child meets any applicable age or helmet requirement.
For compatibility, assembly, maintenance, torque settings and load limits not stated here, follow the exact manuals or use a qualified bicycle mechanic. Do not improvise mounting hardware or assume that a seat fitting one bicycle will fit another.
Fit the helmet and seat before moving
Use a bicycle helmet of the correct size. Following U.S. Consumer Product Safety Commission guidance, place it level and adjust its straps according to the helmet manufacturer’s instructions. A helmet that tips backward, shifts easily or interferes with the seat is not ready for a ride.
Secure the child exactly as the seat maker directs. Clothing, feet and straps must remain clear of wheels and other moving parts. Check that the adult rider can mount and dismount without sharply leaning the loaded bicycle. Never leave a child in the seat while the bicycle is parked or supported only by a kickstand.
Make the first ride a controlled check
- Install and inspect the seat using both manufacturers’ instructions.
- Place the helmeted child in the stationary seat and check posture, restraint adjustment and clearance.
- Have another adult steady the bicycle while the rider checks mounting, steering and braking.
- Begin with a brief ride in a flat, traffic-free area at a gentle pace.
- Stop immediately if the child slumps, cannot keep their head steady, appears distressed, or the bicycle feels difficult to control.
Recheck fasteners and fit at the intervals specified by the manuals. Growth, heavier clothing and changes to the bicycle can alter the setup.
Why the supplied kids’ bikes are a later-stage comparison
The supplied catalog products are training-wheel bicycles for children riding their own bikes; they are not baby bike seats and should not be used as substitutes for one. They become relevant only after a child reaches the listed starting range and passes an individual fit and control check.
The XJD Kids' Training Wheel Bike for Boys & Girls, 12/14/16 Inch – White offers 12 Inch, 14 Inch and 16 Inch labels. The Girls' Training Wheel Bike by XJD, 12–20 Inch Wheels – Blue lists 12 Inch, 14 Inch, 16 Inch and 20 Inch options. These choices help families compare later independent-riding stages, not decide when a baby can ride as a passenger.
 XJD Kids' Training Wheel Bike for Boys & Girls, 12/14/16 Inch – White
A later-stage independent-riding option with 12 Inch, 14 Inch and 16 Inch labels. It is a training-wheel bike, not a baby bike seat, so use measured height and an individual fit check when it becomes relevant.
 Girls' Training Wheel Bike by XJD, 12–20 Inch Wheels – Blue
A training-wheel bicycle offered in 12 Inch, 14 Inch, 16 Inch and 20 Inch labels. It is relevant for comparing later independent-riding sizes, not for carrying a baby as a passenger.
Use measurements when independent riding begins
For the catalog options above, XBikes uses these starting points: 12 Inch for 34–40 in (86–102 cm), generally ages 3–4; 14 Inch for 37–45 in (94–114 cm), generally ages 3–6; 16 Inch for 40–48 in (102–122 cm), generally ages 4–7; and 20 Inch for 48–60 in (122–152 cm), generally ages 7–12.
Measure the child’s standing height and inseam, then have them try the bicycle. Check stand-over clearance, reach, brake control and present confidence. Following American Academy of Pediatrics guidance, do not buy an oversized bicycle for a child to grow into. Age is only a starting point, and any wording in a product title is a catalog label rather than evidence of fit.
Decision: use a bike seat only after the child demonstrates the required physical control and satisfies the exact seat, bicycle and local requirements. If any check is uncertain, postpone the ride; consider the supplied training-wheel bikes later, when measured height and an in-person fit support independent riding.
Bikes for your next adventure
-
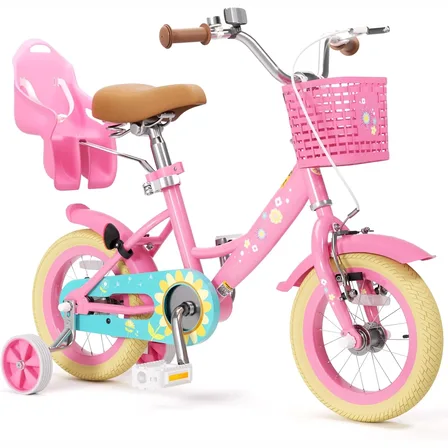
Flower Pink XJD Girls Bike with Doll Seat & Basket
The XJD Flower Pink girls' bike is made for riders 71–122 cm tall (roughly ages …$69.99
-
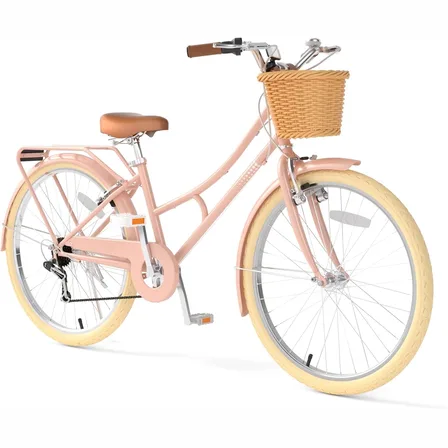
Pink XJD Beach Cruiser Bike, 24"/26", U-Brake
The XJD Pink Beach Cruiser Bike is a single-speed cruiser built for older kids a…$159.99
-
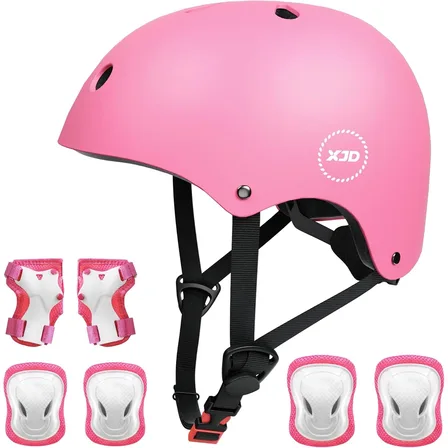
XJD Kids Helmet & Protective Gear Set for Girls, Pink
The XJD Kids Helmet & Protective Gear Set in Pink is a complete safety kit for g…$24.64