

When should a kid be able to ride a bike
Most children can learn to ride a bike when they can balance, steer, stop and follow simple directions—not at one universal age. Measure height and inseam, then check the child’s control and confidence on the actual bicycle.
Readiness matters more than a birthday
A child is ready to begin when they willingly sit on the bike, look ahead while moving, steer around an easy path and stop when asked. They should also understand basic directions such as waiting, slowing down and staying away from traffic.
Confidence counts, too. Hesitation is a reason to use a quieter practice area or return to simpler balance exercises, not to push the child onto a larger bicycle. Some children learn early; others need more time. Either can be normal.
Measure before choosing a wheel size
Measure the child’s height without shoes, standing straight against a wall. Measure inseam from the floor to the crotch with the feet slightly apart. Height provides a starting range; inseam helps determine whether the child can stand over and manage the particular frame.
| Wheel size | Starting age | Rider height |
|---|---|---|
| 12 Inch | 3–4 | 34–40 in / 86–102 cm |
| 14 Inch | 3–6 | 37–45 in / 94–114 cm |
| 16 Inch | 4–7 | 40–48 in / 102–122 cm |
| 18 Inch | 5–9 | 43–52 in / 109–132 cm |
| 20 Inch | 7–12 | 48–60 in / 122–152 cm |
| 24 Inch | 10–14 | 54–64 in / 137–163 cm |
| 26 Inch | Youth and adults | Over 60 in / 153 cm |
These ranges are starting points, not a substitute for trying the bike. Where ranges overlap, compare the actual fit of both sizes rather than choosing by age alone.
Check the bicycle with the child on it
Have the child try the exact bicycle. They need appropriate stand-over clearance, a comfortable reach to the handlebar and the ability to turn it without stretching or losing balance. Their hands must reach and operate the brakes confidently. Do not buy an oversized bike merely to leave room for growth; a bike that is difficult to mount, steer or stop can delay learning.
Use this quick decision check:
- Stand-over: The child can straddle the frame without being trapped or forced onto tiptoes.
- Reach: They can hold the handlebar and steer while remaining composed.
- Stopping: They can reach and operate the bicycle’s braking controls.
- Confidence: They can start, look ahead, turn and stop without panic.
If any item fails, compare another size or bicycle. For adjustments, assembly, compatibility, maintenance or torque requirements, follow the exact product manual or ask a qualified bicycle mechanic.
When training-wheel models are relevant
Training wheels can be relevant when a child fits the bicycle but is not yet confident balancing independently. They do not correct poor stand-over clearance, excessive reach or inaccessible braking controls. The goal remains controlled riding: steering, stopping and gradually developing balance.
The catalog options here help families compare the three smallest listed starting sizes. Blue XJD Girls Bike with Training Wheels – 12/14/16 Inch and XJD Boys 12/14/16" Training Wheel Bike – Blue are both categorized as Training Wheel Bikes and each has 12 Inch, 14 Inch and 16 Inch SKU labels. Choose between those size labels only after measuring and completing an individual fit check.
 Blue XJD Girls Bike with Training Wheels – 12/14/16 Inch
A Training Wheel Bike offered with 12 Inch, 14 Inch and 16 Inch SKU labels. It is relevant when the rider fits one of those starting sizes and currently benefits from training wheels.
 XJD Boys 12/14/16" Training Wheel Bike – Blue
A blue Training Wheel Bike with 12 Inch, 14 Inch and 16 Inch SKU labels. Compare the appropriate label only after checking the child’s measured height, inseam, reach, brake control and confidence.
These products are relevant only when the child’s measurements and control point toward a 12, 14 or 16 Inch option and training wheels suit the current learning stage. For a rider who needs an 18, 20, 24 or 26 Inch starting point, these catalog products are smaller-size comparison points, not equal substitutes.
Set up the first practice sessions
Start in a flat, open area away from vehicles, steep slopes and obstacles. Keep sessions short enough that fatigue does not replace concentration. Ask the child to practise looking forward, steering a simple line and stopping on command. Progress when those actions become calm and repeatable, not because a certain number of sessions has passed.
A bicycle helmet should fit properly, sit level and have its straps adjusted according to the helmet manufacturer’s instructions. Recheck the fit whenever the helmet is put on.
Decide what to do next
- Measure the child’s current height and inseam.
- Use height to identify one or two starting wheel sizes in the table.
- Have the child try the exact bike and compare stand-over, reach and brake control.
- Observe whether they can steer, stop, follow directions and remain willing to practise.
- Select training wheels only if they match the child’s present balance needs; do not use them to compensate for the wrong bike size.
A child should ride when the bike fits now and they can control it with growing confidence. If those checks do not pass today, choose a better-fitting option or pause and practise foundational skills before trying again.
Bikes for your next adventure
-

XJD Kids Bike for Girls – Pink, 12/14/16/20 Inch with Training Wheels
The XJD Kids Bike for Girls in Pink is a training-wheel bike built to carry your…$139
$159 -
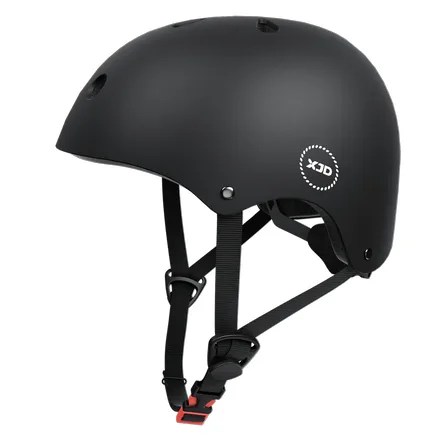
7-in-1 Kids Helmet & Protective Gear Set from XJD – Black or Blue
If you're outfitting one kid (or a couple of siblings) for biking, scootering, o…$59.99
-
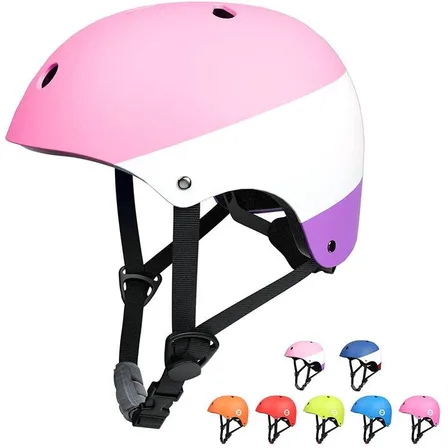
XJD Kids Bike Helmet for Boys & Girls, B White / Pink White
The XJD Kids Bike Helmet covers a wide age range — suggested for ages 2 through …$59.99