

When to switch kid to 24 inch bike
Switch your child to a 24-inch bike when they are about 54–64 inches (137–163 cm) tall and can comfortably straddle, reach, steer and brake on the actual bike. Age 10–14 is only a starting point; measured fit and confident control decide whether it is time.
Measure before changing wheel size
Measure the child’s height without shoes, standing upright against a wall. Then measure inseam from the floor to the crotch while the child stands with feet slightly apart. Height places the rider in a likely wheel-size range; inseam helps you judge clearance over the bicycle’s frame.
Record both measurements rather than relying on clothing size, school grade or age. Children of the same age can need different bicycles, and frame shapes can fit differently even when their wheel labels match.
| Wheel size | XBikes starting point | How to use it |
|---|---|---|
| 20 Inch | Ages 7–12; height 48–60 in / 122–152 cm | Compare when the child is below or entering the 24-inch range. |
| 24 Inch | Ages 10–14; height 54–64 in / 137–163 cm | Try the actual bicycle once height overlaps this range. |
| 26 Inch | Youth and adults over 60 in / 153 cm | Consider only after checking that a 24-inch bike is becoming too small and the larger bike remains controllable. |
Check the actual 24-inch bike
A child entering the height range is ready to try a 24-inch bicycle, not automatically ready to ride one. Have the child wear normal riding shoes and straddle the frame. They need usable clearance rather than contact with the frame, and they should be able to mount and dismount without struggling.
Next, place them in the riding position. Check that they can reach the handlebar without locking their elbows, leaning far forward or shifting awkwardly on the seat. They must be able to turn the handlebar through normal steering movements while remaining balanced.
Ask the child to operate each brake control with a secure grip. Brake reach and operation must feel manageable without stretching, twisting the wrist or releasing control of the handlebar. Follow the exact bicycle manual for permitted adjustments; if correct setup is uncertain, use a qualified bicycle mechanic.
Compare the current bike with the 24-inch candidate
Look for evidence that the current bicycle is limiting the rider: a cramped position, knees crowding the handlebar area, restricted steering or a setup that no longer permits an appropriate riding position. Then compare those observations with the child’s control on the 24-inch candidate.
A successful switch should improve usable room without taking away control. During a supervised test in a clear, level area, the child should be able to start, ride a straight line, steer deliberately, stop smoothly and put a foot down without panic. Hesitation alone may improve with practice, but inability to reach or control the bicycle signals a fit problem.
Do not choose an oversized bicycle merely to create growing room. If the child fits the 20-inch range better, cannot clear the 24-inch frame or cannot reliably reach and operate its controls, keep the smaller size for now and repeat the measurements later.
Use the catalog sizes as a direct comparison
The XJD Kids Beach Cruiser Bicycle, Rear Rack & V-Brakes, Mint Green is offered with 20 Inch, 24 Inch and 26 Inch SKU labels. Those three supplied sizes make it relevant for comparing the requested 24-inch option with an adjacent smaller or larger wheel label. The rear rack and V-brakes identify catalog features, but neither establishes fit; the child still needs to try the selected bicycle.

The 20 Inch label may be relevant when the rider remains better matched to the 48–60 inch (122–152 cm) starting range. The 24 Inch label is the exact requested wheel size and corresponds to the 54–64 inch (137–163 cm) starting range. The 26 Inch label is not equivalent to a 24-inch bike; it is a later comparison point for youth and adults over 60 inches (153 cm), subject to an individual fit check.
Know when to wait
Wait if the rider is outside the 24-inch height range, lacks adequate stand-over clearance, strains to reach the handlebar or brakes, or loses confidence during basic starts and stops. Adjustments cannot make every frame suitable for every child, and an apparently close wheel-size match does not override poor reach or control.
Also pause if the bicycle’s setup or brake operation is unclear. Use the exact product manual for assembly, maintenance, compatibility and adjustment instructions, or ask a qualified bicycle mechanic. Do not improvise specifications.
Make the switch safely
Once fit is confirmed, practice starting, controlled braking, turns and stops in a traffic-free area before normal rides. The child should wear a bicycle helmet that fits properly, sits level and has straps positioned according to the helmet manufacturer’s instructions.
Switch now only if your child measures into the 24-inch starting range and demonstrates clearance, comfortable reach, reliable brake use and calm control on the actual bicycle. If any one of those checks fails, stay with the better-fitting current size and reassess after more growth or practice.
Bikes for your next adventure
-

XJD Kids Bike for Girls – Pink, 12/14/16/20 Inch with Training Wheels
The XJD Kids Bike for Girls in Pink is a training-wheel bike built to carry your…$139
$159 -
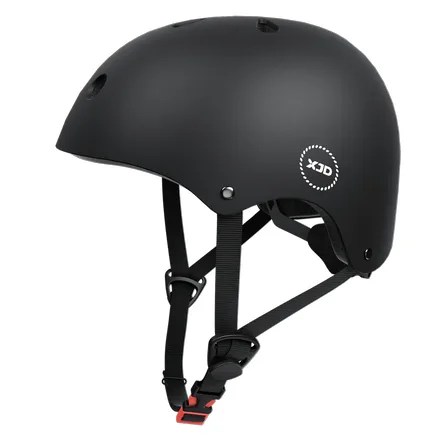
7-in-1 Kids Helmet & Protective Gear Set from XJD – Black or Blue
If you're outfitting one kid (or a couple of siblings) for biking, scootering, o…$59.99
-

Blue XJD Girls Bike with Training Wheels – 12/14/16 Inch
If you're shopping for a first pedal bike for a daughter roughly 3 to 8 years ol…$149
$169