

When yo get kids to start riding bike
Get kids started riding when they fit a correctly sized bike, can reach and use its controls, and show enough confidence to practise willingly. Measure first; do not choose by age alone or buy an oversized bike for future growth.
Measure before choosing a wheel size
Measure the child’s standing height and inseam while they wear the shoes they will use for riding. Height gives you a starting wheel size; inseam helps you judge whether the child can stand over the bicycle comfortably. Record both measurements rather than relying on memory.
Then have the child try the actual bicycle. Check that they can get on and off without struggling, stand over it with clearance, sit in a controlled position, and reach the handlebar without stretching. They must also be able to reach and operate the brakes. The American Academy of Pediatrics advises against buying an oversized bicycle merely so a child can grow into it.
Compare the XBikes starting points
| Wheel size | Age starting point | Rider-height starting point |
|---|---|---|
| 12 Inch | 3–4 | 34–40 in / 86–102 cm |
| 14 Inch | 3–6 | 37–45 in / 94–114 cm |
| 16 Inch | 4–7 | 40–48 in / 102–122 cm |
| 18 Inch | 5–9 | 43–52 in / 109–132 cm |
| 20 Inch | 7–12 | 48–60 in / 122–152 cm |
| 24 Inch | 10–14 | 54–64 in / 137–163 cm |
| 26 Inch | Youth and adults | Over 60 in / 153 cm |
These ranges overlap because children of the same age can have different proportions and skill levels. Start with measured height, then compare inseam, reach, brake control and current confidence on the bicycle itself. If two sizes appear possible, the successful test ride—not extra growing room—should decide.
Decide whether your child is ready
A suitable starting moment is when the child wants to try and can follow simple instructions about stopping, looking ahead and staying within a practice area. Physical size alone does not establish readiness.
- They can hold the bicycle upright with manageable assistance.
- They can place their feet where needed to steady themselves.
- They can look forward while steering rather than watching only the pedals.
- They can reach and operate the bicycle’s brakes reliably.
- They are willing to repeat short attempts without being pressured.
If reach, braking or balance looks uncontrolled, pause. Recheck the fit, consider a more suitable size, or return to simpler balance and stopping practice.
Use the catalog options as a focused comparison
The Black XJD Kids Bike for Boys – 12, 14 & 16 Inch Sizes is relevant because its available 12 Inch, 14 Inch and 16 Inch SKU labels let families compare three adjacent starting sizes within the supplied XBikes chart. It is categorized as a Training Wheel Bike, so it is pertinent when that format matches the child’s current learning plan. Those labels do not replace an individual fit check.

This product is not a substitute when the child needs an 18, 20, 24 or 26 Inch wheel-size starting point. In that case, use its listed sizes only as comparison points and look for the required size elsewhere. The words “for Boys” are part of the exact catalog title, not evidence that the bicycle’s fit should be decided by gender.
Make the first sessions controlled
Choose a flat, open area away from traffic and obstacles. Begin with getting on, looking ahead, steering and stopping before expecting longer rides. Keep attempts short enough that fatigue does not undermine control or confidence. Increase distance only after starts, turns and stops become repeatable.
A bicycle helmet is required for every practice session. Following U.S. Consumer Product Safety Commission guidance, choose one that fits properly, sits level and has straps adjusted according to the helmet manufacturer’s instructions. Recheck the fit whenever the helmet is put on.
Check the bicycle before riding
Confirm that the bicycle is assembled correctly and that the controls function before the child rides. Product-specific assembly steps, maintenance intervals, load limits, compatibility requirements and torque values are not provided here; follow the exact product manual or use a qualified bicycle mechanic rather than guessing.
Your next decision is simple: measure height and inseam today, identify the chart’s starting size, and arrange an actual fit check. Start riding only when the child can stand over the bike, reach the handlebar and brakes, stop under control, and approach practice with confidence.
Bikes for your next adventure
-
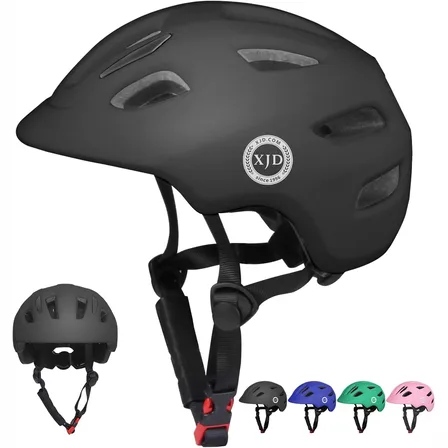
Black XJD Toddler Bike Helmet, Adjustable – Kids' Protective Helmet
The XJD Toddler Bike Helmet in black is an adjustable protective helmet for kids…$20.39
-
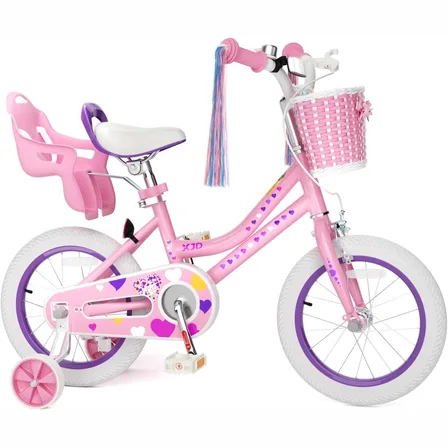
Pink Girls' 12/14/16" Bike by XJD – Basket & Doll Seat
The XJD Pink Girls' Bike with Basket & Doll Seat is made for riders 71–122 cm ta…$75.99
$99.99 -
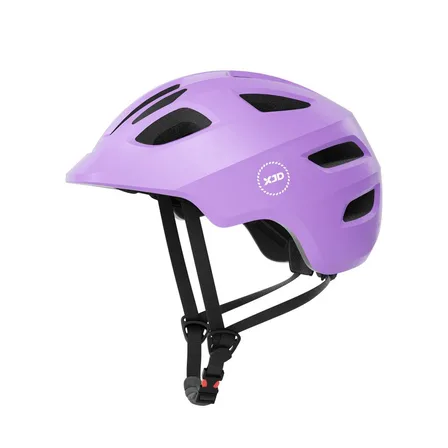
Girls' Bike Helmet from XJD – Purple
The XJD kids bike helmet in purple is a multi-sport helmet built for toddlers an…$59.99
$49