

Who is the kid in bicycle
You cannot identify a specific child from the phrase “Who is the kid in bicycle.” For a parent, the useful answer is the child who fits and controls that bicycle—not simply one whose age matches a label.
What “the kid” means for bicycle fit
The appropriate rider is a child whose measured height and inseam allow a stable stand-over position, whose arms can reach the controls without straining, and whose hands can operate the brakes comfortably. Current confidence matters too: two children of the same age and height may need different setups or levels of support.
Have the child try the bicycle whenever possible. Do not choose an oversized bicycle merely to leave room for growth. A bike that is too large can make starting, stopping, steering and getting a foot down more difficult.
Measure the child before comparing sizes
- Measure standing height: Have the child stand without shoes against a wall, looking straight ahead. Measure from the floor to the top of the head.
- Measure inseam: With feet slightly apart, measure from the floor to the crotch. Use this measurement during an actual stand-over check rather than assuming wheel size guarantees clearance.
- Check reach: On the bicycle, the child should reach the handlebar and controls without stretching excessively or locking the elbows.
- Check brake control: Confirm that the child can reach and operate the bicycle’s braking controls. Follow the exact product manual for adjustment instructions, or ask a qualified bicycle mechanic.
- Observe confidence: Ask the child to start, steer, stop and place a foot down in a controlled setting. Hesitation caused by poor reach or excessive size is a reason to reconsider the fit.
Compare the measurement with XBikes starting points
Use height before age. These ranges narrow the search, but they do not replace checking inseam, stand-over clearance, reach, brake control and confidence on the individual bicycle.
| Wheel size | Starting age | Rider height |
|---|---|---|
| 12 Inch | 3–4 | 34–40 in / 86–102 cm |
| 14 Inch | 3–6 | 37–45 in / 94–114 cm |
| 16 Inch | 4–7 | 40–48 in / 102–122 cm |
| 18 Inch | 5–9 | 43–52 in / 109–132 cm |
| 20 Inch | 7–12 | 48–60 in / 122–152 cm |
| 24 Inch | 10–14 | 54–64 in / 137–163 cm |
| 26 Inch | Youth and adults | Over 60 in / 153 cm |
Overlap is normal. For example, a child measuring 40 inches falls within the 12-, 14- and 16-inch starting ranges. That does not make those sizes equal. Compare the child’s inseam and control on each candidate rather than choosing the largest option automatically.
How the supplied bicycles relate
The Girls 12/14/16 Inch Kids Bike by XJD with Training Wheels – Peach is a training-wheel bicycle represented by supplied 12 Inch, 14 Inch and 16 Inch SKU labels. The XJD Light Purple Girls Bike with Basket, Training Wheels, 12/14/16/20 Inch is also categorized as a training-wheel bicycle, while its supplied available SKU labels are 12 Inch, 14 Inch and 16 Inch. Although “20 Inch” appears in that exact catalog title, it is not among the supplied available labels and should not be treated here as a selectable option.
These particular catalog options help answer the title because they provide same-category comparison points across three child wheel sizes, letting a parent match a measured rider to 12-, 14- or 16-inch starting ranges before performing the individual fit check.
 Girls 12/14/16 Inch Kids Bike by XJD with Training Wheels – Peach
A training-wheel bicycle with supplied 12 Inch, 14 Inch and 16 Inch SKU labels, relevant for comparing a measured child against those XBikes starting ranges before an individual fit check.
 XJD Light Purple Girls Bike with Basket, Training Wheels, 12/14/16/20 Inch
A training-wheel bicycle with a basket and supplied 12 Inch, 14 Inch and 16 Inch SKU labels. Although 20 Inch appears in its catalog title, it is not among the supplied available labels.
When these products are—and are not—relevant
They are relevant when the measured child falls near the 12-, 14- or 16-inch height ranges and a training-wheel bicycle is under consideration. Because both supplied products share the same category and supplied size labels, the fit decision still depends on trying the chosen size; the titles alone do not establish stand-over clearance, reach or brake control.
They are not suitable substitutes when measurement and a fit check point to an 18-, 20-, 24- or 26-inch bicycle. They are also not enough to answer questions about weight, materials, brake type, load limits, compatibility, assembly, maintenance or torque because those facts were not supplied. Consult the exact product manual or a qualified bicycle mechanic for those details.
Complete the decision safely
Once a size looks plausible, repeat the stand-over, reach and braking checks on the exact bicycle. Follow its manual for setup and training-wheel adjustments. The child should also wear a properly fitting bicycle helmet that sits level, with straps used according to the helmet manufacturer’s instructions.
Your next step is specific: measure the child’s height and inseam, shortlist only the matching wheel-size starting points, then let that child demonstrate comfortable reach, brake operation and control before deciding that they are “the kid” for that bicycle.
Bikes for your next adventure
-
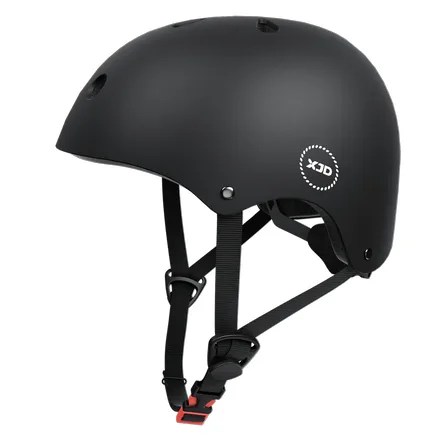
7-in-1 Kids Helmet & Protective Gear Set from XJD – Black or Blue
If you're outfitting one kid (or a couple of siblings) for biking, scootering, o…$59.99
-
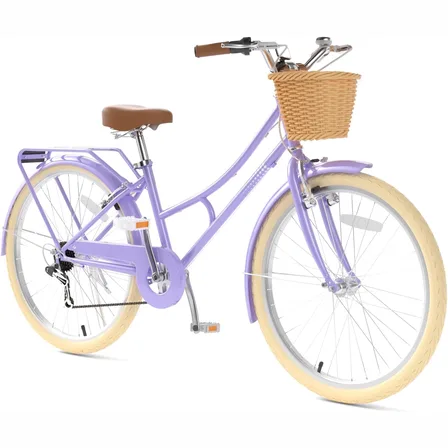
26-Inch XJD Beach Cruiser Bike for Girls – Purple, V-Brake
This XJD 26-inch purple beach cruiser is sized for big kids and teens — suggeste…$218.49
$229.99 -
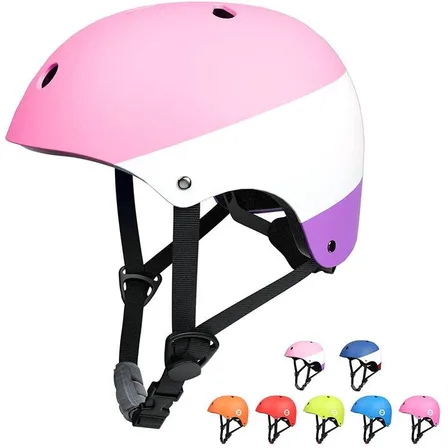
XJD Kids Bike Helmet for Boys & Girls, B White / Pink White
The XJD Kids Bike Helmet covers a wide age range — suggested for ages 2 through …$59.99