

Why cant my kids ride a bike
Your child may be unable to ride because the bicycle does not fit, its controls are hard to reach, or balance, starting, braking and steering have not yet become comfortable. Measure the rider and check the bicycle before assuming they need more encouragement or a larger bike.
Check fit before judging ability
Measure your child’s height without shoes, then measure inseam from the floor to the crotch. Compare those measurements with the bicycle’s stand-over clearance and riding position. Age is only a starting point; height, inseam, reach, brake control and current confidence matter more.
Have your child try the bicycle. They should be able to stand over it, reach the handlebars without an uncomfortable stretch and operate the brakes confidently. Do not buy an oversized bicycle for them to grow into. If they cannot stabilize the bike or reach its controls, practice will not correct the underlying fit problem.
Compare the wheel size with measured height
Use these XBikes ranges to identify sizes worth trying, not to confirm fit by themselves:
| Wheel size | Starting age | Rider height |
|---|---|---|
| 12 Inch | 3–4 | 34–40 in / 86–102 cm |
| 14 Inch | 3–6 | 37–45 in / 94–114 cm |
| 16 Inch | 4–7 | 40–48 in / 102–122 cm |
| 18 Inch | 5–9 | 43–52 in / 109–132 cm |
| 20 Inch | 7–12 | 48–60 in / 122–152 cm |
| 24 Inch | 10–14 | 54–64 in / 137–163 cm |
| 26 Inch | Youth and adults | Over 60 in / 153 cm |
Overlapping ranges are normal. When a child falls within two ranges, compare both bicycles in person. Choose according to actual stand-over, reach, control and confidence rather than automatically selecting the larger wheel.
Identify the point where riding breaks down
Watch one short attempt and identify the first difficulty instead of correcting everything at once:
- Standing or mounting: Recheck stand-over clearance and whether the bicycle feels too tall or heavy to control.
- Starting: Practice pushing off and placing feet on the pedals separately from longer riding.
- Balancing: Use a flat, open, traffic-free practice area and let the child work on looking ahead and moving steadily.
- Steering: Ask for broad, gentle paths before tight turns.
- Stopping: Confirm that the child can reach and use the brakes before adding speed.
Keep sessions short enough that fatigue and frustration do not become new obstacles. Calm repetition of one task gives you clearer evidence about whether the issue is fit, control or confidence.
Decide whether training wheels are relevant
Training wheels may help a child who is not yet comfortable holding a bicycle upright while learning pedaling and steering. They do not replace a correct fit, reachable controls or eventual balance practice. If your child can already coast and balance but struggles only with starting or braking, focus practice on that specific skill instead.
The Light Pink XJD Girls' Bicycle with Basket & Training Wheels is relevant as a size-comparison option because its supplied choices are 12 Inch, 14 Inch, 16 Inch and 20 Inch. Those choices span several XBikes starting ranges, while the included training wheels may be relevant to the child’s present learning stage. The catalog also identifies a basket. Each size still requires an individual fit check.

This product does not supply an 18 Inch, 24 Inch or 26 Inch option in the catalog facts provided here. If your measurements point to one of those sizes, its available sizes are comparison points, not equivalent substitutes.
Remove equipment and setup uncertainty
Before practice, inspect the bicycle for an obvious loose, damaged or incorrectly positioned part. For assembly, adjustment, maintenance, compatibility, load limits and torque, follow the exact product manual or ask a qualified bicycle mechanic. Do not improvise a technical setting when the manufacturer’s procedure is unavailable.
A bicycle helmet must fit properly, sit level and have its straps adjusted according to the helmet manufacturer’s instructions. A helmet cannot correct poor bicycle fit, but it remains part of preparing for each riding attempt.
What to do next
- Measure height and inseam.
- Use the table to shortlist a wheel size.
- Have your child try the bicycle and check stand-over, reach and brake operation.
- Observe whether the first problem is starting, balancing, steering or stopping.
- Practice that single skill in a suitable traffic-free area, or change bicycles if fit or control is the obstacle.
If your child still cannot stand comfortably, reach the controls or stop reliably, pause riding and correct the fit or setup first. If those checks pass, choose one troublesome skill and practice it briefly; that is the clearest next step toward answering why your child cannot yet ride.
Bikes for your next adventure
-
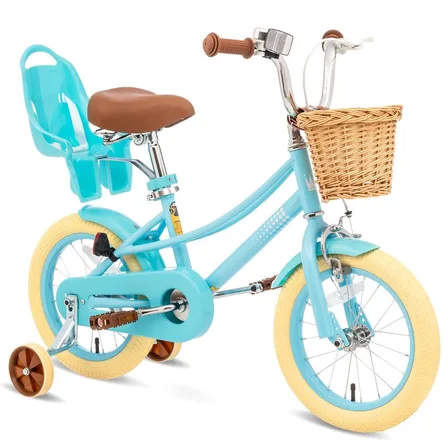
Girls' Training Wheel Bike by XJD, 12–20 Inch Wheels – Blue
This XJD girls' training wheel bike in Blue covers one of the widest fit ranges …$139
$159 -

Black XJD Kids Bike for Boys – 12, 14 & 16 Inch Sizes
For a son between roughly 3 and 8 years old, the XJD Kids Bike in Black covers t…$169
$199 -
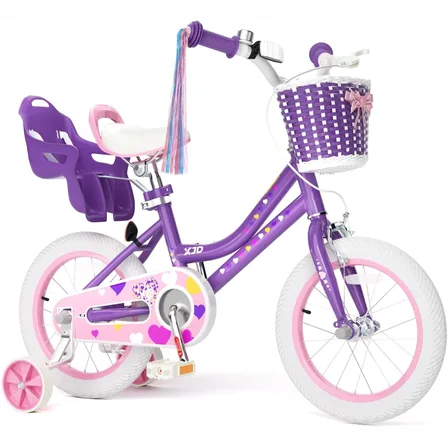
XJD Light Purple Girls Bike with Basket, Training Wheels, 12/14/16/20 Inch
The XJD Girls Bike with Basket in Light Purple is a single-speed training-wheel …$99.99
$119.99