

How to turn a boy bike into a girl bike
To turn a boy bike into a girl bike, keep the bike if it fits the child, then change only the removable colors, accessories and contact points she wants.
Start with the rider, not the label
There is no mechanical conversion that makes a children’s bicycle a “girl bike.” Those labels usually describe styling or frame marketing, not who can ride it. Ask the child what she actually wants changed: perhaps a different color theme, a basket, streamers, stickers, grips or a bell. She may prefer no changes at all.
Before decorating, confirm that the existing bicycle fits. Have the child try it in riding clothes and shoes. Check that she can stand over it comfortably, get on and off without struggling, reach the handlebar without stretching, steer with control and operate the brakes confidently. Do not keep an oversized bicycle merely because she may grow into it.
Measure before deciding what to keep
Measure the child’s height without shoes. Also measure inseam from the floor to the crotch while she stands straight with feet slightly apart. Compare those measurements with the bicycle’s wheel size, then verify the fit on the actual bike. Wheel size is only a starting point; frame shape and adjustment range can affect stand-over and reach.
| Wheel size | Starting age | Rider height |
|---|---|---|
| 12 Inch | 3–4 | 34–40 in / 86–102 cm |
| 14 Inch | 3–6 | 37–45 in / 94–114 cm |
| 16 Inch | 4–7 | 40–48 in / 102–122 cm |
| 18 Inch | 5–9 | 43–52 in / 109–132 cm |
| 20 Inch | 7–12 | 48–60 in / 122–152 cm |
| 24 Inch | 10–14 | 54–64 in / 137–163 cm |
| 26 Inch | Youth and adults | Over 60 in / 153 cm |
Prioritize measured height, inseam, reach, brake control and present confidence over age. If the child falls between starting ranges, trying both relevant sizes is more useful than choosing from age alone.
Make appearance changes without compromising control
Once fit is confirmed, choose reversible changes together. Frame-safe stickers or decals can alter the color scheme. A bell, spoke decorations or streamers can personalize the bike, while a basket may be useful if it is designed for that bicycle and installed correctly.
- Keep decorations clear of wheels, spokes, chain, brakes, steering and moving parts.
- Do not cover reflectors, controls, warning labels or identifying information.
- Make sure added items cannot loosen, snag clothing or obstruct the rider’s view.
- Check that replacement grips or other contact parts do not reduce reach or control.
Compatibility, assembly methods and tightening requirements vary. Follow the exact bicycle and accessory manuals; if instructions are missing or the installation affects steering or braking, use a qualified bicycle mechanic.
Compare replacement options only if the current bike does not fit
If the bicycle is the wrong size, difficult to control or cannot be adjusted appropriately under its manual, decoration will not solve the problem. A correctly fitting replacement matters more than whether its catalog title says boys, girls or both.
The supplied catalog option, XJD Boys & Girls BMX Bike with Training Wheels, 12/14/16" – Blue, is relevant because it is explicitly presented for boys and girls and offers 12 Inch, 14 Inch and 16 Inch SKU labels. Those sizes let you compare three nearby starting ranges against the child’s measured height before arranging an individual fit check.
These particular catalog options help answer the title by showing that the same bike can be marketed for boys and girls; the meaningful choice among them is the correctly fitting wheel-size label, not a gender conversion.

This product is a useful comparison only when the rider’s measurements point toward 12, 14 or 16 Inch wheels. It does not provide an 18, 20, 24 or 26 Inch option in the supplied facts, so it is not a substitute when the rider needs one of those sizes. The supplied facts also do not establish its dimensions beyond wheel-size labels, brake reach, adjustment range, compatibility, load limit or assembly procedure. Confirm those details in the exact product manual and through a hands-on fit check.
Recheck safety after every change
After fitting accessories, turn the handlebar fully in both directions and spin each wheel to check for interference. Have the child verify that she can still mount, steer, stop and dismount comfortably in a quiet, controlled area. Consult the bicycle manual for inspection, maintenance and assembly requirements rather than guessing at procedures or torque settings.
A properly fitting bicycle helmet is essential. It should sit level, fit correctly and have its straps adjusted according to the helmet manufacturer’s instructions. Personalizing the bicycle does not replace protective equipment or supervised practice appropriate to the child’s confidence.
Make the final decision
If the current bike fits and works properly, let the child choose a few compatible, securely installed visual changes and keep riding it. If stand-over, reach, braking or control is poor, stop treating the issue as a boy-to-girl makeover: measure her, compare the correct wheel-size starting points and try a properly sized bicycle before buying or decorating.
Bikes for your next adventure
-
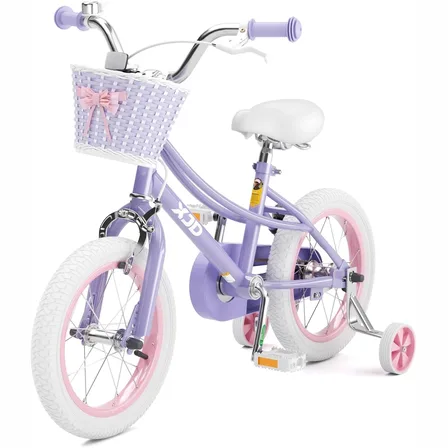
Girls' Training Wheel Bike by XJD with Basket – Purple
If you're shopping for a first bike for a girl roughly 3 to 12 years old (91–152…$75.99
-
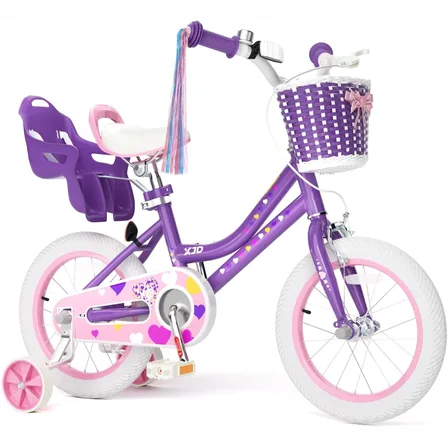
XJD Light Purple Girls Bike with Basket, Training Wheels, 12/14/16/20 Inch
The XJD Girls Bike with Basket in Light Purple is a single-speed training-wheel …$99.99
$119.99 -
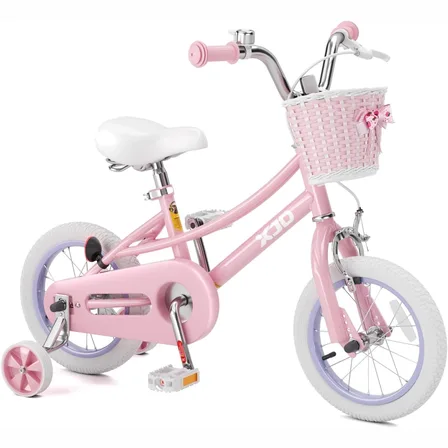
Pink 12/14/16/20" XJD Girls Bike with Training Wheels & Basket
The Pink XJD Girls Bike with Training Wheels & Basket is a first-bike pick f…$65.99
$75.99