

What is the difference between boy and girl bikes
Boy and girl bikes usually differ in styling, color, or frame presentation—not in the basic fit a child needs. Choose by measured body fit and control, not the gender label.
What actually matters when comparing them
A bike marketed for boys and one marketed for girls may look different, but those labels do not determine the correct wheel size or whether a child can ride comfortably. Compare the bikes as individual models. Look at how easily the rider can stand over the bike, reach the handlebar, operate the brakes, start, stop, and steer.
Do not assume that two bikes with the same wheel size will feel identical. Frame shape, saddle position, handlebar position, and control placement can affect fit even when the size label matches. The useful question is therefore not “Which gender is this bike for?” but “Can this rider control this particular bike confidently?”
Measure before choosing a wheel size
Measure the child’s height without shoes. Also measure inseam from the floor to the crotch while the child stands straight with feet slightly apart. Height gives you a starting wheel size; inseam helps you judge stand-over clearance and whether the child can mount and stop without struggling.
| Wheel size | Starting age | Rider height |
|---|---|---|
| 12 Inch | 3–4 | 34–40 in / 86–102 cm |
| 14 Inch | 3–6 | 37–45 in / 94–114 cm |
| 16 Inch | 4–7 | 40–48 in / 102–122 cm |
| 18 Inch | 5–9 | 43–52 in / 109–132 cm |
| 20 Inch | 7–12 | 48–60 in / 122–152 cm |
| 24 Inch | 10–14 | 54–64 in / 137–163 cm |
| 26 Inch | Youth and adults | Over 60 in / 153 cm |
These ranges are starting points, not proof of fit. Where sizes overlap, prioritize measured height, inseam, reach, brake control, and current confidence over age. A less-confident rider may need a different setup from another child of the same age and height.
Perform an individual fit check
Have the child try the exact bicycle whenever possible. The American Academy of Pediatrics advises against buying an oversized bike for a child to grow into. A bike that is too large can make mounting, stopping, steering, and reaching the controls unnecessarily difficult.
- Check stand-over: Ask the child to straddle the bike with both feet on the ground. Confirm that the frame does not prevent a stable stance.
- Check reach: With the child seated, make sure the handlebar can be reached without an exaggerated stretch or locked arms.
- Check brake control: The child should be able to reach and operate the available brake controls while keeping a secure grip.
- Check movement: In a suitable supervised area, confirm that the rider can start, steer, stop, and put a foot down without losing control.
Follow the exact product manual for assembly, adjustments, maintenance, load limits, compatibility, and torque. If anything is unclear or the controls cannot be adjusted appropriately, use a qualified bicycle mechanic.
How the supplied boy-and-girl models compare
The two catalog options directly illustrate why gender wording should not drive the decision: both exact titles identify the bikes for boys and girls, and both offer 12 Inch, 14 Inch, and 16 Inch selections. They are useful comparison points for families whose measured rider falls within those wheel-size starting ranges.
 XJD Boys & Girls BMX Bike with Training Wheels, 12/14/16" – Blue
A boys-and-girls Kids’ BMX Bike offered in 12 Inch, 14 Inch, and 16 Inch labels, making it relevant for comparing size options without treating blue styling as fit evidence.
 XJD Kids' Training Wheel Bike for Boys & Girls, 12/14/16 Inch – White
A boys-and-girls Training Wheel Bike offered in 12 Inch, 14 Inch, and 16 Inch labels; use the rider’s measurements and an individual fit check to select among them.
XJD Boys & Girls BMX Bike with Training Wheels, 12/14/16" – Blue is categorized as a Kids’ BMX Bike and is offered in 12 Inch, 14 Inch, and 16 Inch labels. Its blue presentation does not make it a boys-only fit.
XJD Kids' Training Wheel Bike for Boys & Girls, 12/14/16 Inch – White is categorized as a Training Wheel Bike and has the same three supplied size labels. Its white presentation likewise provides no evidence that it fits one gender differently.
The catalog facts do not establish differences in frame dimensions, brake type, weight, materials, or component specifications. Do not infer those details from the names or categories; consult each exact product page and manual, then conduct the same hands-on fit check.
Separate preference from fit
After identifying bikes that fit, let the child choose between acceptable colors, styling, and categories. Preference can matter because a child may be more eager to ride a bike they like, but appearance should be the final choice among correctly fitting options—not a substitute for measurement or control.
Training wheels in these product titles describe the offered bikes; they do not settle whether a particular child needs them. Base that decision on current confidence and the exact product instructions. Never use an oversized bicycle as a way to delay the next size purchase.
Make the final decision
Start with the child’s measured height, use the table to shortlist a wheel size, and resolve overlaps through inseam, reach, brake access, and a real try-on. Then compare boy or girl styling only among bikes the child can control. Before riding, fit a bicycle helmet so it sits level and secure, with its straps adjusted according to the helmet manufacturer’s instructions.
The practical answer is simple: ignore gender as a sizing rule. Choose the specific bike that fits now, supports confident control, and matches the child’s preference only after those checks pass.
Bikes for your next adventure
-
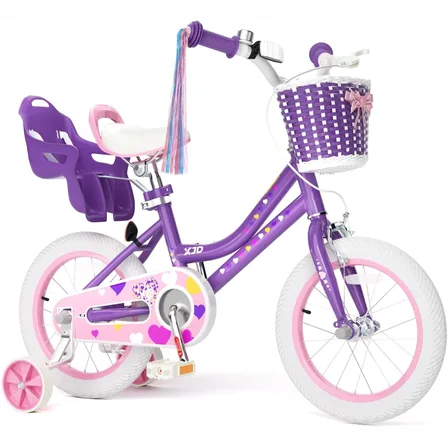
XJD Light Purple Girls Bike with Basket, Training Wheels, 12/14/16/20 Inch
The XJD Girls Bike with Basket in Light Purple is a single-speed training-wheel …$99.99
$119.99 -
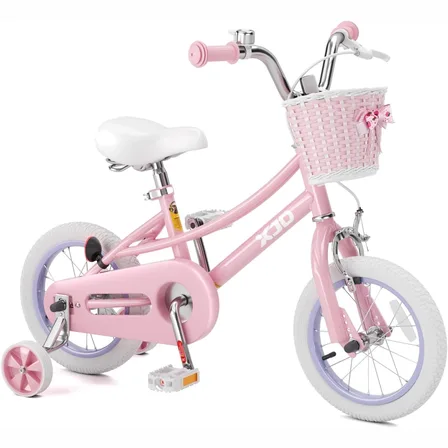
Pink 12/14/16/20" XJD Girls Bike with Training Wheels & Basket
The Pink XJD Girls Bike with Training Wheels & Basket is a first-bike pick f…$65.99
$75.99 -
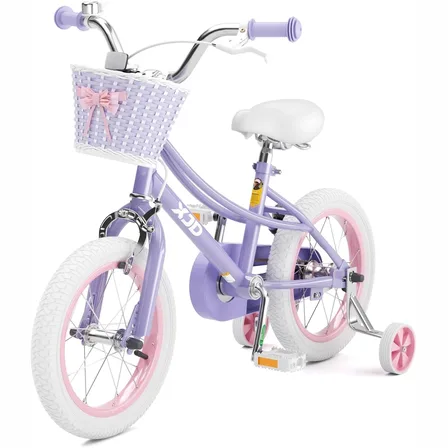
Girls' Training Wheel Bike by XJD with Basket – Purple
If you're shopping for a first bike for a girl roughly 3 to 12 years old (91–152…$75.99