

Why is there different design for boy and girl bikes
Boys’ and girls’ bikes often look different because of color, graphics, frame styling and marketing—not because every boy or girl needs a different type of bike. Choose by the child’s measured fit, control and preferences rather than the gender label.
Why the designs became different
Some traditional bicycle designs used a higher top tube on models marketed to boys and a lower or sloping tube on models marketed to girls. Clothing customs once helped drive that distinction. Today, much of the difference on children’s bikes is visual branding: manufacturers may use different colors, patterns or themes to appeal to assumed preferences.
Those labels do not determine how well a bicycle fits. A girl can prefer a bike marketed to boys, a boy can prefer one marketed to girls, and many children will prefer a neutral design. What matters is whether the individual rider can mount, stop, steer and operate the controls confidently.
Measure fit before comparing appearance
Measure the child’s height and inseam while they are wearing the shoes they will normally ride in. Height gives you a starting wheel-size range; inseam helps you evaluate clearance and the ability to put feet down. Because frame geometry can vary even at the same wheel size, the child should try the actual bicycle.
| Wheel size | XBikes starting point |
|---|---|
| 12 Inch | Ages 3–4; height 34–40 in / 86–102 cm |
| 14 Inch | Ages 3–6; height 37–45 in / 94–114 cm |
| 16 Inch | Ages 4–7; height 40–48 in / 102–122 cm |
| 18 Inch | Ages 5–9; height 43–52 in / 109–132 cm |
| 20 Inch | Ages 7–12; height 48–60 in / 122–152 cm |
| 24 Inch | Ages 10–14; height 54–64 in / 137–163 cm |
| 26 Inch | Youth and adults over 60 in / 153 cm |
These ranges are starting points, not proof of fit. When age and measured height suggest different choices, prioritize measured height and the child’s actual fit. Do not buy an oversized bicycle merely to leave room for growth.
What the child should check on the bike
Have the rider try each candidate and compare the same practical points, regardless of whether its graphics are described as being for boys or girls:
- Stand-over: The child should be able to straddle the bicycle with appropriate clearance and without leaning it sharply to one side.
- Reach: They should hold the handlebar without stretching, locking their elbows or losing a balanced riding position.
- Brake control: If the bicycle has hand controls, the child must be able to reach and operate them securely. Confirm the exact setup on the bicycle being considered.
- Starting and stopping: Check that the rider can get on, set off, steer and stop without the bicycle’s size overwhelming their current ability.
- Confidence: A size that technically matches a chart can still be unsuitable if the child cannot control it comfortably.
When a frame style can still matter
A lower or more open frame may make mounting and dismounting easier for some riders, but that benefit is individual rather than gender-specific. Compare the actual frame clearance, riding position and control access instead of assuming that a “girl” design automatically fits girls better.
Appearance still has value: a child who likes the color and styling may be more enthusiastic about riding. Let them choose among bikes that already pass the fit and control checks. Style should decide between suitable options, not make an unsuitable size acceptable.
How the supplied XBikes options relate
The catalog choices make the distinction especially clear because both are explicitly presented for boys and girls. The XJD Boys & Girls BMX Bike with Training Wheels, 12/14/16" – Blue is categorized as a Kids’ BMX Bike, while the XJD Kids’ Training Wheel Bike for Boys & Girls, 12/14/16 Inch – White is categorized as a Training Wheel Bike. Both offer 12 Inch, 14 Inch and 16 Inch SKU labels, so parents can compare category, color and presentation without treating gender as a fit specification.
 XJD Boys & Girls BMX Bike with Training Wheels, 12/14/16" – Blue
A boys-and-girls Kids’ BMX Bike offered with 12 Inch, 14 Inch and 16 Inch SKU labels; relevant for comparing fit choices with blue styling and BMX category positioning.
 XJD Kids' Training Wheel Bike for Boys & Girls, 12/14/16 Inch – White
A boys-and-girls Training Wheel Bike offered with 12 Inch, 14 Inch and 16 Inch SKU labels; useful for comparing the same listed size choices in white within the training-wheel category.
Start by matching the child’s measured height to the 12, 14 or 16 Inch starting ranges, then perform an individual fit check on the exact selection. The supplied facts do not establish frame geometry, brake type, materials, weight, load limits or assembly details. Consult the exact product manual for those points, and use a qualified bicycle mechanic when assembly, compatibility, maintenance or adjustment is uncertain.
Make the decision in the right order
- Measure the rider’s height and inseam.
- Use the XBikes chart to identify a starting wheel size, without relying on age alone.
- Have the child try the exact bicycle and check stand-over, reach, brake access, starting, stopping and steering.
- Compare frame access and current confidence, independent of a boys’ or girls’ label.
- Let the child choose the design they like from the options that fit.
Before riding, provide a bicycle helmet that fits properly, sits level and has its straps used according to the helmet manufacturer’s instructions. The final answer to “boy bike or girl bike?” is therefore simple: select the bike the child can control now, then let preference—not gender marketing—choose its look.
Bikes for your next adventure
-
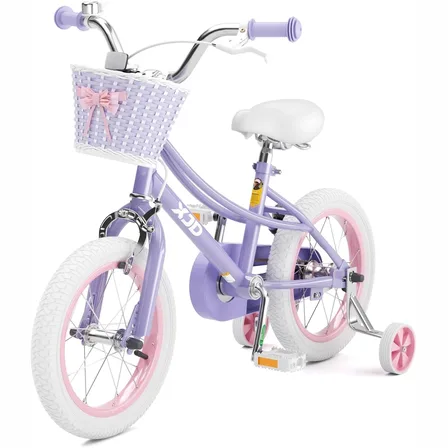
Girls' Training Wheel Bike by XJD with Basket – Purple
If you're shopping for a first bike for a girl roughly 3 to 12 years old (91–152…$75.99
-
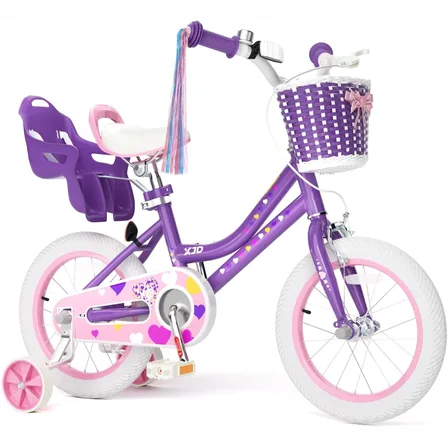
XJD Light Purple Girls Bike with Basket, Training Wheels, 12/14/16/20 Inch
The XJD Girls Bike with Basket in Light Purple is a single-speed training-wheel …$99.99
$119.99 -
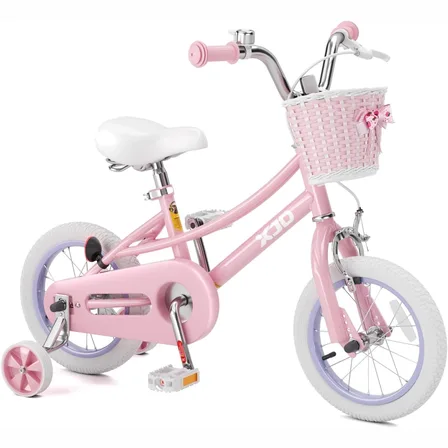
Pink 12/14/16/20" XJD Girls Bike with Training Wheels & Basket
The Pink XJD Girls Bike with Training Wheels & Basket is a first-bike pick f…$65.99
$75.99