How teach kid ride bike from training wheels
To teach a kid to ride a bike after training wheels, first confirm the bike fits, then remove the supports and practice balancing, gliding, braking and pedaling in that order.
Measure the rider and check the bike
Measure the child’s height and inseam while they wear the shoes used for riding. Height gives you a wheel-size starting point; inseam helps you judge whether the child can stand over the bike comfortably. Have the child try the actual bicycle rather than choosing by age alone.
Check that the rider can get on and off without struggling, reach the handlebar without stretching, steer through a gentle turn and operate the brakes reliably. Do not buy an oversized bicycle for future growth. If the child cannot control the bike now, a larger size is not a useful shortcut.
| Wheel size | XBikes starting age | Rider height |
|---|---|---|
| 12 Inch | 3–4 | 34–40 in / 86–102 cm |
| 14 Inch | 3–6 | 37–45 in / 94–114 cm |
| 16 Inch | 4–7 | 40–48 in / 102–122 cm |
| 20 Inch | 7–12 | 48–60 in / 122–152 cm |
These ranges are starting points, not proof of fit. Prioritize measured height, inseam, reach, brake control and current confidence.
Decide whether the child is ready
Training wheels can come off when the child pedals willingly, steers where intended, stops on request and remains calm when the bicycle leans slightly. Hesitation is not failure. If steering or braking is still inconsistent, keep practicing those controls before beginning unsupported riding.
Use a properly fitting bicycle helmet every time. It should sit level, and its straps should be adjusted according to the helmet manufacturer’s instructions. Choose a flat, open practice area away from traffic, slopes, obstacles and crowds.
Prepare the bike for balance practice
Follow the exact bicycle manual when removing or adjusting training wheels. If the instructions are unavailable, the hardware is damaged or the setup is unclear, use a qualified bicycle mechanic. Do not guess about compatibility, assembly order or tightening requirements.
For initial practice, adjust the seat only as the product manual permits so the child can place their feet down confidently while seated. Recheck reach and brake operation after any adjustment. Clothing should not hang near moving parts, and shoelaces should be secured.
Teach balance before pedaling
- Walk the bike: Have the child sit, push with both feet and stop using the brakes. This establishes control without the distraction of pedaling.
- Glide briefly: Ask for several short pushes followed by both feet lifting for a moment. Look ahead rather than down at the front wheel.
- Extend the glide: Practice smooth, straight coasting and gentle turns. A nearby adult can steady the child at the upper body when needed, then release rather than continuously steering the bike.
- Add the pedals: Position one pedal for a strong first push, begin with a short glide and then pedal. Keep each attempt short enough that the child can stop under control.
Move forward only when the previous action looks relaxed and repeatable. If the child repeatedly veers, grabs the brakes abruptly or asks to stop, return to walking and gliding.
Compare the supplied training-wheel bikes
These catalog options are relevant because each is a training-wheel bike offered in multiple wheel sizes, letting you compare a measured rider with an available label before performing an individual fit check. They help when selecting or replacing the practice bike; they are not necessary if the child’s current bicycle already fits and works properly.
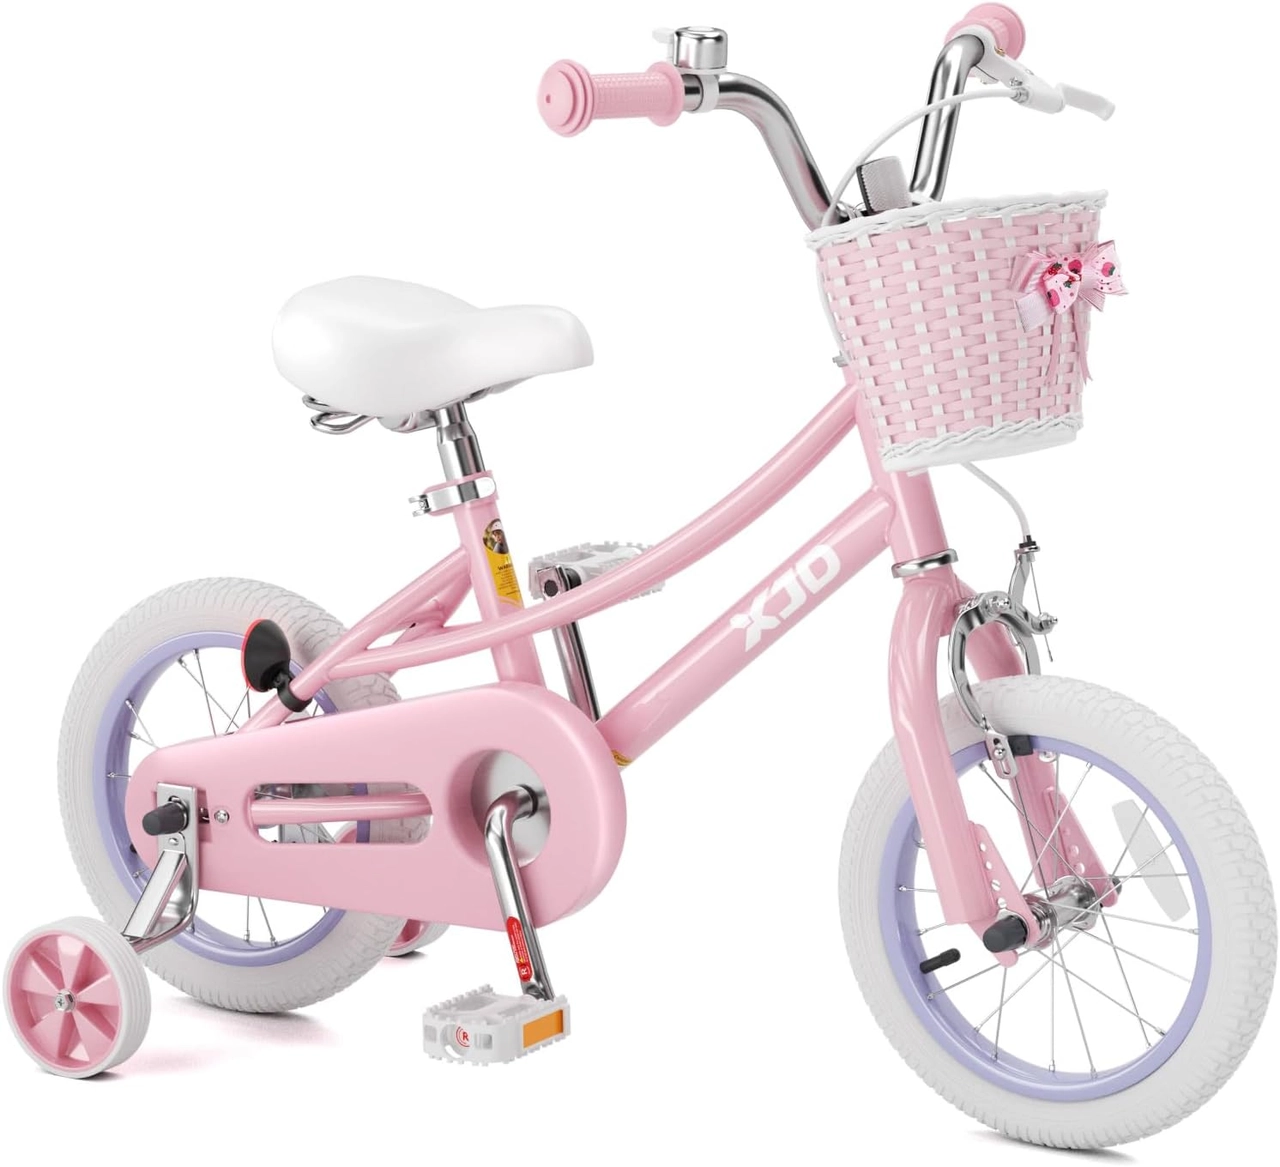 Pink 12/14/16/20" XJD Girls Bike with Training Wheels & Basket
Offers 12 Inch, 14 Inch, 16 Inch and 20 Inch labels for comparison with the rider’s measured height, plus training wheels and a basket as stated in the catalog title.
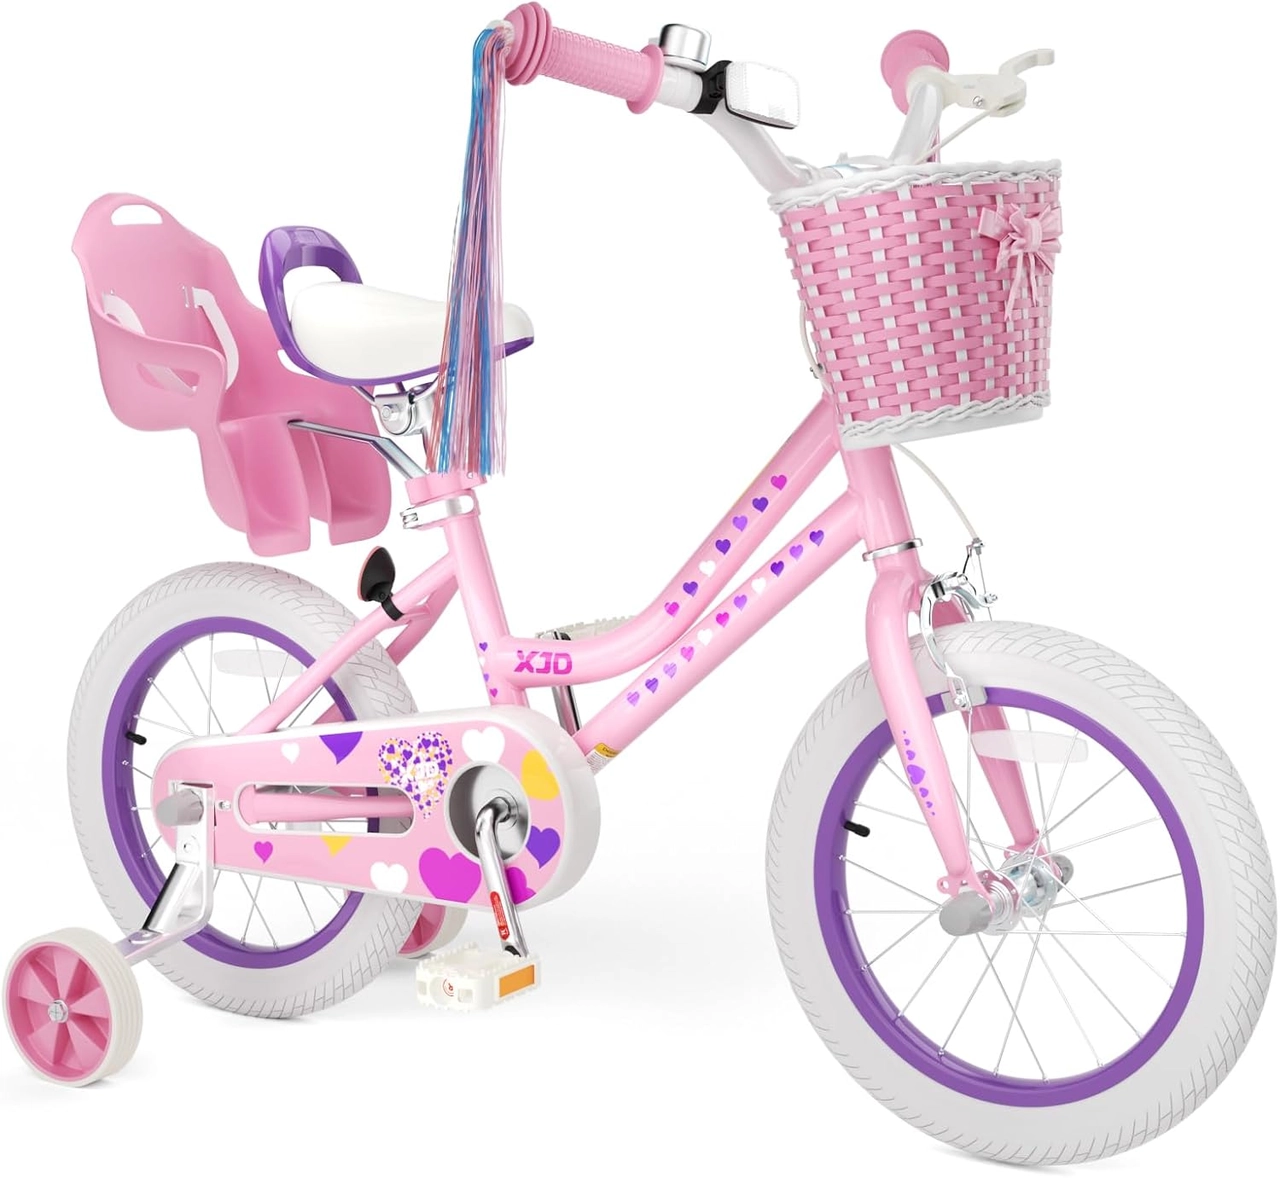 Light Pink XJD Girls' Bicycle with Basket & Training Wheels
A light pink training-wheel bicycle with a basket, available in 12 Inch, 14 Inch, 16 Inch and 20 Inch labels. Confirm individual fit and control rather than choosing by age alone.
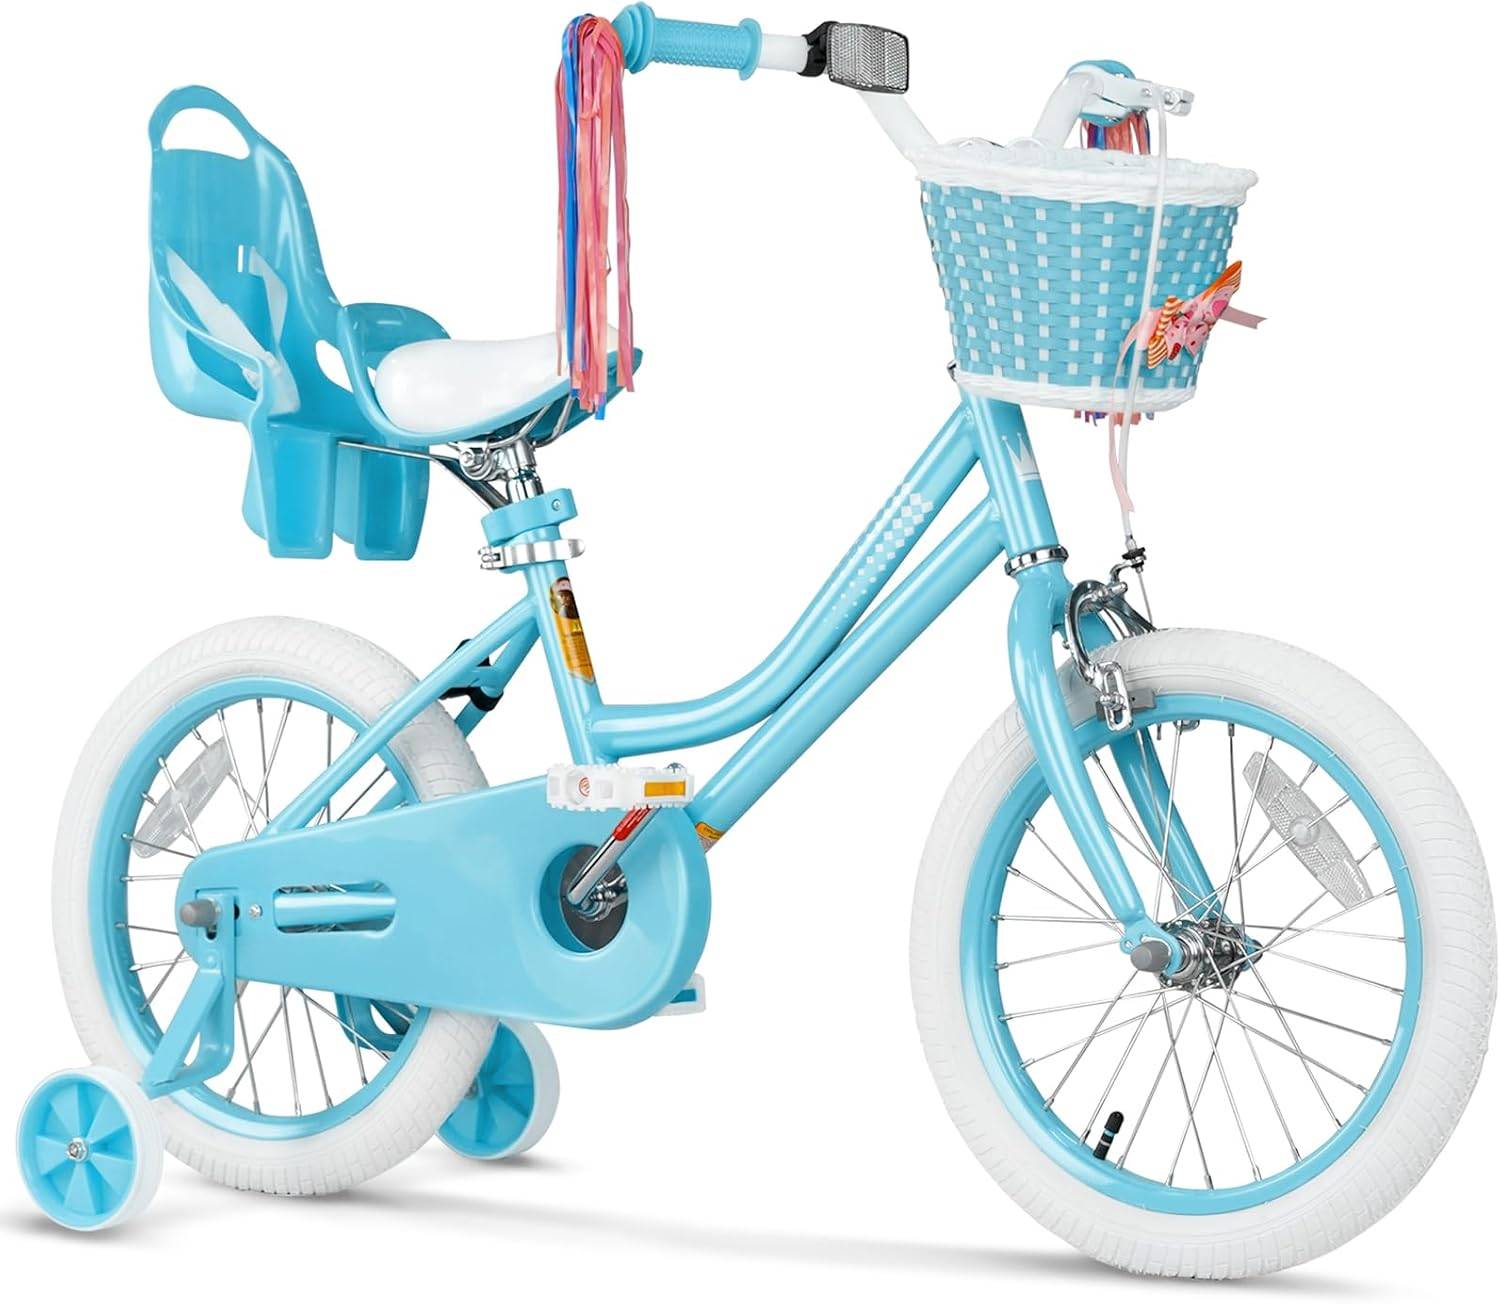 Blue XJD Girls Bike with Training Wheels – 12/14/16 Inch
Provides 12 Inch, 14 Inch and 16 Inch labels with training wheels. It can suit comparison for those starting ranges, but the supplied catalog facts list no 20 Inch option.
The Pink 12/14/16/20" XJD Girls Bike with Training Wheels & Basket offers 12 Inch, 14 Inch, 16 Inch and 20 Inch labels. The Light Pink XJD Girls' Bicycle with Basket & Training Wheels has the same four available size labels. Compare the child’s measured height with the XBikes starting points, then verify stand-over, reach and brake control on the chosen bicycle.
The Blue XJD Girls Bike with Training Wheels – 12/14/16 Inch offers 12 Inch, 14 Inch and 16 Inch labels, but no supplied 20 Inch option. For a rider measuring 48–60 inches / 122–152 cm, the XBikes starting point is 20 Inch, so this product’s smaller labels are comparison points, not equal substitutes for that size.
Color and basket wording can distinguish these listings, but neither establishes fit. The supplied facts do not specify brake type, weight, materials, load limits, assembly details or compatibility. Check the exact product manual or ask a qualified bicycle mechanic about those matters.
Know what to do next
Finish a session after a few controlled starts, glides and stops rather than after fatigue appears. On the next session, repeat the same sequence before adding longer rides or tighter turns. Keep practicing in the protected area until the child can start, look ahead, steer, brake and stop without adult support.
Your next decision is simple: measure height and inseam today, confirm the current bike’s stand-over, reach and brake control, and remove the training wheels only when both fit and basic control are ready.
Recommended products
-
Save 12%
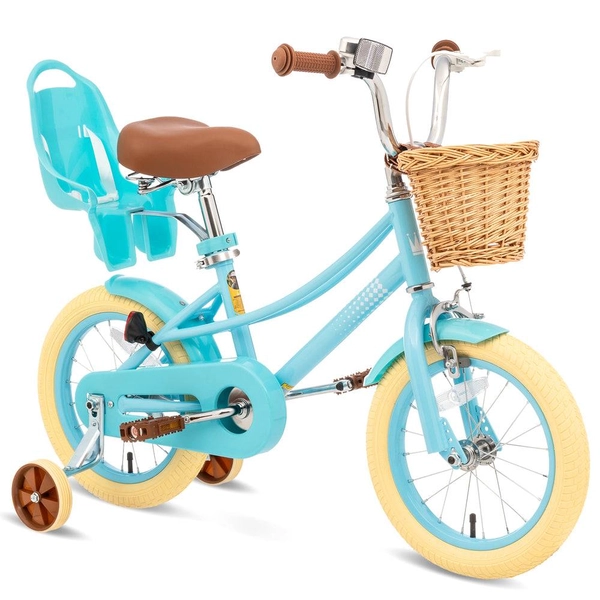
Girls' Training Wheel Bike by XJD, 12–20 Inch Wheels – Blue
This XJD girls' training wheel bike in Blue covers one of the widest fit ranges …
Training Wheel Bikes Wheel Size 12 Inch / 14 Inch / 16 Inch / 20 Inch Recommended Height 86–152 cm Training Wheels Yes 12 Inch -
Save 15%
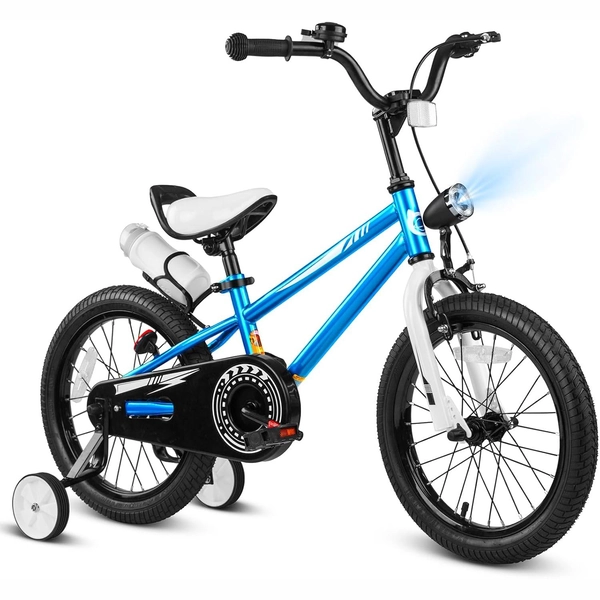
XJD Boys 12/14/16" Training Wheel Bike – Blue
The XJD Boys Bike in Blue is a training wheel bike for riders 71–122 cm tall—rou…
Training Wheel Bikes Wheel Size 12 Inch / 14 Inch / 16 Inch Recommended Height 86–122 cm Training Wheels Yes 16 Inch -
Save 15%
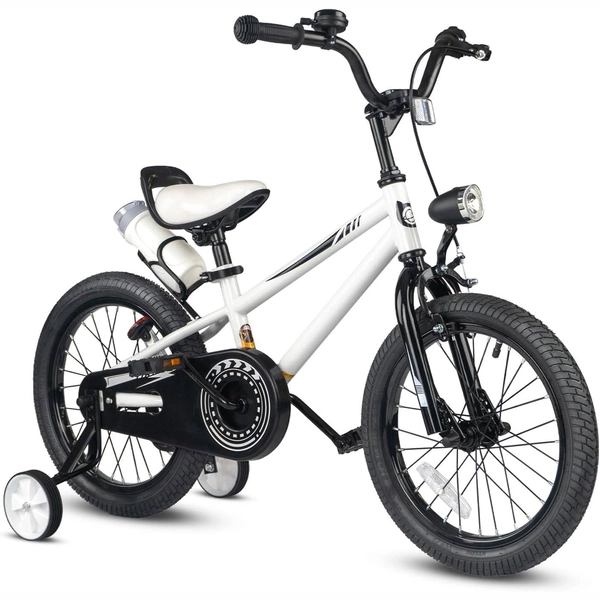
XJD Kids' Training Wheel Bike for Boys & Girls, 12/14/16 Inch – White
The XJD kids' training wheel bike in White is made for riders ages 3–8 (roughly …
Training Wheel Bikes Wheel Size 12 Inch / 14 Inch / 16 Inch Recommended Height 86–122 cm Training Wheels Yes 14 Inch -
Save 12%
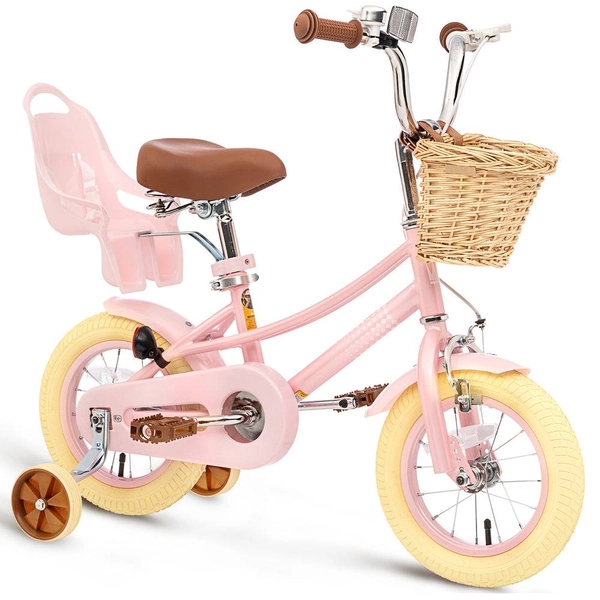
XJD Kids Bike for Girls – Pink, 12/14/16/20 Inch with Training Wheels
The XJD Kids Bike for Girls in Pink is a training-wheel bike built to carry your…
Training Wheel Bikes Wheel Size 12 Inch / 14 Inch / 16 Inch / 20 Inch Recommended Height 86–152 cm Training Wheels Yes 12 Inch