How to get kid to ride bike without training wheels
Help your child ride without training wheels by checking bike fit first, then practicing balance, braking, starting and pedaling in a flat, traffic-free area.
Measure before removing the training wheels
Measure the rider’s height and inseam, then have the child try the bicycle. Age is only a starting point. The child should have comfortable stand-over clearance, reach the handlebar without stretching, steer with control and operate the brakes confidently.
Do not move to an oversized bicycle to allow room for growth. A bike that is difficult to stand over, reach across or stop can make learning harder. If you cannot confirm an appropriate riding position or brake reach, ask a qualified bicycle mechanic to check the fit.
Use wheel size as a starting point
| Wheel size | Starting age | Rider height |
|---|---|---|
| 12 Inch | 3–4 | 34–40 in / 86–102 cm |
| 14 Inch | 3–6 | 37–45 in / 94–114 cm |
| 16 Inch | 4–7 | 40–48 in / 102–122 cm |
| 18 Inch | 5–9 | 43–52 in / 109–132 cm |
| 20 Inch | 7–12 | 48–60 in / 122–152 cm |
| 24 Inch | 10–14 | 54–64 in / 137–163 cm |
| 26 Inch | Youth and adults | Over 60 in / 153 cm |
These XBikes ranges narrow the search, but they do not replace an individual fit check. Compare the measured height first, then confirm inseam clearance, reach, brake control and present confidence on the actual bicycle.
Prepare the bicycle and practice area
Choose a wide, level, paved space away from vehicles, slopes and obstacles. The rider should wear a properly fitting bicycle helmet. It should sit level, with its straps adjusted according to the helmet manufacturer’s instructions.
Inspect the bicycle before practice. For removing training wheels, changing adjustments, checking fasteners or handling any unfamiliar assembly step, follow the exact product manual. Use a qualified bicycle mechanic if the instructions are missing, unclear or incompatible with the bicycle. Do not guess at hardware order or tightening force.
Teach balance before continuous pedaling
Keep the first sessions short and work on one skill at a time. A useful progression is:
- Braking: Have the child practice stopping on command while moving slowly. Do not begin independent runs until the rider can use the bicycle’s brakes reliably.
- Balance: Let the child make short, controlled rolls, looking ahead rather than down. Stay close enough to assist without steering the handlebar for them.
- Starting: Practice setting off repeatedly. A firm initial push and eyes aimed toward open space help the rider establish balance.
- Pedaling: Add several pedal strokes, followed by a controlled stop. Increase distance only when starts and stops remain calm.
- Turning: Introduce broad turns after straight riding is consistent. Leave tight turns, slopes and shared paths for later.
Support the child lightly at the torso if needed, then reduce that help as balance improves. Avoid secretly letting go: tell the rider when you are changing the amount of support. Stop before fatigue turns repeated attempts into frustration.
Decide whether the child is ready
Readiness is demonstrated through control, not a birthday. The child is ready to continue without training wheels when they can balance through a short roll, look ahead, steer a predictable line, start with limited help and stop on request. If braking, reach or stand-over remains uncertain, correct the fit before adding more speed.
If the child becomes frightened or repeatedly tips immediately, return to easier balance and stopping practice. Reinstall training wheels only as directed by the bicycle’s manual, or have a mechanic do it. They may provide temporary support, but extra weeks with them should not replace practice in balancing the bicycle itself.
Where the supplied XBikes option fits
The Light Pink XJD Girls' Bicycle with Basket & Training Wheels is relevant because it is offered under Training Wheel Bikes with 12 Inch, 14 Inch, 16 Inch and 20 Inch SKU labels. Those options let you compare several wheel-size starting points while keeping the decision tied to the rider’s measurements and actual control. The title’s goal does not specify one requested wheel size, so no size should be assumed from the question alone.
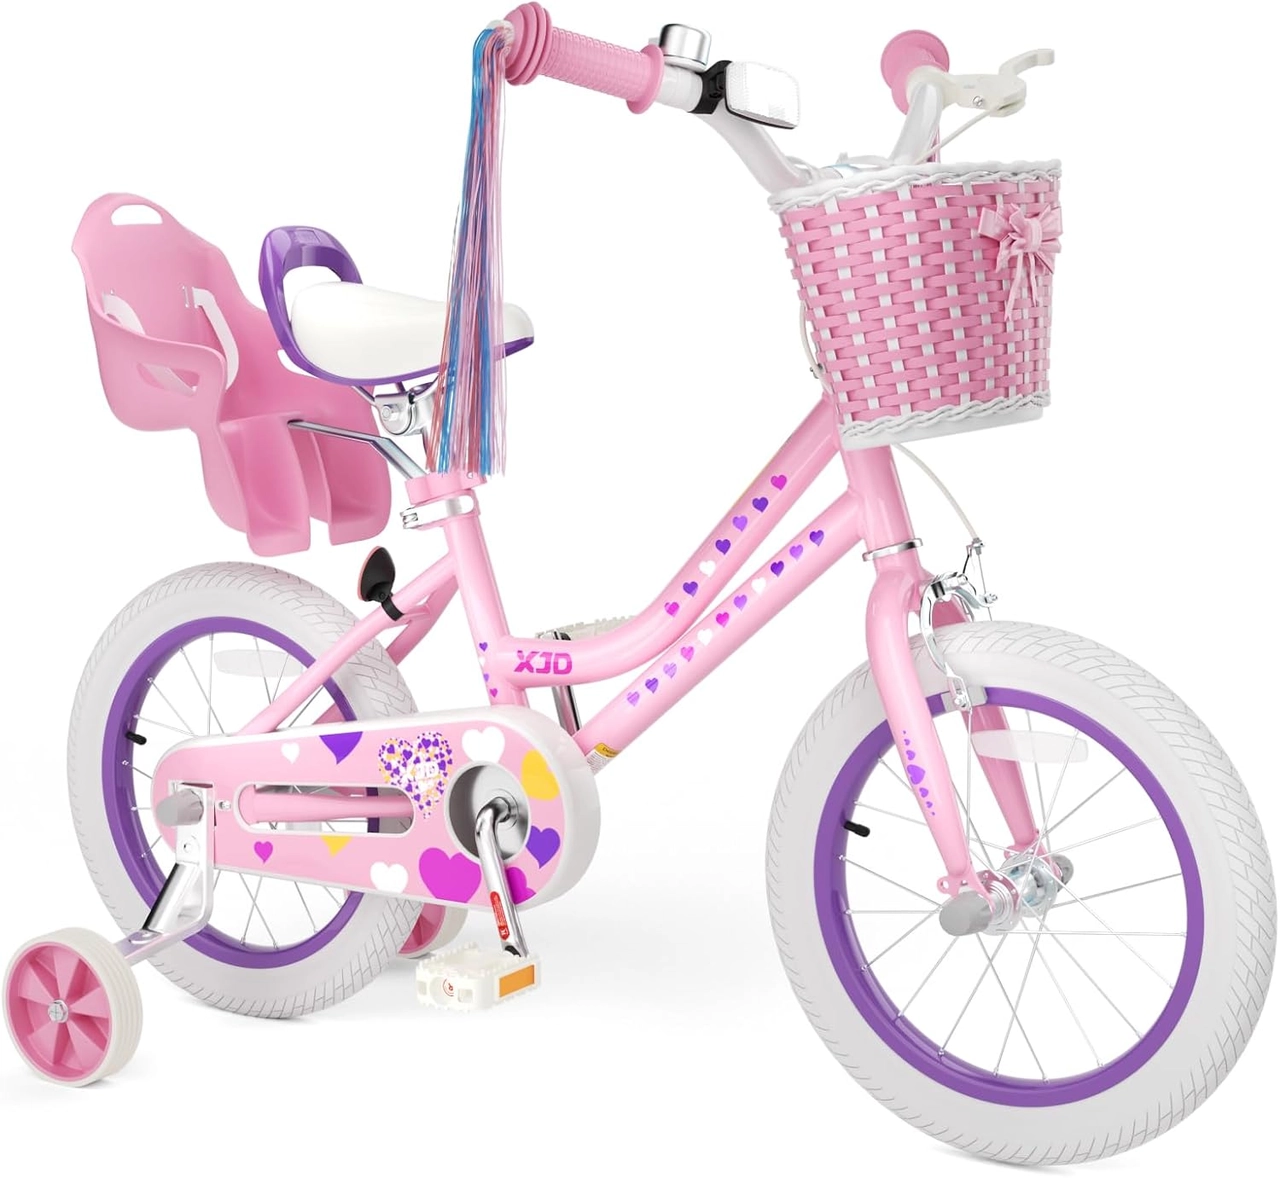
Use its SKU labels only to identify which size to try. For example, a measured height may indicate a 14 Inch or 16 Inch starting range, but overlapping ranges do not make the sizes equivalent. Have the child try the selected bicycle and compare stand-over, reach, braking and confidence. The supplied catalog facts do not establish current availability, brake type, training-wheel removal steps or compatibility details; consult the exact product manual or a qualified mechanic for those points.
Your next step is simple: measure height and inseam, test the correctly sized bicycle, confirm confident braking, and then schedule a short balance-first session without the training wheels.
Recommended products
-
Save 39%
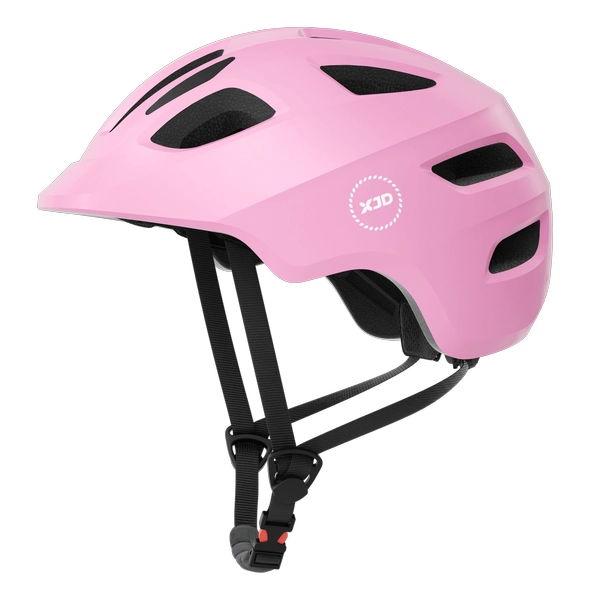
Kids Bike Helmet by XJD for Girls – Pink
The XJD Kids Bike Helmet in Pink is a lightweight multi-sport helmet for girls r…
Bike Helmets Black / S:18.11"-20.08" / 46-51 cm -
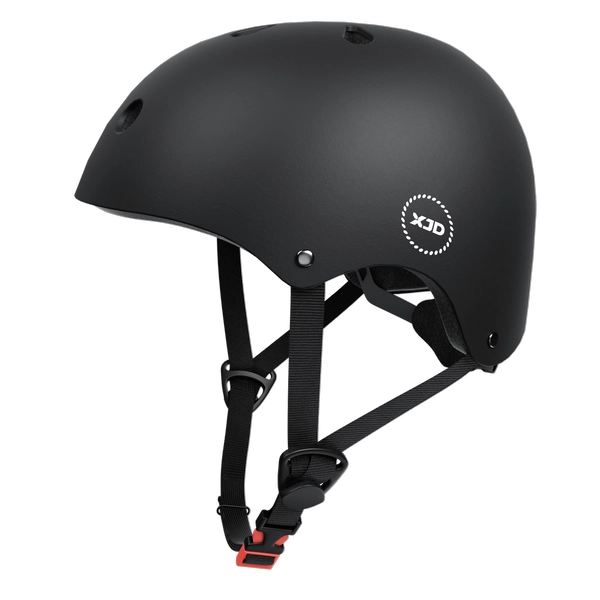
7-in-1 Kids Helmet & Protective Gear Set from XJD – Black or Blue
If you're outfitting one kid (or a couple of siblings) for biking, scootering, o…
Bike Helmets Black / L:21.65"-22.83" / 55-58 cm -
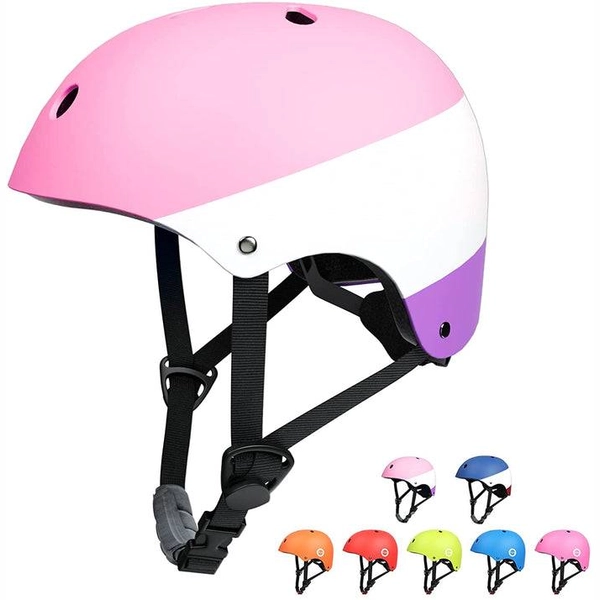
XJD Kids Bike Helmet for Boys & Girls, B White / Pink White
The XJD Kids Bike Helmet covers a wide age range — suggested for ages 2 through …
Bike Helmets Out of stock B White / L:21.65"-22.83" / 55-58 cm -
Save 11%
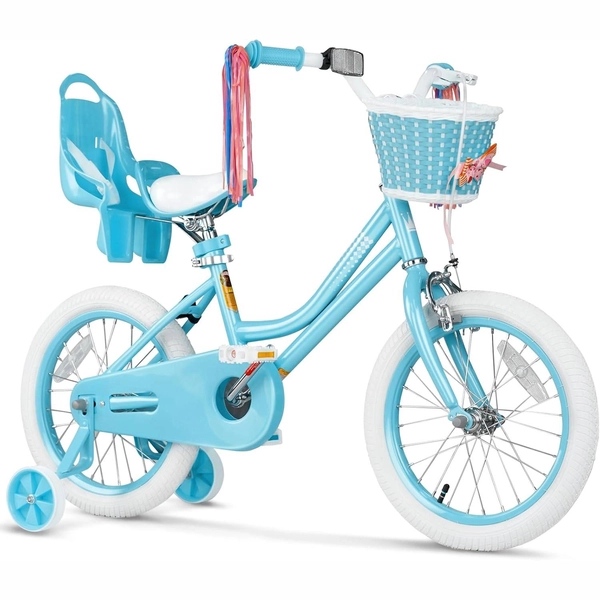
Blue XJD Girls Bike with Training Wheels – 12/14/16 Inch
If you're shopping for a first pedal bike for a daughter roughly 3 to 8 years ol…
Training Wheel Bikes Wheel Size 12 Inch / 14 Inch / 16 Inch Recommended Height 86–122 cm Training Wheels Yes 16 Inch