How to help child ride bike without training wheels
Help a child ride without training wheels by checking bike fit first, removing the supports, lowering the seat for confident foot contact, and practising balance before pedalling.
Measure the rider and check the bike
Measure the child’s height and inseam in the shoes they will wear. Height helps identify a starting wheel size; inseam helps you judge whether they can stand over the bike and put their feet down securely. Have the child try the actual bicycle rather than choosing by age alone.
On the bike, compare five things: stand-over clearance, foot contact with the ground, comfortable reach to the handlebar, easy access to the brake controls, and the child’s ability to steer without stretching or leaning awkwardly. Do not buy or retain an oversized bike merely to allow room for growth. A child who cannot control the bike confidently is not ready to learn on it without training wheels.
| Wheel size | Starting age | Starting rider height |
|---|---|---|
| 12 Inch | 3–4 | 34–40 in / 86–102 cm |
| 14 Inch | 3–6 | 37–45 in / 94–114 cm |
| 16 Inch | 4–7 | 40–48 in / 102–122 cm |
These ranges overlap intentionally. Use measured height as the starting point, then let inseam, reach, brake control and current confidence decide. Follow the exact product manual for adjustments or removal of components; if anything is unclear or incompatible, use a qualified bicycle mechanic.
Prepare a simple practice area
Choose a wide, flat, traffic-free paved area with plenty of stopping space. Avoid hills for the first sessions. Fit the child with a properly fitting bicycle helmet: it should sit level, with its straps adjusted according to the helmet manufacturer’s instructions. Use closed-toe shoes and remove loose clothing or dangling items that could catch.
After the training wheels are removed correctly, set the seat low enough that the child can place both feet down confidently while seated. Do not invent an adjustment or torque setting; use the bicycle manual or a qualified mechanic. Check that the child can operate the brakes before adding speed.
Teach balance before pedalling
- Scoot: Have the child sit, look ahead and push along with both feet. A parent can walk beside them, but should not pull the handlebar.
- Glide: Ask for slightly longer pushes, then brief moments with both feet lifted. Make a game of gliding toward a visible marker.
- Stop: Practise gentle, predictable stops using the bike’s controls, with feet ready to settle the bike after it slows.
- Pedal: Once the child can glide in a straight line and steer around broad turns, place one pedal in an easy starting position. Let the child push off, find the second pedal and ride toward a nearby marker.
If support is needed, steady the child lightly at the upper back or torso, then release as soon as balance appears. Holding the saddle continuously can hide leaning and delay independent balance. Keep sessions short enough that concentration and confidence remain intact.
Know whether to continue or pause
Continue when the child can scoot, glide, steer and stop without panic. Move from straight paths to wide turns, then practise independent starts. Increase distance gradually rather than adding speed.
Pause if the child repeatedly cannot reach the ground, cannot comfortably reach or use the brakes, grips rigidly, looks down constantly, or becomes distressed. Recheck fit before assuming that more practice is the answer. Training wheels can remain relevant when the child is still developing confidence or balance, but they do not correct a bike that is too large or difficult to control.
Where the supplied bikes fit the decision
The supplied Training Wheel Bikes are relevant when a family needs a 12, 14 or 16 Inch comparison while choosing a correctly sized bike, or wants a training-wheel model for an earlier learning stage. The XJD Boys 12/14/16" Training Wheel Bike – Blue, Black XJD Kids Bike for Boys – 12, 14 & 16 Inch Sizes, and XJD Kids' Training Wheel Bike for Boys & Girls, 12/14/16 Inch – White all list the same three available size labels: 12 Inch, 14 Inch and 16 Inch.
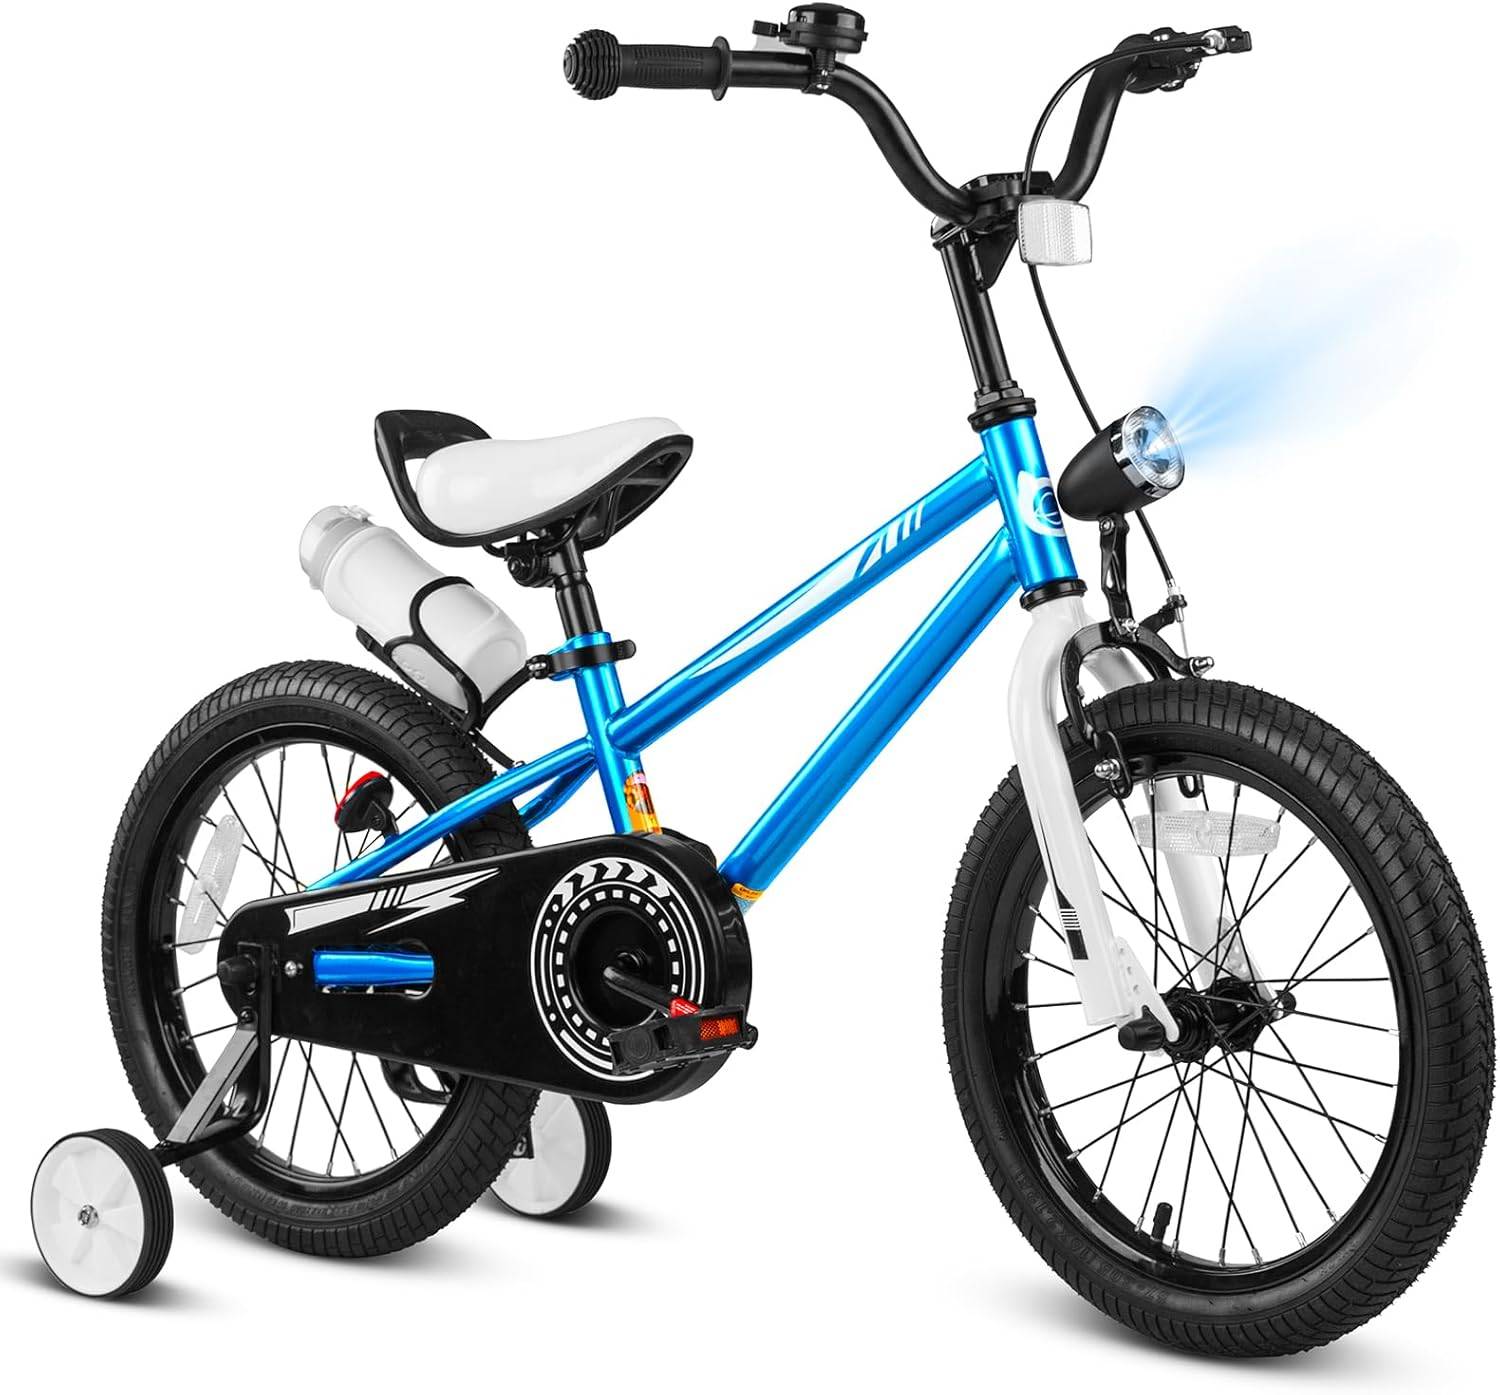 XJD Boys 12/14/16" Training Wheel Bike – Blue
A training-wheel bike offered in 12, 14 and 16 Inch size labels. Use the child’s measured height, inseam, reach, brake control and confidence to determine whether any listed size is suitable.
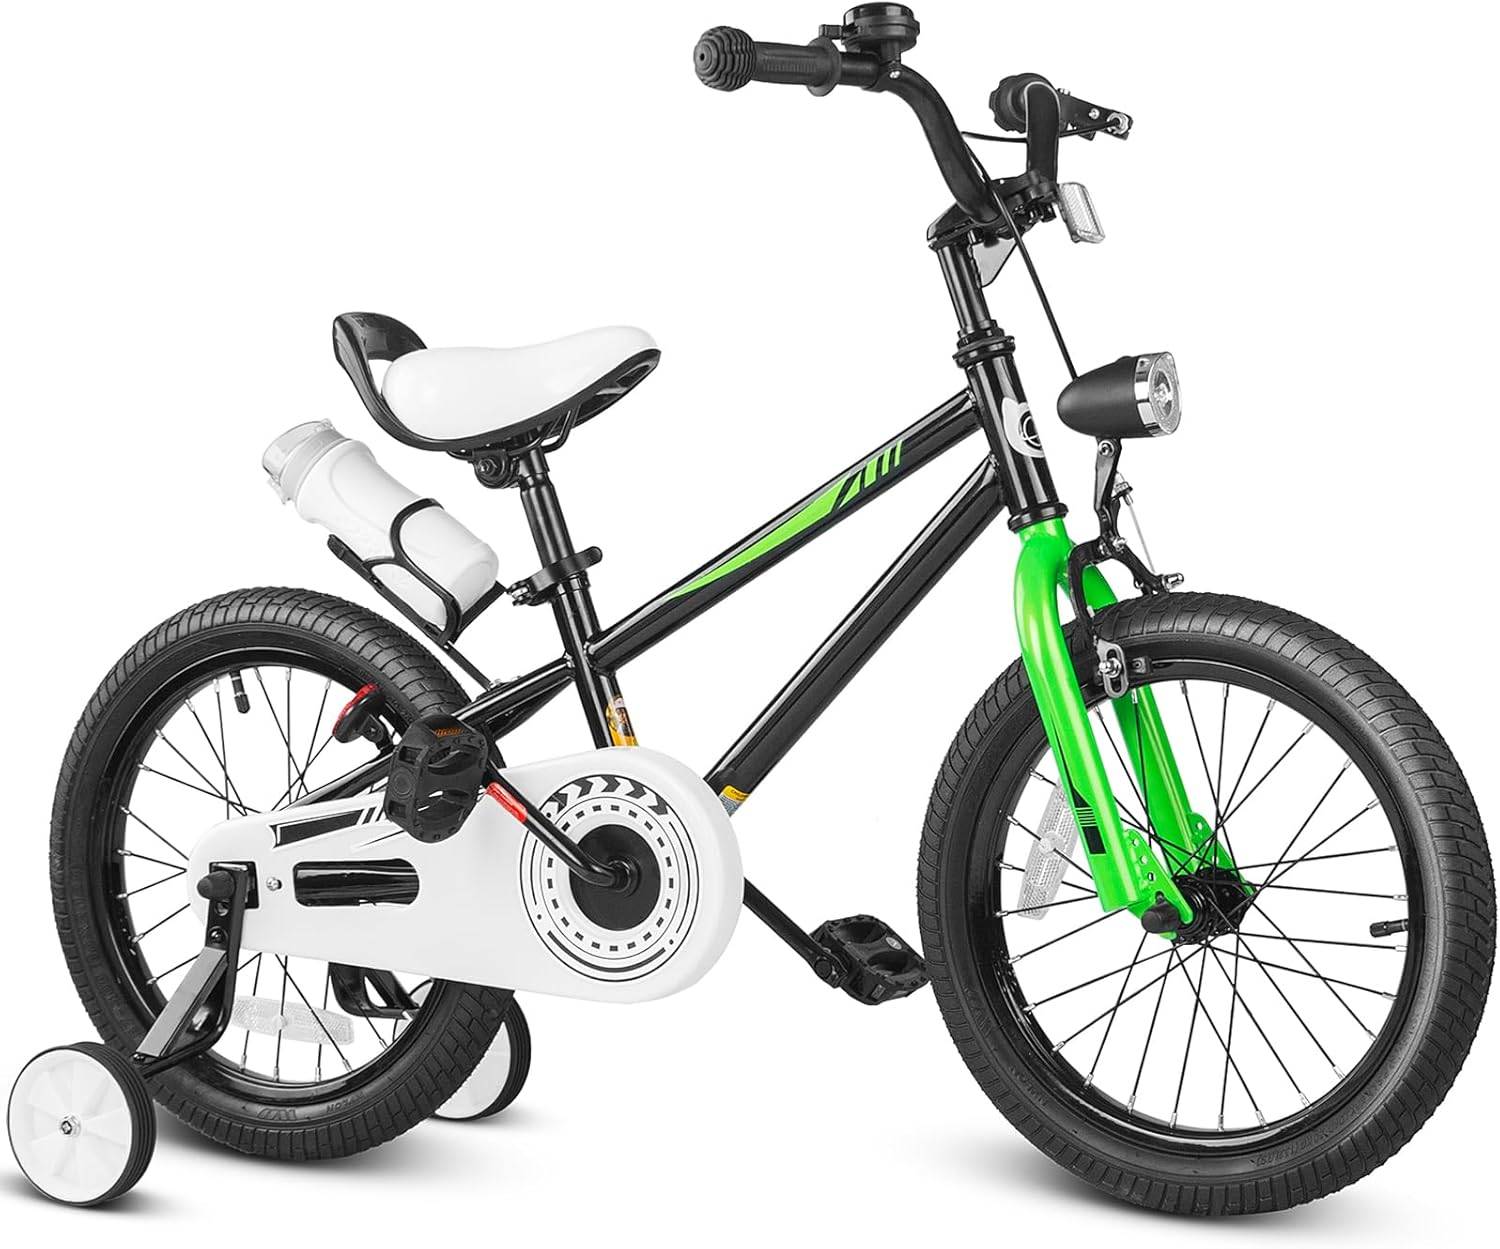 Black XJD Kids Bike for Boys – 12, 14 & 16 Inch Sizes
This black XJD model lists 12, 14 and 16 Inch options, making it relevant for size comparison or the training-wheel stage. Its title alone does not establish fit for an individual child.
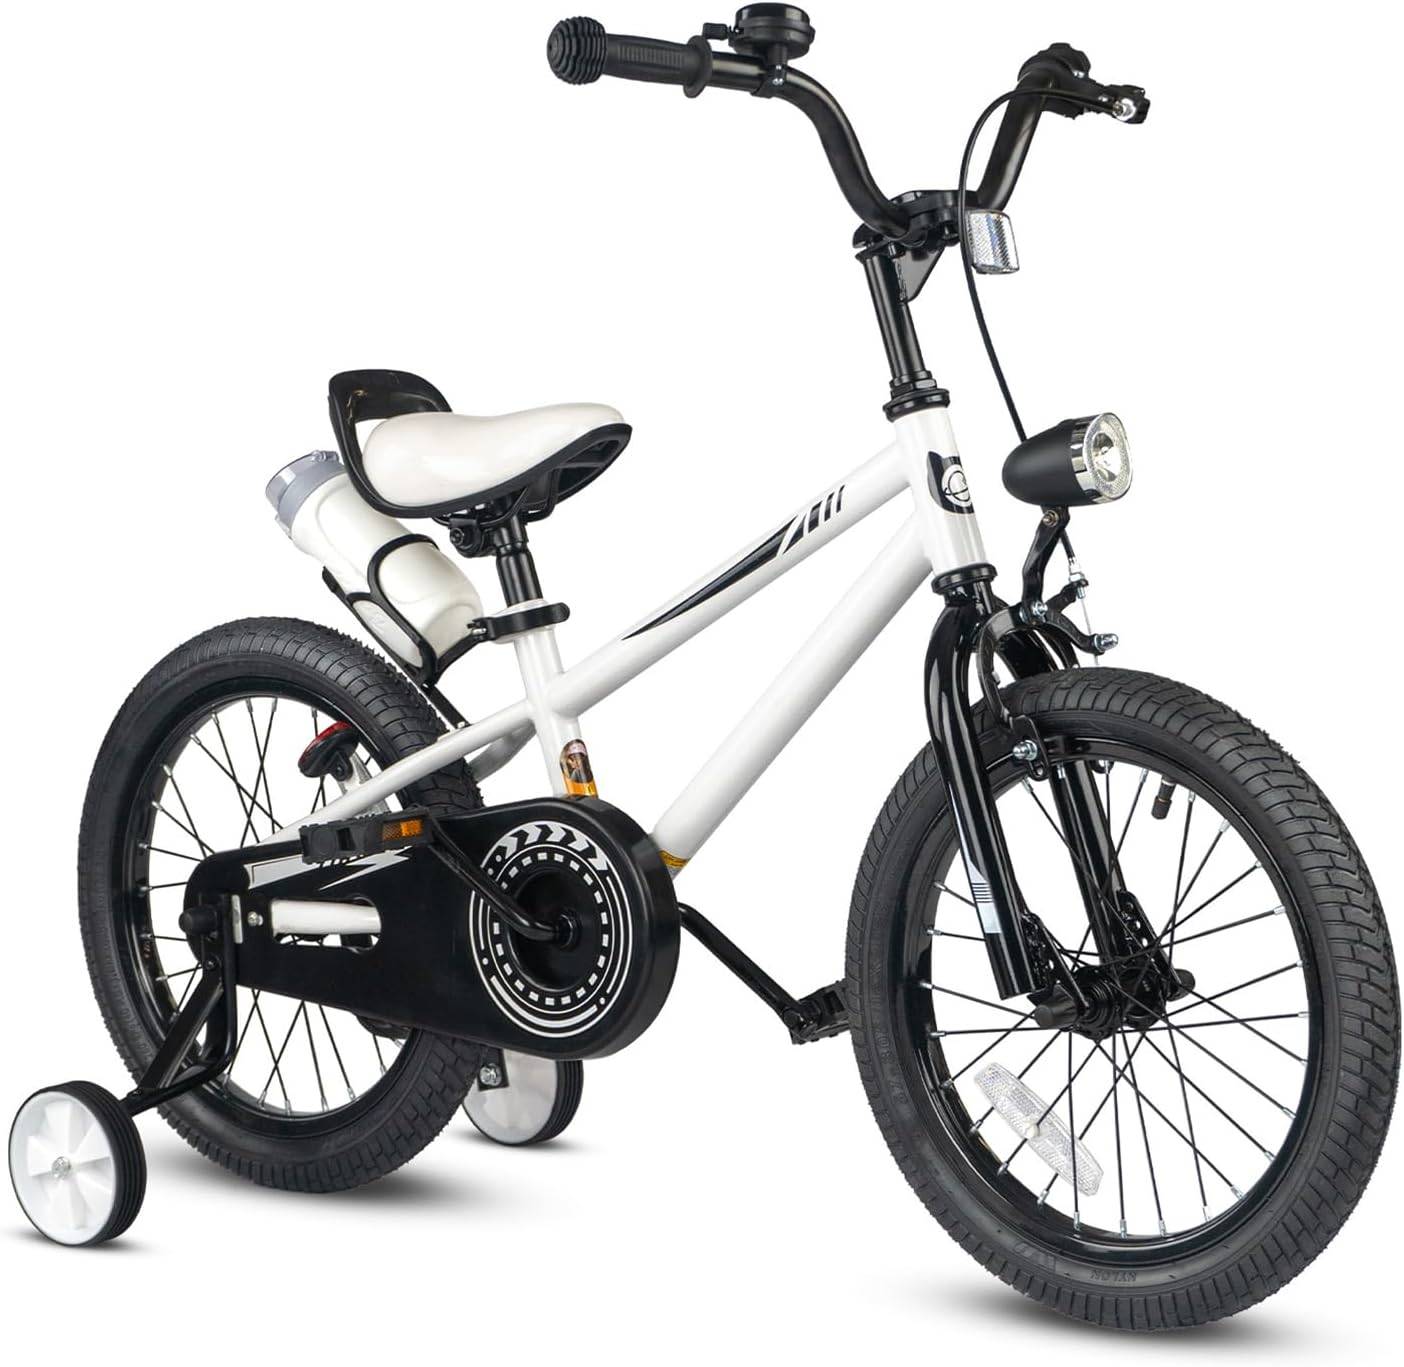 XJD Kids' Training Wheel Bike for Boys & Girls, 12/14/16 Inch – White
This white XJD training-wheel bike is listed in 12, 14 and 16 Inch sizes. Compare the appropriate height starting point, then require an actual fit check before selecting a size.
Because their supplied differences are limited to exact catalog titles and color wording, choose among them only after identifying the likely wheel size and completing an individual fit check. The title wording is not evidence that a model fits a particular child. No supplied facts establish brake type, weight, materials, load limits, assembly procedure or training-wheel compatibility after modification, so consult the exact manual or a qualified bicycle mechanic for those questions.
Your next ride
Measure height and inseam today, confirm stand-over, reach and brake control on the actual bike, then begin with scooting and gliding in a flat traffic-free area. Remove the training wheels only according to the manual, and postpone pedalling until the child can balance, steer and stop calmly.
Recommended products
-
Save 12%
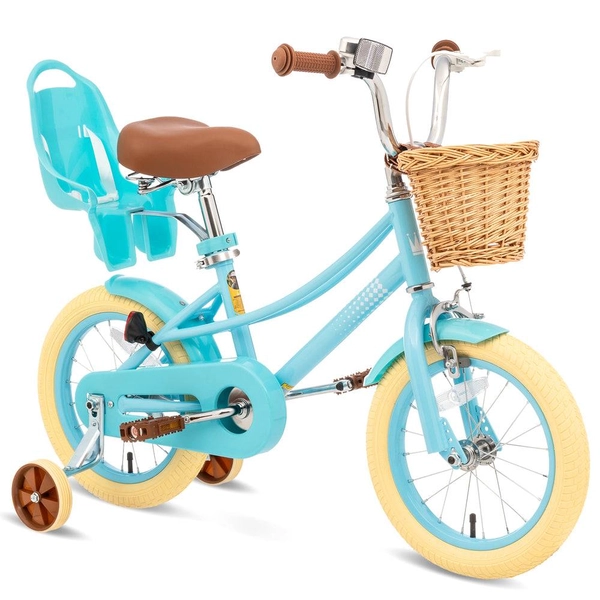
Girls' Training Wheel Bike by XJD, 12–20 Inch Wheels – Blue
This XJD girls' training wheel bike in Blue covers one of the widest fit ranges …
Training Wheel Bikes Wheel Size 12 Inch / 14 Inch / 16 Inch / 20 Inch Recommended Height 86–152 cm Training Wheels Yes 12 Inch -
Save 15%
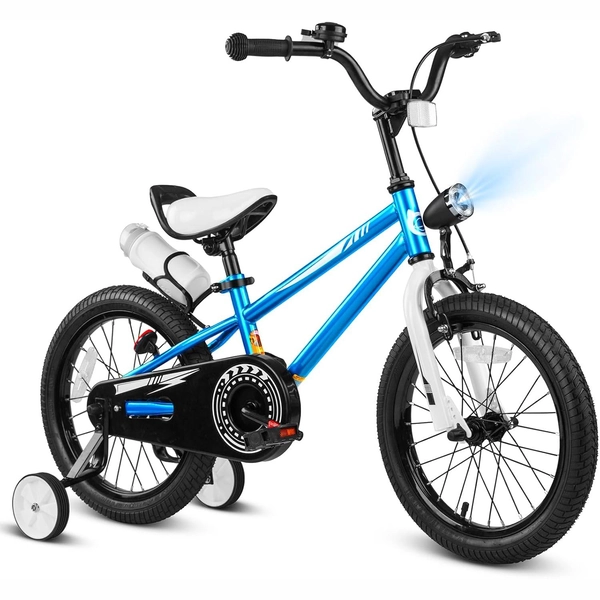
XJD Boys 12/14/16" Training Wheel Bike – Blue
The XJD Boys Bike in Blue is a training wheel bike for riders 71–122 cm tall—rou…
Training Wheel Bikes Wheel Size 12 Inch / 14 Inch / 16 Inch Recommended Height 86–122 cm Training Wheels Yes 16 Inch -
Save 15%
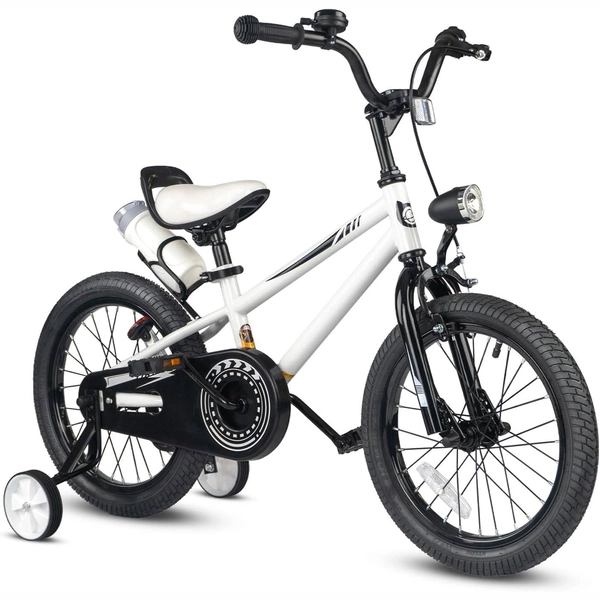
XJD Kids' Training Wheel Bike for Boys & Girls, 12/14/16 Inch – White
The XJD kids' training wheel bike in White is made for riders ages 3–8 (roughly …
Training Wheel Bikes Wheel Size 12 Inch / 14 Inch / 16 Inch Recommended Height 86–122 cm Training Wheels Yes 14 Inch -
Save 12%
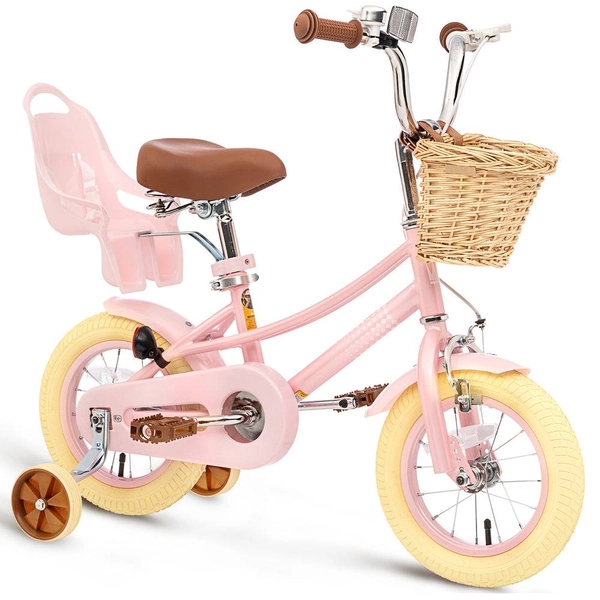
XJD Kids Bike for Girls – Pink, 12/14/16/20 Inch with Training Wheels
The XJD Kids Bike for Girls in Pink is a training-wheel bike built to carry your…
Training Wheel Bikes Wheel Size 12 Inch / 14 Inch / 16 Inch / 20 Inch Recommended Height 86–152 cm Training Wheels Yes 12 Inch