How to install training wheels for 16 inch bike
To install training wheels on a 16-inch bike, first confirm that the kit fits the bike’s rear axle and frame, then follow both manuals exactly.
Check compatibility before removing anything
A wheel marked “16 inch” does not guarantee that every training-wheel kit will fit it. Compare the kit’s stated wheel-size range with the bicycle’s labeled wheel size, then inspect the mounting arrangement required by the kit.
Check whether the rear axle has enough exposed, usable thread for every specified washer, bracket and axle nut. Look for interference from a chain guard, derailleur, brake hardware, frame tubing or other parts. The brackets must sit in the orientation shown by the manufacturer without bending, improvised spacers or forced alignment.
If the manual does not confirm compatibility, or the available axle thread appears insufficient, stop and ask the bicycle manufacturer, training-wheel manufacturer or a qualified bicycle mechanic. Do not substitute unrelated hardware or guess at load limits, clearances or tightening torque.
Measure the bike and rider
Confirm the wheel-size marking on the tire or bicycle documentation rather than estimating from the child’s age. For rider fit, measure height and inseam, and have the child try the bicycle. XBikes lists a 16-inch bike as a starting point for ages 4–7 and heights of 40–48 inches (102–122 cm), but age alone does not establish fit.
The child should have suitable stand-over clearance, a comfortable reach to the handlebar and reliable access to the brakes. They should be able to start, steer and stop without stretching or losing control. Current confidence matters too. Do not buy or set up an oversized bicycle merely to allow room for growth.
Install the training wheels in the correct order
- Stabilize the bicycle. Place it where it cannot roll or fall while you work. Keep the chain and moving parts away from hands and clothing.
- Read both manuals. Identify every supplied bracket, washer, fastener and orientation before loosening the rear axle hardware. Follow any bike-specific instructions that affect guards, brakes or drivetrain parts.
- Work on one side at a time. Remove only the hardware directed by the training-wheel instructions. Fit the bracket and retention hardware in the exact sequence shown, keeping all bicycle components in their specified positions.
- Attach and align each support wheel. Use the permitted mounting position and make both sides symmetrical. Nothing should touch the tire, chain, spokes, brake parts or frame when the wheel rotates.
- Tighten as specified. Use the manufacturer’s stated torque and tightening method. No verified torque value is provided here, so do not invent one. If the axle nut cannot fully engage or the bracket shifts, have a qualified mechanic correct the installation.
Set the height without making the bike rigid
Use the kit manual’s adjustment method. Training wheels generally need to support a learning rider while still allowing the bicycle to lean as its instructions intend; they should not be positioned by an improvised universal measurement. Confirm that both brackets use matching settings and cannot rotate under load.
After adjustment, spin the rear wheel and operate the pedals and brakes while the bike is stationary. Check for rubbing, binding, looseness and restricted brake movement. Recheck every disturbed fastener according to the manuals before the child rides.
Test the setup with close supervision
Begin in a flat, open area away from traffic, slopes and obstacles. Hold the bicycle while the child mounts, checks brake reach and practices starting, steering and stopping at walking speed. Watch whether either training wheel folds, slips, lifts excessively or causes unpredictable steering.
The child should wear a bicycle helmet that fits properly, sits level and has its straps adjusted according to the helmet manufacturer’s instructions. Stop immediately if the bicycle pulls sharply, a bracket moves, hardware loosens or the child cannot control the brakes.
How the supplied 16-inch catalog option helps
The Black XJD Kids Bike for Boys – 12, 14 & 16 Inch Sizes includes an available “16 Inch” SKU label, so it is relevant when comparing a correctly sized 16-inch bicycle with the title’s requested setup. Its catalog facts do not confirm included training wheels, axle compatibility, assembly steps, torque or load limits; verify those details in the exact bike and accessory manuals.
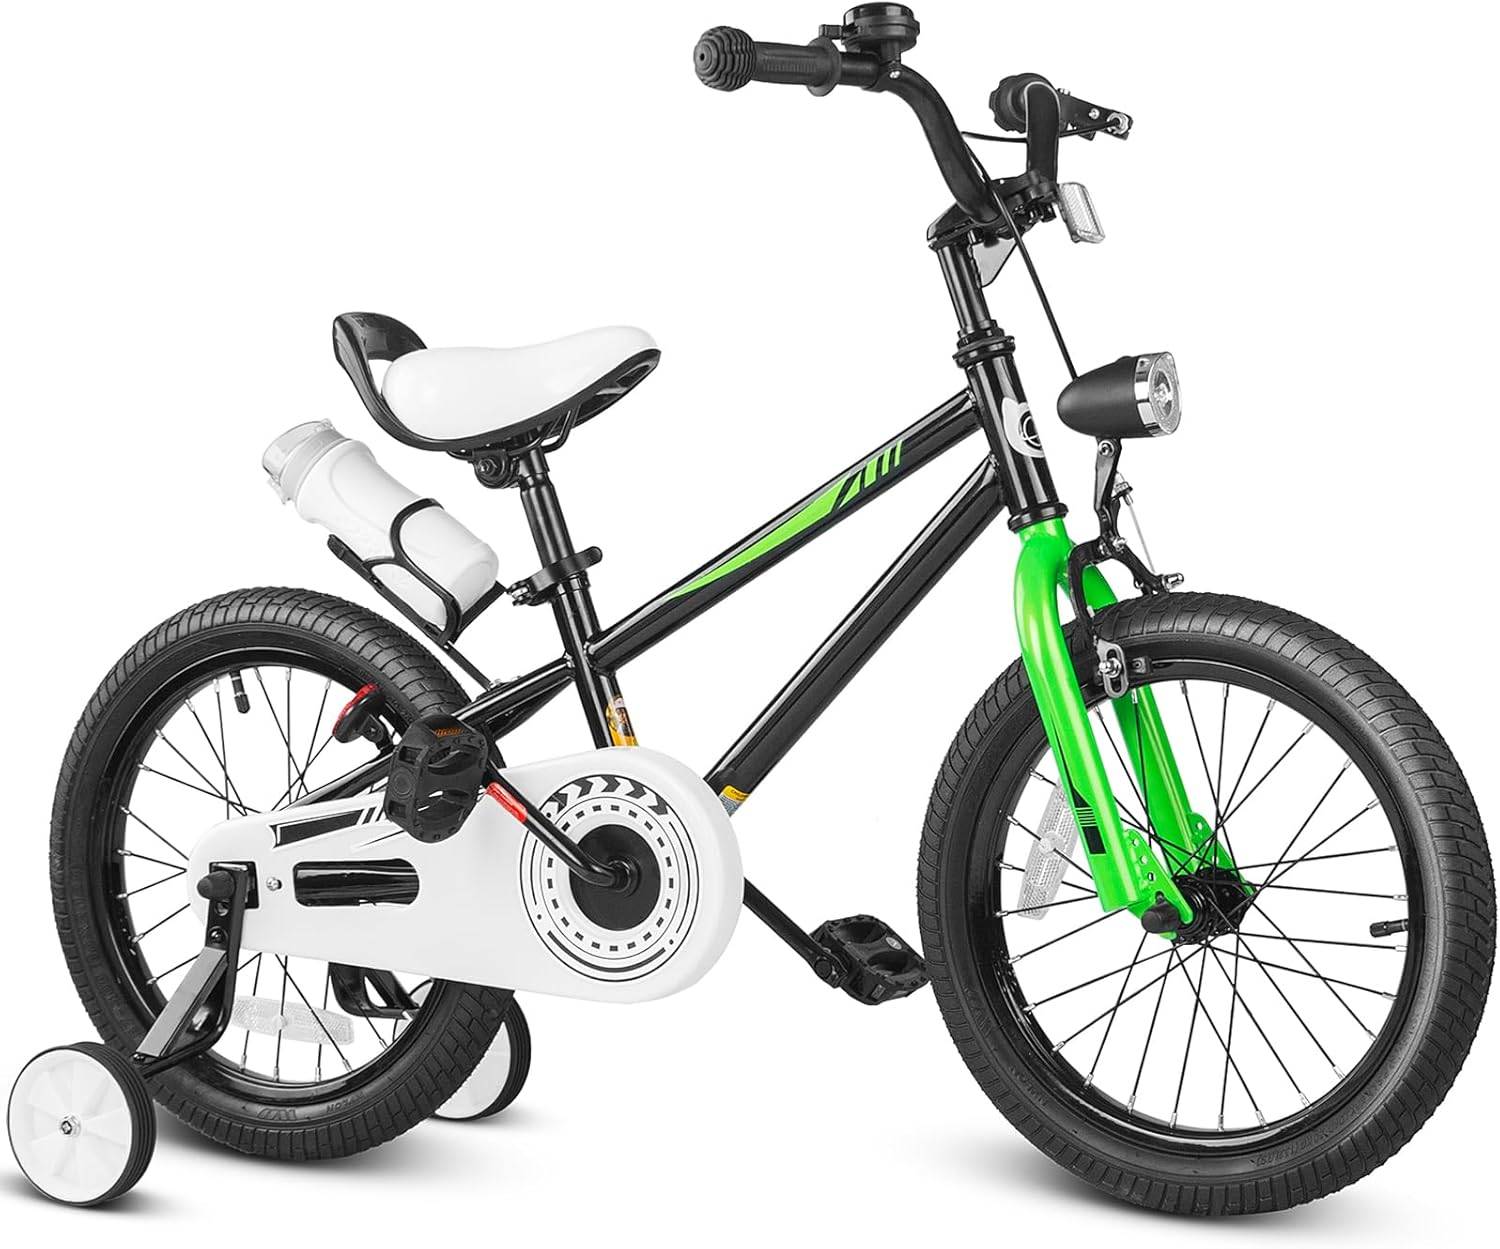
The same product also has “12 Inch” and “14 Inch” SKU labels, but those are different sizes and must not be treated as equivalent substitutes for a 16-inch bike. For reference, XBikes places 12-inch bikes at 34–40 inches (86–102 cm) and ages 3–4, and 14-inch bikes at 37–45 inches (94–114 cm) and ages 3–6. Measured fit and control still take priority.
Make the final go-or-stop decision
Proceed only when the bike is genuinely 16 inch, the rider fits it, the manuals confirm compatibility, all hardware engages correctly, moving and braking parts remain unobstructed, and a supervised low-speed check reveals no movement or instability. Otherwise, pause the installation and take the exact bicycle, training-wheel kit and manuals to a qualified bicycle mechanic.
Recommended products
-
Save 12%
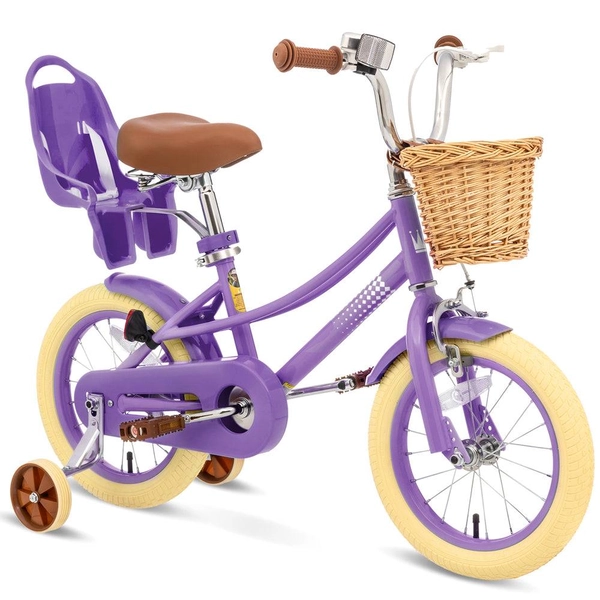
XJD Girls' Bike with Training Wheels, 12/14/16/20 Inch – Purple
The XJD girls' bike with training wheels in Purple is built to grow with your ri…
Training Wheel Bikes Wheel Size 12 Inch / 14 Inch / 16 Inch / 20 Inch Recommended Height 86–152 cm Training Wheels Yes 12 Inch -
Save 11%
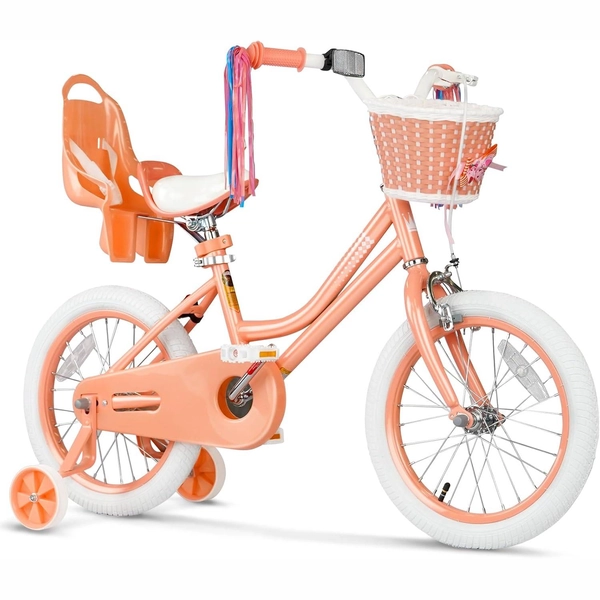
Girls 12/14/16 Inch Kids Bike by XJD with Training Wheels – Peach
The XJD Girls Bike in Peach is a training-wheel bike built for girls roughly 3 t…
Training Wheel Bikes Wheel Size 12 Inch / 14 Inch / 16 Inch Recommended Height 86–122 cm Training Wheels Yes 12 Inch -
Save 16%
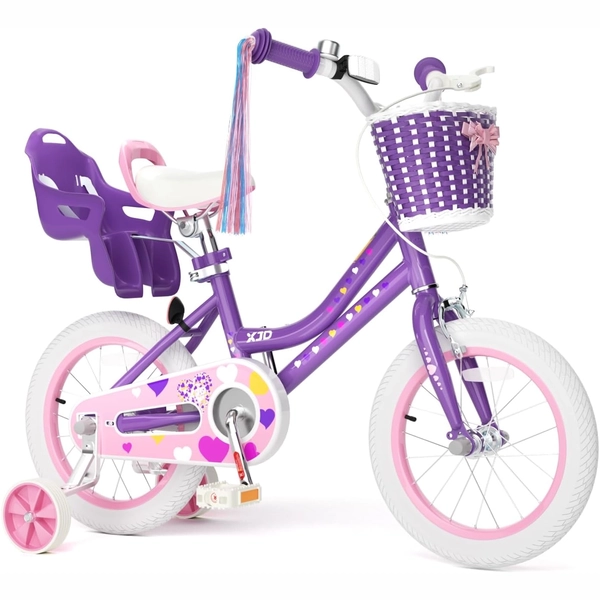
XJD Light Purple Girls Bike with Basket, Training Wheels, 12/14/16/20 Inch
The XJD Girls Bike with Basket in Light Purple is a single-speed training-wheel …
Training Wheel Bikes Wheel Size 12 Inch / 14 Inch / 16 Inch Recommended Height 86–122 cm Training Wheels Yes Single Speed 12 Inch -
Save 16%
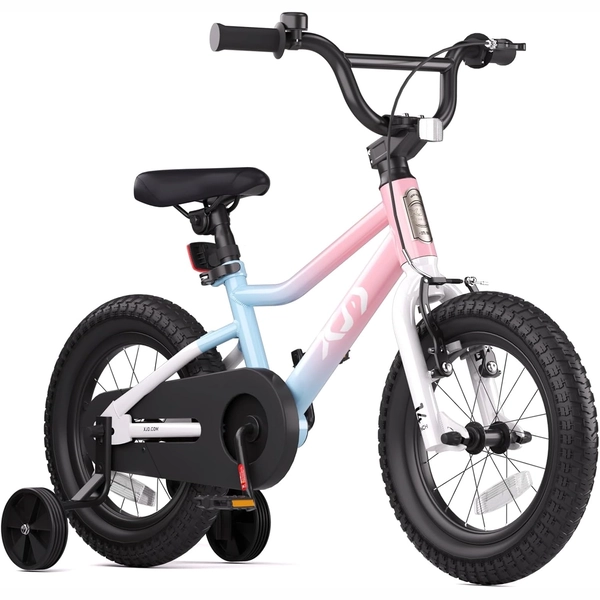
XJD Girls BMX Bike 12/14/16 Inch with Training Wheels – Pink Blue
The XJD Girls BMX Bike in Pink/Blue is built as a first pedal bike for kids roug…
Kids' BMX Bikes Wheel Size 12 Inch / 14 Inch / 16 Inch Recommended Height 86–122 cm Training Wheels Yes Single Speed 12 Inch