How to Remove Training Wheels From a Kids Bike
Knowing how to remove training wheels from a kids bike requires more than loosening two nuts. The brackets may share the rear axle with wheel-retention washers, a chain adjustment and a coaster-brake reaction arm. Confirm the child is ready, photograph both sides and use the exact model diagram before changing safety-critical hardware.
Record the complete rear axle
With the child away and the bike supported safely, photograph each bracket, washer, nut and brake-arm connection. Mark left and right parts. Do not assume the bare axle uses the same washer order as the training-wheel configuration.
Follow the specified removal order
Use the tool, sequence and torque listed for the selected wheel size. Never force a seized nut, shorten an axle or discard anti-rotation hardware. If the manual is missing or parts do not match the diagram, use a qualified bicycle technician.
Recheck wheel, chain and brake
After removal, confirm the rear wheel is centered and securely retained, the chain moves without binding and the coaster or rim brake works correctly. Nothing should contact the spokes, tire or frame through a complete wheel rotation.
Start two-wheel practice slowly
Choose a flat, traffic-free space and return to walking, gliding, gentle turns and planned stops. An adult stays close without steering the bar. Keep the removed kit labeled for the model, but do not reinstall it casually after hardware has been mixed.
Inspect again after the first session
Rear-axle hardware can settle after service. At the interval named by the manual, recheck wheel retention, chain movement, coaster-brake attachment and unused mounting points. Stop for any new click, wheel shift or braking change.
How current product examples clarify the choice
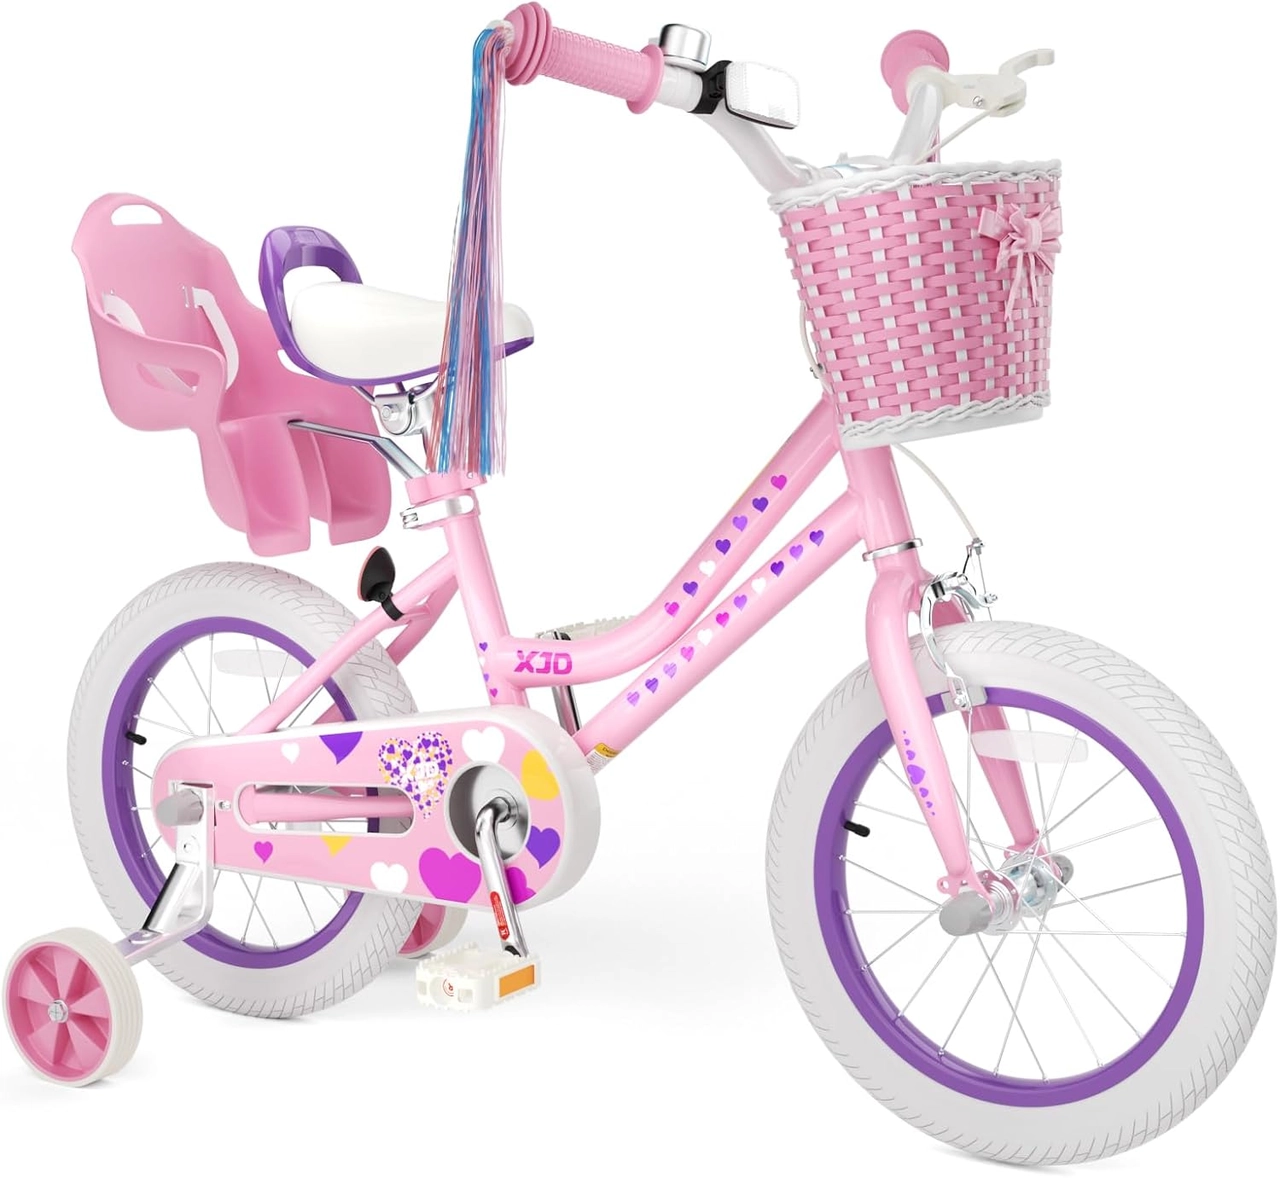
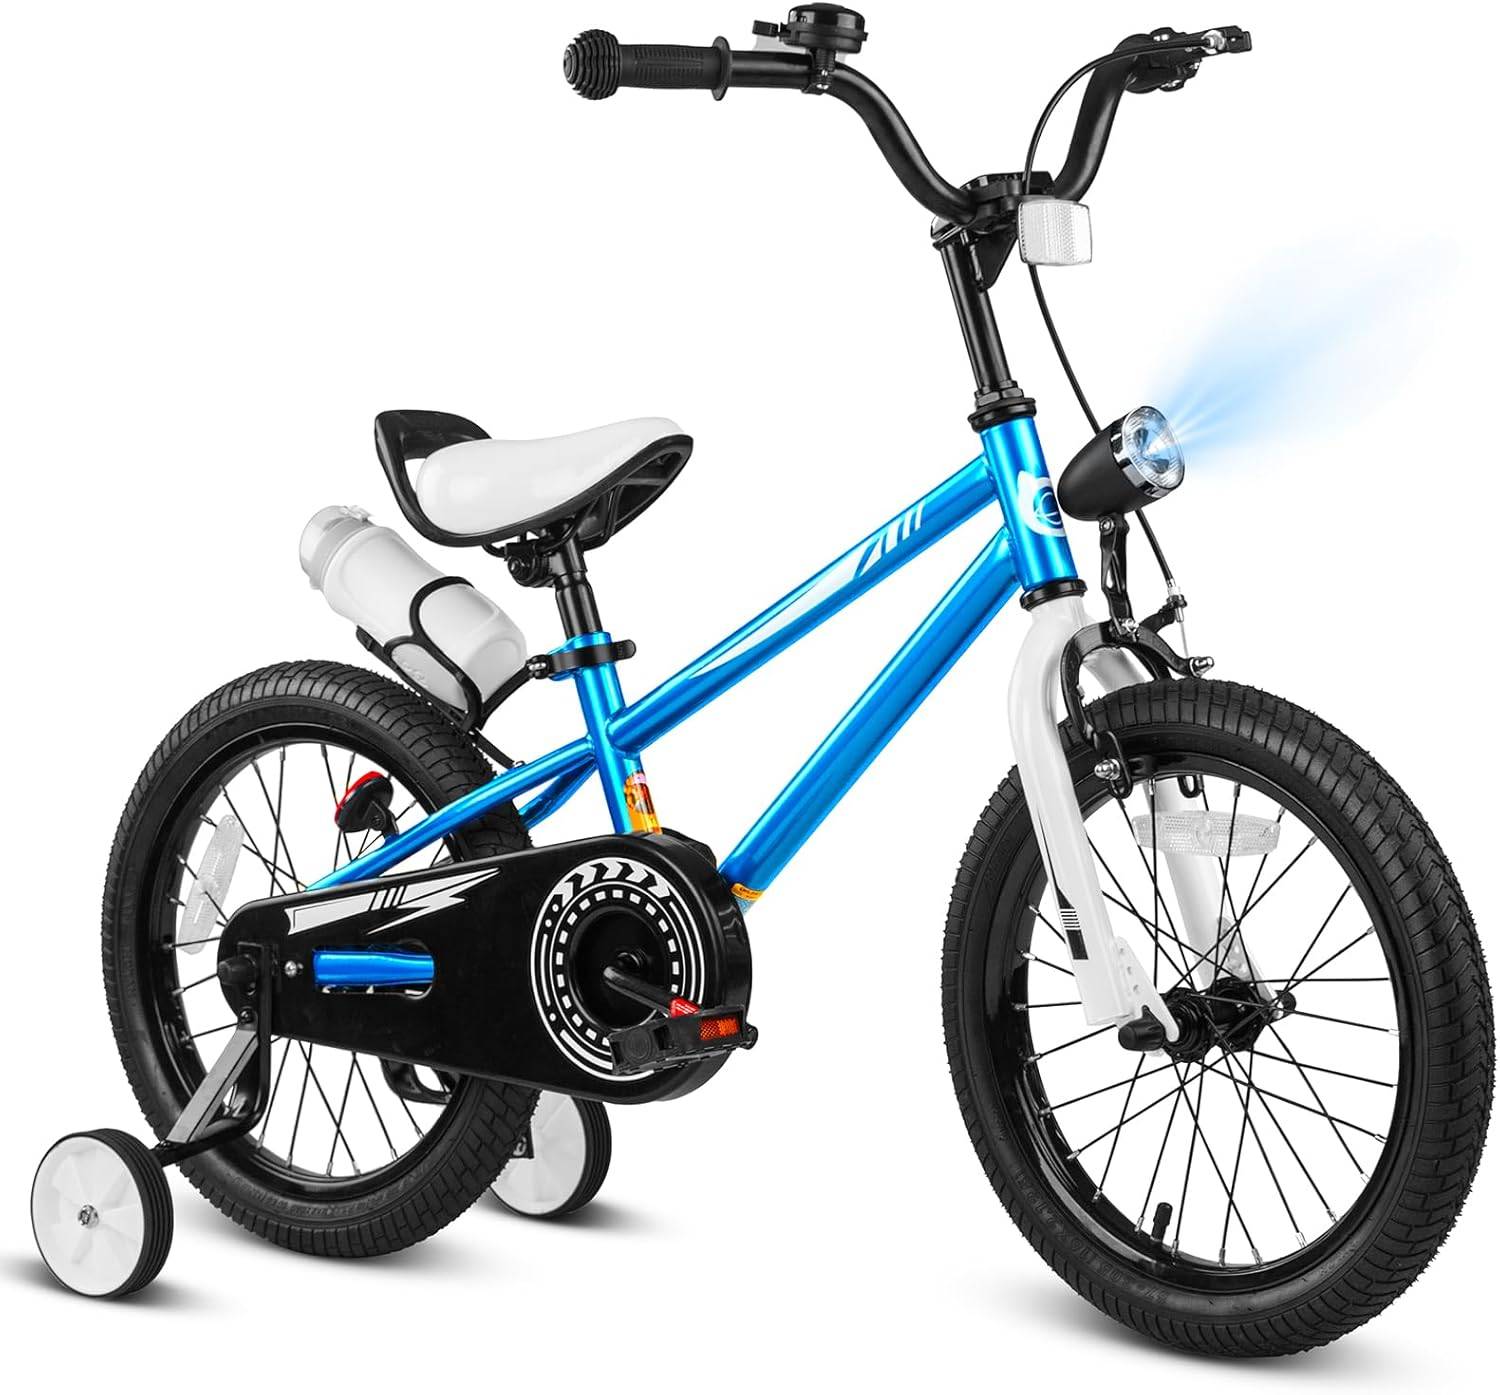
The Light Pink XJD Bike with Basket and Training Wheels and Blue XJD 12/14/16-Inch Kids Bike are current supported-bike examples. Because each offers multiple sizes, the exact selected configuration must control washer order, bracket removal and final torque.
Practical checklist
- Photograph both axle sides.
- Preserve every washer and brake part.
- Verify wheel, chain and braking.
- Return to slow balance drills.
Frequently asked questions
Can I leave the brackets on without the small wheels?
Only if the exact instructions approve that configuration; protruding hardware can create hazards.
Do I need to adjust the chain afterward?
Rear-axle movement can affect chain tension, so verify it through the model-specific procedure.
Before making the final choice, revisit the exact route or driving area at the time it will normally be used. A setup that works during a quiet test may need more room, visibility or adult support when other people and everyday obstacles are present.
Bottom line
Use the answer to how to remove training wheels from a kids bike as a decision process, not a shortcut. Confirm the live product data and manual, match the rider to the controls and setting, and favor repeatable control over a larger size or higher performance label.
Recommended products
-
Save 12%
Girls' Training Wheel Bike by XJD, 12–20 Inch Wheels – Blue
This XJD girls' training wheel bike in Blue covers one of the widest fit ranges …
Training Wheel Bikes Wheel Size 12 Inch / 14 Inch / 16 Inch / 20 Inch Recommended Height 86–152 cm Training Wheels Yes 12 Inch -
Save 15%
XJD Boys 12/14/16" Training Wheel Bike – Blue
The XJD Boys Bike in Blue is a training wheel bike for riders 71–122 cm tall—rou…
Training Wheel Bikes Wheel Size 12 Inch / 14 Inch / 16 Inch Recommended Height 86–122 cm Training Wheels Yes 16 Inch -
Save 15%
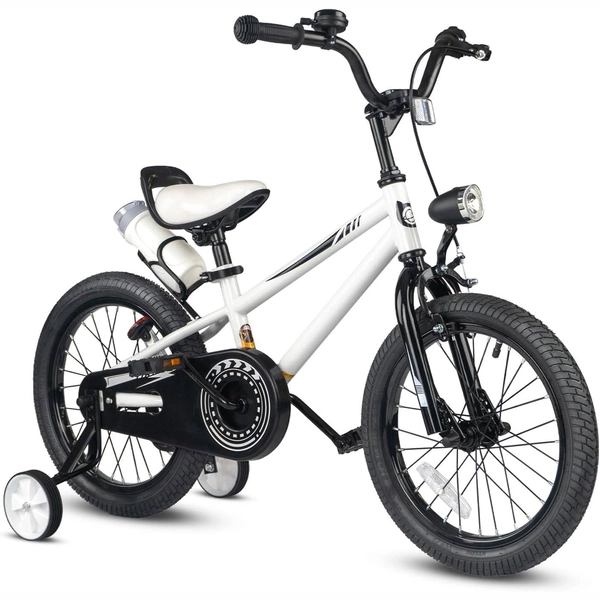
XJD Kids' Training Wheel Bike for Boys & Girls, 12/14/16 Inch – White
The XJD kids' training wheel bike in White is made for riders ages 3–8 (roughly …
Training Wheel Bikes Wheel Size 12 Inch / 14 Inch / 16 Inch Recommended Height 86–122 cm Training Wheels Yes 14 Inch -
Save 12%
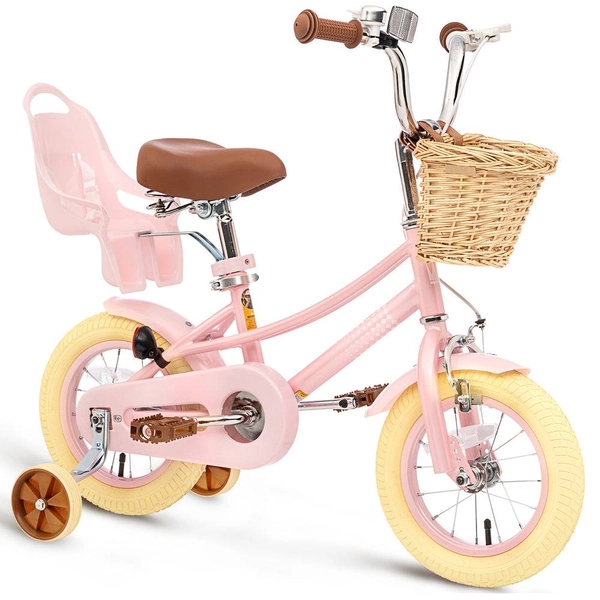
XJD Kids Bike for Girls – Pink, 12/14/16/20 Inch with Training Wheels
The XJD Kids Bike for Girls in Pink is a training-wheel bike built to carry your…
Training Wheel Bikes Wheel Size 12 Inch / 14 Inch / 16 Inch / 20 Inch Recommended Height 86–152 cm Training Wheels Yes 12 Inch