How to teach a child to bike without training wheels
Teach a child to bike without training wheels by confirming the bike fits, lowering the seat for confident foot contact, practising balance first, then adding pedalling, steering and braking in short sessions.
Check the fit before removing the training wheels
Measure the child’s standing height and inseam without shoes. Use height—not age alone—to choose the wheel-size starting point, then have the child try the bicycle. They should be able to stand over it comfortably, reach the handlebar without stretching, turn it while remaining balanced, and operate the brakes with control.
Do not use an oversized bicycle as something the child will “grow into.” A bike that is difficult to mount, hold upright, steer or stop adds work precisely when the rider needs to concentrate on balance. If reach or brake control is doubtful, choose a better-fitting bike or ask a qualified bicycle mechanic for help.
| Wheel size | Height starting point | Age starting point |
|---|---|---|
| 12 Inch | 34–40 in / 86–102 cm | 3–4 |
| 14 Inch | 37–45 in / 94–114 cm | 3–6 |
| 16 Inch | 40–48 in / 102–122 cm | 4–7 |
| 18 Inch | 43–52 in / 109–132 cm | 5–9 |
| 20 Inch | 48–60 in / 122–152 cm | 7–12 |
| 24 Inch | 54–64 in / 137–163 cm | 10–14 |
| 26 Inch | Over 60 in / 153 cm | Youth and adults |
These ranges are only starting points. The child’s inseam, reach, brake control and confidence decide whether the actual bicycle is suitable.
Prepare the bike and practice area
Use a wide, level, traffic-free paved area with plenty of stopping space. Avoid steep slopes, crowded paths and nearby obstacles. The child should wear closed-toe shoes and a properly fitting bicycle helmet. Position the helmet level and adjust its straps according to the helmet manufacturer’s instructions.
Remove or adjust training wheels only as directed by the exact bicycle manual. Check that the bicycle is assembled and operating correctly before practice; for unspecified compatibility, maintenance or tightening requirements, follow the manual or use a qualified bicycle mechanic.
Set the seat so the learner can place both feet down confidently while seated. The goal at this stage is easy recovery from a wobble, not maximum pedalling efficiency. Confirm again that the child can reach and use the brakes before letting the bike roll freely.
Teach balance before pedalling
Have the child sit on the bike and move forward with short walking steps. Next, encourage longer pushes followed by brief glides with both feet lifted slightly. Ask them to look ahead toward an open target rather than down at the front wheel.
Stay beside the child. If support is needed, steady the torso lightly instead of gripping and steering the handlebar; the rider must feel and correct small changes in balance. Release support gradually and tell the child when you are doing so.
Continue until the child can repeatedly:
- push off and glide without an immediate foot-down;
- keep the front wheel on a generally intended line;
- put a foot down calmly when balance is lost;
- slow and stop using the bike’s brakes with control.
Add pedals, starts and turns
Once gliding is consistent, introduce pedalling. Position one pedal where the child can press it forward to begin moving, while the other foot leaves the ground and finds the second pedal. Practise only a few starts at a time, because starting often takes longer to learn than riding once underway.
Then add broad turns in both directions. Use distant visual targets and plenty of space; sharp turns can wait. Finish each run with a planned, controlled stop. A useful sequence is look ahead, push, pedal, steer, brake, foot down.
Know when to pause or step back
Stop the session if the child is tired, frightened, repeatedly unable to control the brakes, or struggling to support the bicycle. Return to walking and gliding if pedalling causes rushed steering. Short, successful practice is more useful than continuing through frustration.
Training wheels may remain relevant when the child is still learning the controls, but they do not teach the side-to-side balance required for independent riding. Readiness is demonstrated by fit, controlled gliding and reliable stopping—not by reaching a particular birthday.
How the supplied training-wheel bikes compare
The supplied options are relevant because both are training-wheel bikes offered in 12, 14 and 16 Inch available SKU labels, letting a parent compare those wheel-size starting points before choosing a bike for the transition. The Girls 12/14/16 Inch Kids Bike by XJD with Training Wheels – Peach is listed in those three sizes. The XJD Light Purple Girls Bike with Basket, Training Wheels, 12/14/16/20 Inch also has supplied available SKU labels of 12, 14 and 16 Inch; the “20 Inch” wording is part of its exact catalog title, but 20 Inch is not among the supplied available SKU labels.
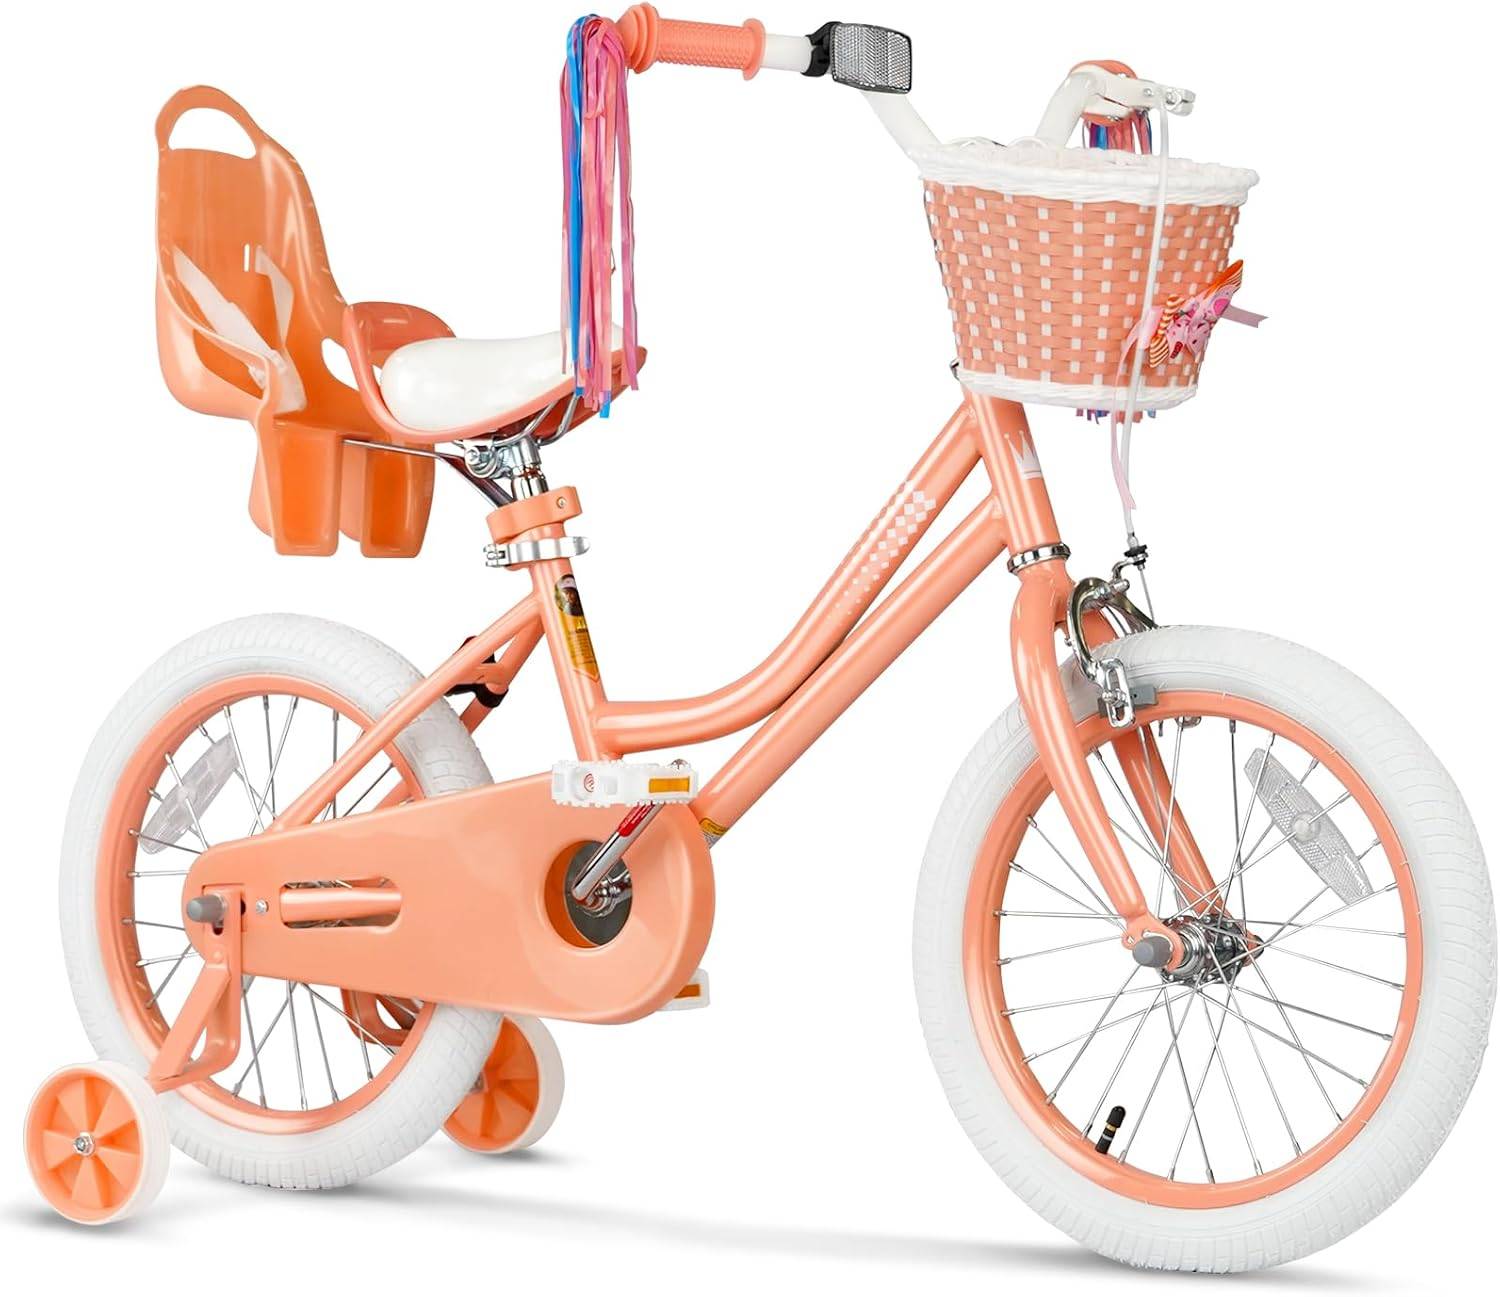 Girls 12/14/16 Inch Kids Bike by XJD with Training Wheels – Peach
A training-wheel bike supplied with available 12, 14 and 16 Inch SKU labels. Use the child’s measured height to identify a starting size, then verify inseam, reach, brake control and confidence on the exact bike.
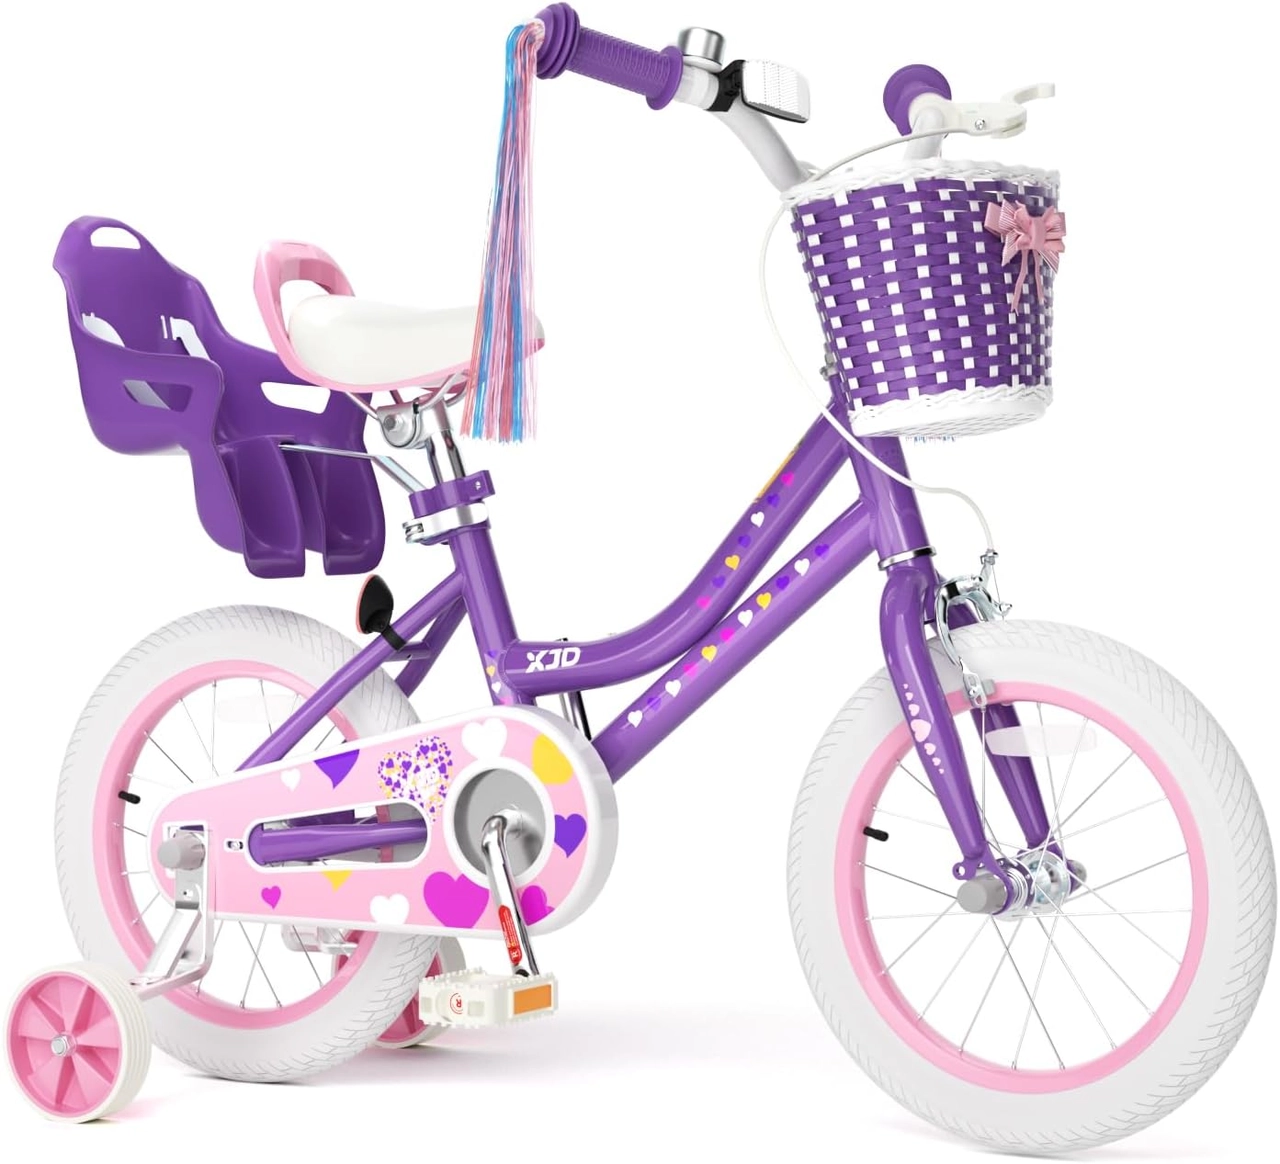 XJD Light Purple Girls Bike with Basket, Training Wheels, 12/14/16/20 Inch
This training-wheel model has supplied available SKU labels of 12, 14 and 16 Inch. Although its exact catalog title includes 20 Inch, 20 Inch is not included among the supplied available SKU labels.
Neither product should be selected from its title alone. Compare the child’s measured height with the table, then verify inseam clearance, reach, brake control and confidence on the exact bicycle. If the rider needs an 18, 20, 24 or 26 Inch fit, these supplied 12/14/16 Inch options are comparison points, not equal substitutes.
The next decision is simple: confirm a controllable fit, prepare a clear practice area, and begin with foot-powered glides; add pedalling only after the child can balance and stop calmly.
Recommended products
-
Save 12%
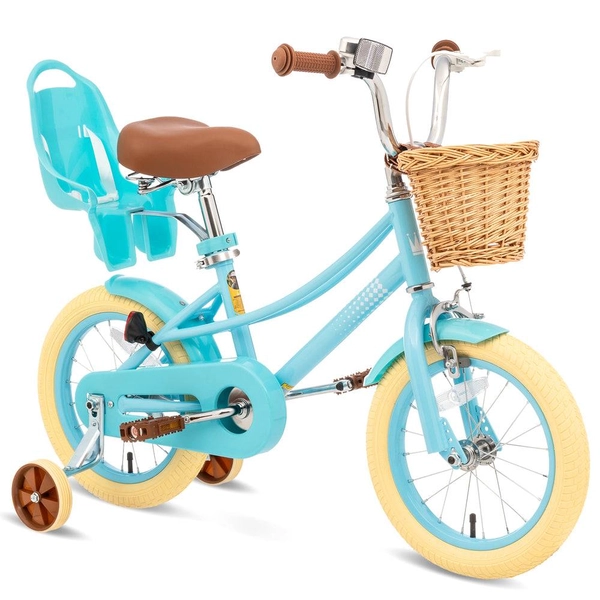
Girls' Training Wheel Bike by XJD, 12–20 Inch Wheels – Blue
This XJD girls' training wheel bike in Blue covers one of the widest fit ranges …
Training Wheel Bikes Wheel Size 12 Inch / 14 Inch / 16 Inch / 20 Inch Recommended Height 86–152 cm Training Wheels Yes 12 Inch -
Save 15%
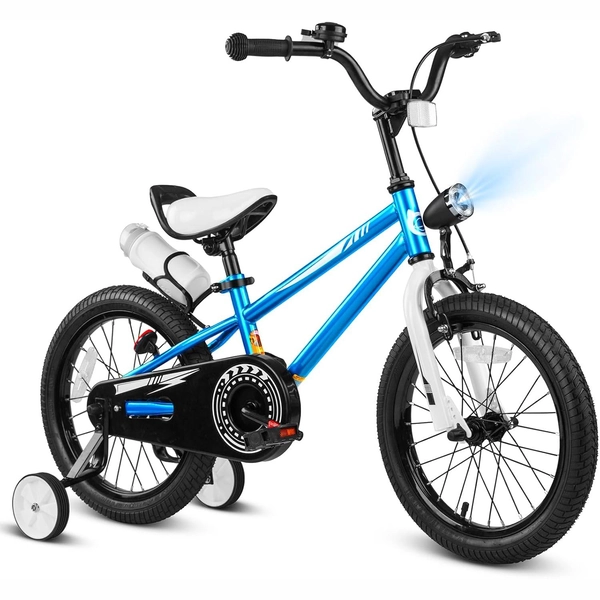
XJD Boys 12/14/16" Training Wheel Bike – Blue
The XJD Boys Bike in Blue is a training wheel bike for riders 71–122 cm tall—rou…
Training Wheel Bikes Wheel Size 12 Inch / 14 Inch / 16 Inch Recommended Height 86–122 cm Training Wheels Yes 16 Inch -
Save 15%
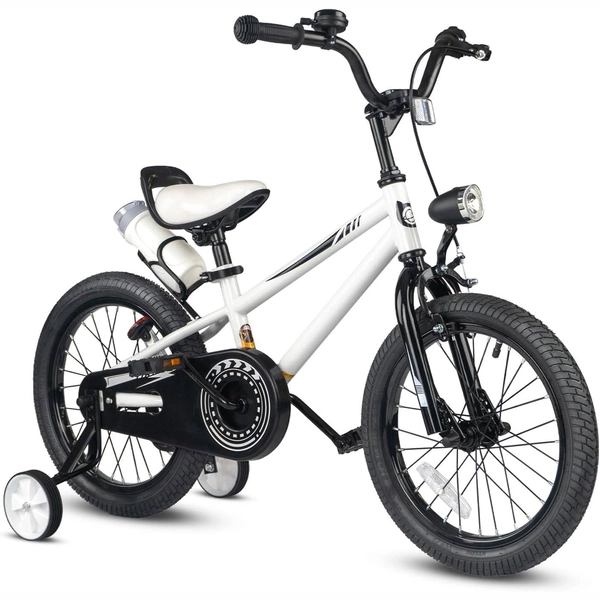
XJD Kids' Training Wheel Bike for Boys & Girls, 12/14/16 Inch – White
The XJD kids' training wheel bike in White is made for riders ages 3–8 (roughly …
Training Wheel Bikes Wheel Size 12 Inch / 14 Inch / 16 Inch Recommended Height 86–122 cm Training Wheels Yes 14 Inch -
Save 12%
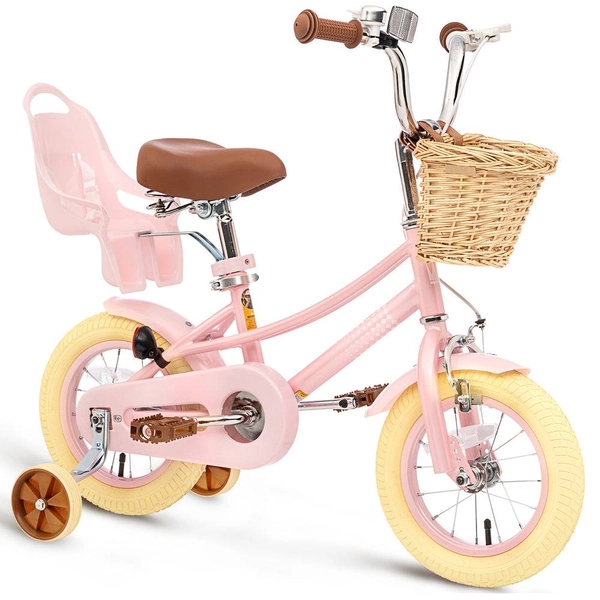
XJD Kids Bike for Girls – Pink, 12/14/16/20 Inch with Training Wheels
The XJD Kids Bike for Girls in Pink is a training-wheel bike built to carry your…
Training Wheel Bikes Wheel Size 12 Inch / 14 Inch / 16 Inch / 20 Inch Recommended Height 86–152 cm Training Wheels Yes 12 Inch