How to teach kids to ride bike without training wheels
Teach a child to ride without training wheels by confirming the bike fits, removing the training wheels, practicing balance first, then adding pedaling, steering and braking on a flat, open surface.
Check fit before removing the training wheels
Measure the child’s standing height and inseam, then have them try the bicycle. Age is only a starting point. The rider should be able to stand over the bike comfortably, reach the handlebar without stretching, turn it while staying balanced and operate the brakes confidently. Do not choose an oversized bicycle merely to allow room for growth.
| Wheel size | XBikes starting age | Rider height |
|---|---|---|
| 12 Inch | Ages 3–4 | 34–40 in / 86–102 cm |
| 14 Inch | Ages 3–6 | 37–45 in / 94–114 cm |
| 16 Inch | Ages 4–7 | 40–48 in / 102–122 cm |
| 18 Inch | Ages 5–9 | 43–52 in / 109–132 cm |
| 20 Inch | Ages 7–12 | 48–60 in / 122–152 cm |
| 24 Inch | Ages 10–14 | 54–64 in / 137–163 cm |
| 26 Inch | Youth and adults | Over 60 in / 153 cm |
Use the table to narrow the choice, not to declare a fit. Compare measured height, inseam, reach, brake control and present confidence. If any of those are poor, change the setup or bicycle before teaching the child to ride unsupported.
Prepare the bicycle and practice area
Follow the exact bicycle manual when removing training wheels, changing the saddle or making any other adjustment. Instructions, compatibility and tightening requirements vary; if the procedure is unclear, use a qualified bicycle mechanic.
Choose a level, traffic-free space with plenty of room and a predictable surface. Avoid a steep hill: speed can hide weak balance and leave a new rider with too much to manage. Dress the child for the conditions and use a bicycle helmet that fits properly, sits level and has straps adjusted according to its manufacturer’s instructions.
Teach balance before pedaling
- Start with walking. Let the child sit on the saddle and move the bike forward with their feet. Ask them to look toward the open path rather than down at the front wheel.
- Move to gliding. Encourage a gentle push followed by a short coast with both feet ready to return to the ground. Repeat until the child can keep the handlebar calm and correct small wobbles.
- Practice stopping. Have the rider slow and stop using the bike’s braking controls while remaining composed. Confirm that the controls are reachable and understandable before adding more speed.
Stay close enough to assist, but avoid steering by pulling the handlebar. If support is needed, steady the child lightly around the torso or upper back so they can feel and correct the bicycle’s lean themselves.
Add the pedals and release gradually
Once gliding and stopping are consistent, introduce pedaling. Position a pedal so the child can press it forward to begin, while the other foot remains ready for support. Ask them to look ahead, push off, place the second foot on its pedal and continue smoothly.
Run or walk beside the rider at first, offering only the amount of support they need. Release briefly when the bicycle is stable, then extend the unsupported portions as confidence grows. Teach wide, gentle turns before tighter steering. End a session when frustration or fatigue starts to reduce control; another calm attempt is more useful than forcing a breakthrough.
Know whether the catalog option is relevant
The Girls' Training Wheel Bike by XJD with Basket – Purple is offered with 14 Inch, 16 Inch and 20 Inch SKU labels. Those choices help compare three XBikes fit starting points for a child learning to leave training wheels behind, but the correct selection still depends on the individual fit checks above.
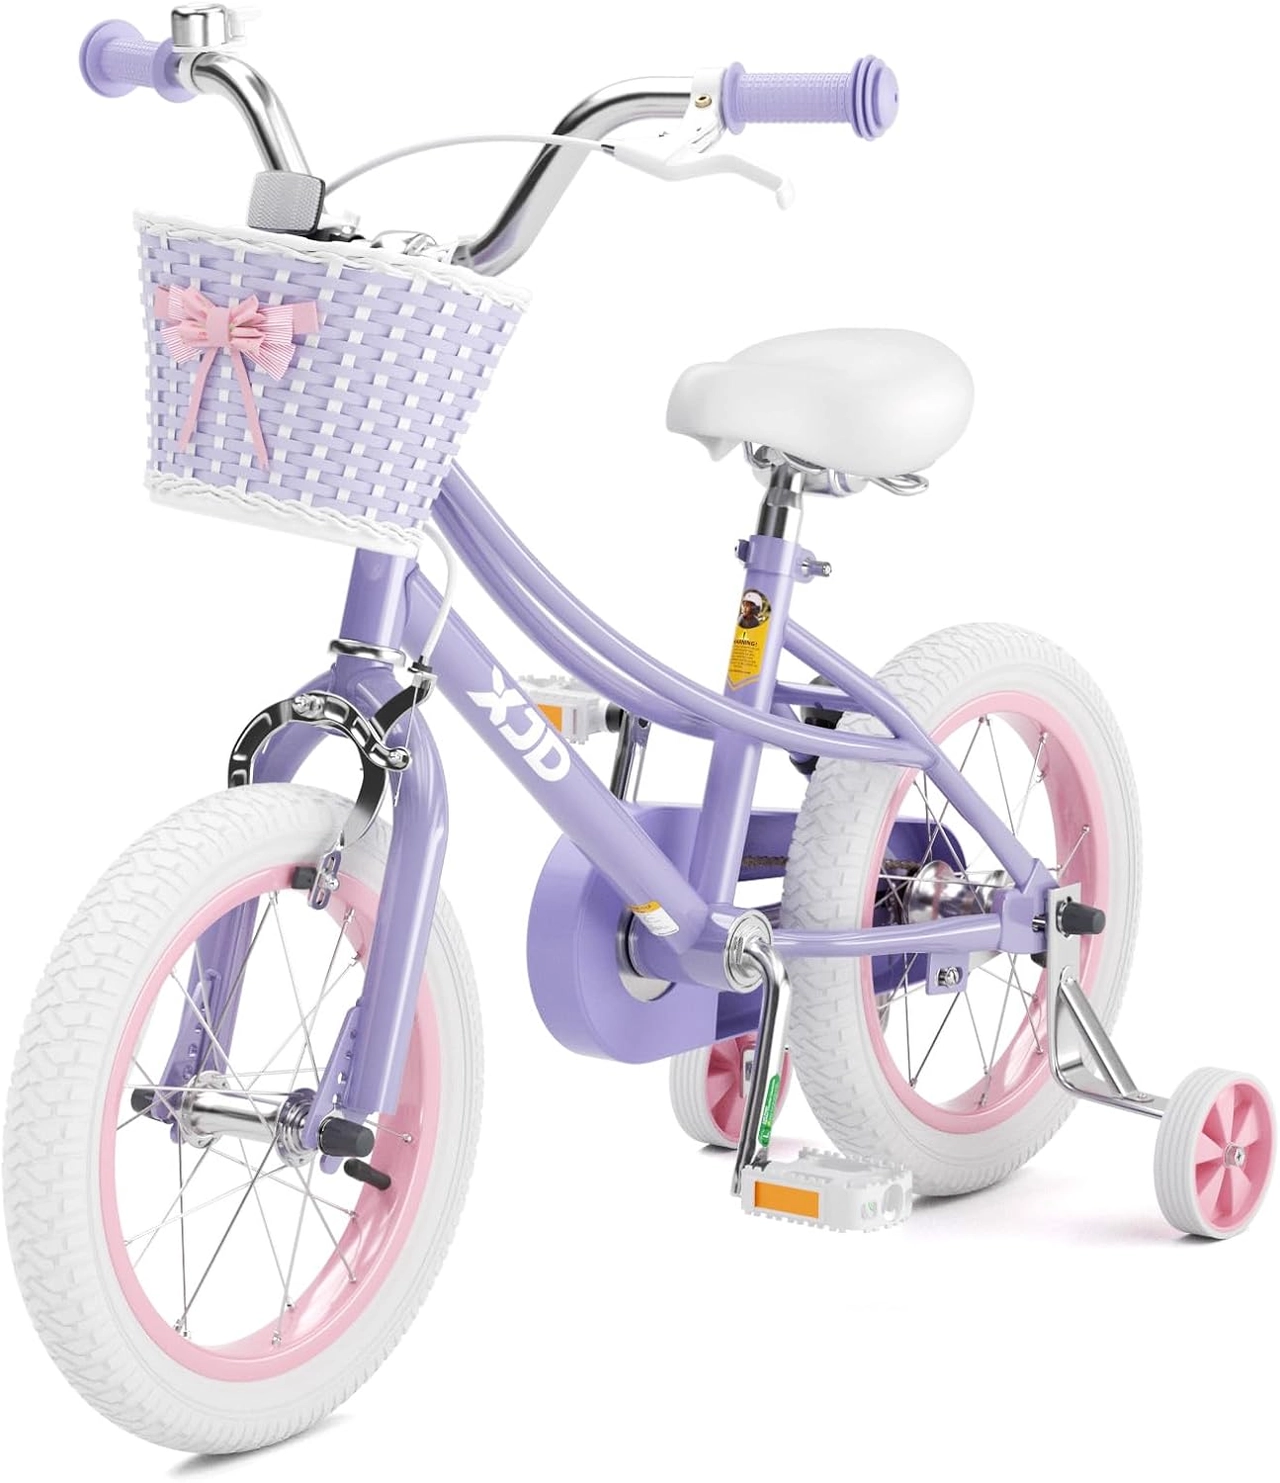
Its 14 Inch option corresponds to the 37–45 in / 94–114 cm starting range, the 16 Inch option to 40–48 in / 102–122 cm, and the 20 Inch option to 48–60 in / 122–152 cm. These ranges overlap, so height alone may leave two plausible choices. In that case, compare stand-over room, inseam, reach, brake control and confidence on each bicycle; do not automatically size up.
This product is relevant when one of its supplied wheel sizes fits and the family wants a training-wheel bicycle that can support the transition described here. It is not a substitute when the child needs a different wheel size or cannot comfortably control the bicycle. The basket and purple color are visible catalog distinctions, not evidence of fit or riding readiness.
Decide what to do next
If the child can glide, steer and stop calmly, move on to short pedal starts with gradually less support. If they cannot, return to balance practice. If reach, stand-over clearance or brake operation remains doubtful, pause the lesson and choose or adjust the bicycle using its manual or a qualified mechanic before trying again without training wheels.
Recommended products
-
Save 12%
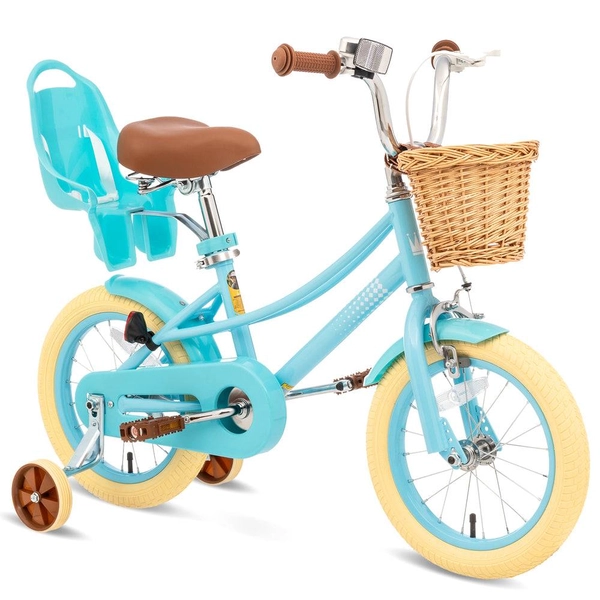
Girls' Training Wheel Bike by XJD, 12–20 Inch Wheels – Blue
This XJD girls' training wheel bike in Blue covers one of the widest fit ranges …
Training Wheel Bikes Wheel Size 12 Inch / 14 Inch / 16 Inch / 20 Inch Recommended Height 86–152 cm Training Wheels Yes 12 Inch -
Save 15%
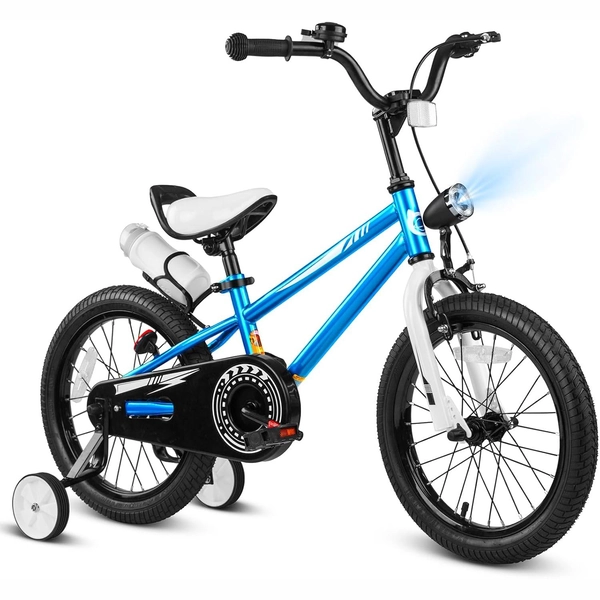
XJD Boys 12/14/16" Training Wheel Bike – Blue
The XJD Boys Bike in Blue is a training wheel bike for riders 71–122 cm tall—rou…
Training Wheel Bikes Wheel Size 12 Inch / 14 Inch / 16 Inch Recommended Height 86–122 cm Training Wheels Yes 16 Inch -
Save 15%
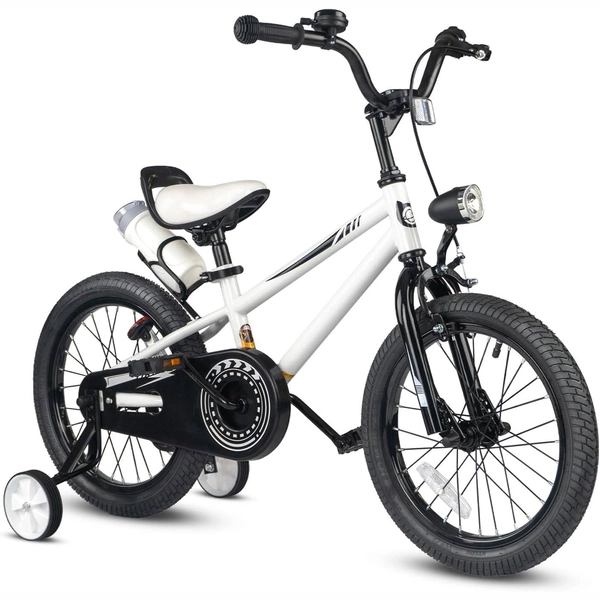
XJD Kids' Training Wheel Bike for Boys & Girls, 12/14/16 Inch – White
The XJD kids' training wheel bike in White is made for riders ages 3–8 (roughly …
Training Wheel Bikes Wheel Size 12 Inch / 14 Inch / 16 Inch Recommended Height 86–122 cm Training Wheels Yes 14 Inch -
Save 12%
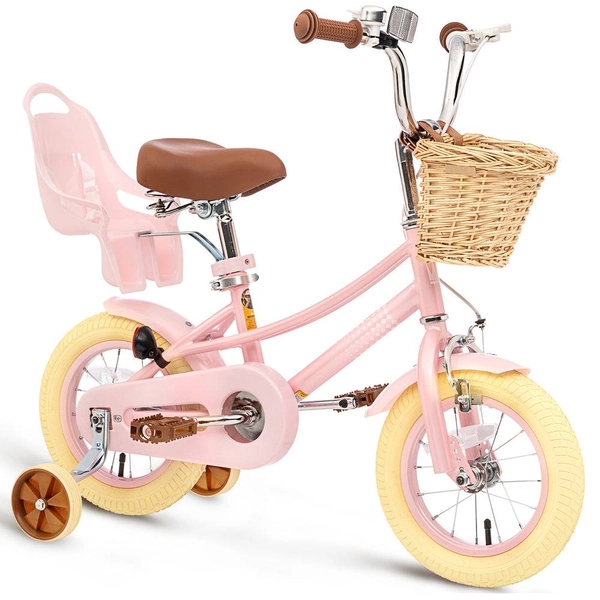
XJD Kids Bike for Girls – Pink, 12/14/16/20 Inch with Training Wheels
The XJD Kids Bike for Girls in Pink is a training-wheel bike built to carry your…
Training Wheel Bikes Wheel Size 12 Inch / 14 Inch / 16 Inch / 20 Inch Recommended Height 86–152 cm Training Wheels Yes 12 Inch