How to teach toddler to ride bike with training wheels
Teach a toddler to ride with training wheels by choosing a bike that fits now, setting up the supports exactly as directed, and practising one skill at a time in a flat, traffic-free area.
Measure the rider before choosing a bike
Measure the child’s standing height and inseam while they wear the shoes they will use for riding. Age is only a starting point. The child should try the bicycle because leg clearance, reach, brake control and confidence can differ among riders of the same height.
During the fit check, confirm that the child can stand over the bicycle comfortably, reach the handlebar without stretching, steer through a turn and operate the available brake controls reliably. Do not buy an oversized bicycle merely to leave room for growth. If the child cannot control the bike at walking speed, choose a more suitable fit.
| Wheel size | XBikes starting age | Rider height |
|---|---|---|
| 12 Inch | 3–4 | 34–40 in / 86–102 cm |
| 14 Inch | 3–6 | 37–45 in / 94–114 cm |
| 16 Inch | 4–7 | 40–48 in / 102–122 cm |
These ranges overlap, so height alone does not settle the choice. Compare the child’s measured height with the table, then use the individual fit check to decide between adjacent sizes.
Set up the bike and riding area
Complete assembly and adjust the training wheels according to the exact bicycle manual. Follow its instructions for fasteners, compatibility, maintenance and any torque requirements; if the instructions are missing or the setup is uncertain, use a qualified bicycle mechanic.
Choose a wide, flat, paved area away from vehicles, slopes, kerbs and obstacles. The child should wear a properly fitting bicycle helmet. It should sit level, with its straps adjusted according to the helmet manufacturer’s instructions. Use closed-toe shoes and avoid loose clothing or laces that could catch.
Teach the first ride in small steps
- Learn the controls while stationary. Show the child where to look, how to hold the handlebar and how the available brakes stop the bicycle.
- Practise mounting and starting. Support the child rather than pulling the handlebar. Let them place a pedal in a comfortable starting position and push away when ready.
- Ride straight before turning. Ask the child to look ahead and pedal toward a nearby marker. Walk beside them without steering for them.
- Add broad turns. Use large loops so the child can practise looking and steering without abrupt changes.
- Practise planned stops. Name a visible stopping point, have the child stop under control, then place a foot down.
Keep sessions short enough that attention and coordination remain steady. Finish after a successful start, turn or stop instead of continuing until the child is frustrated.
Use training wheels as learning supports
Training wheels reduce side-to-side tipping, but they do not teach balance by themselves. Watch whether the child pedals smoothly, steers instead of leaning heavily on one support, looks ahead and stops on request. Avoid changing the training-wheel position through guesswork; use only the procedure in the product manual or ask a qualified mechanic.
Pause the session if the bicycle repeatedly tips onto one support, a wheel or fastener appears loose, the child cannot reach a control, or the riding area becomes crowded. Inspect the bike as directed in its manual before the next attempt.
Compare the supplied XBikes options
The two catalog options are relevant because each offers 12 Inch, 14 Inch and 16 Inch labels, letting a parent compare the child’s measured fit across the three smallest XBikes starting points. Flower Pink XJD Girls Bike with Doll Seat & Basket and Purple XJD Girls' Bike with Doll Seat & Basket differ in their catalog titles, while the supplied sizing choices are the same. Choose neither by title or presumed age fit alone.
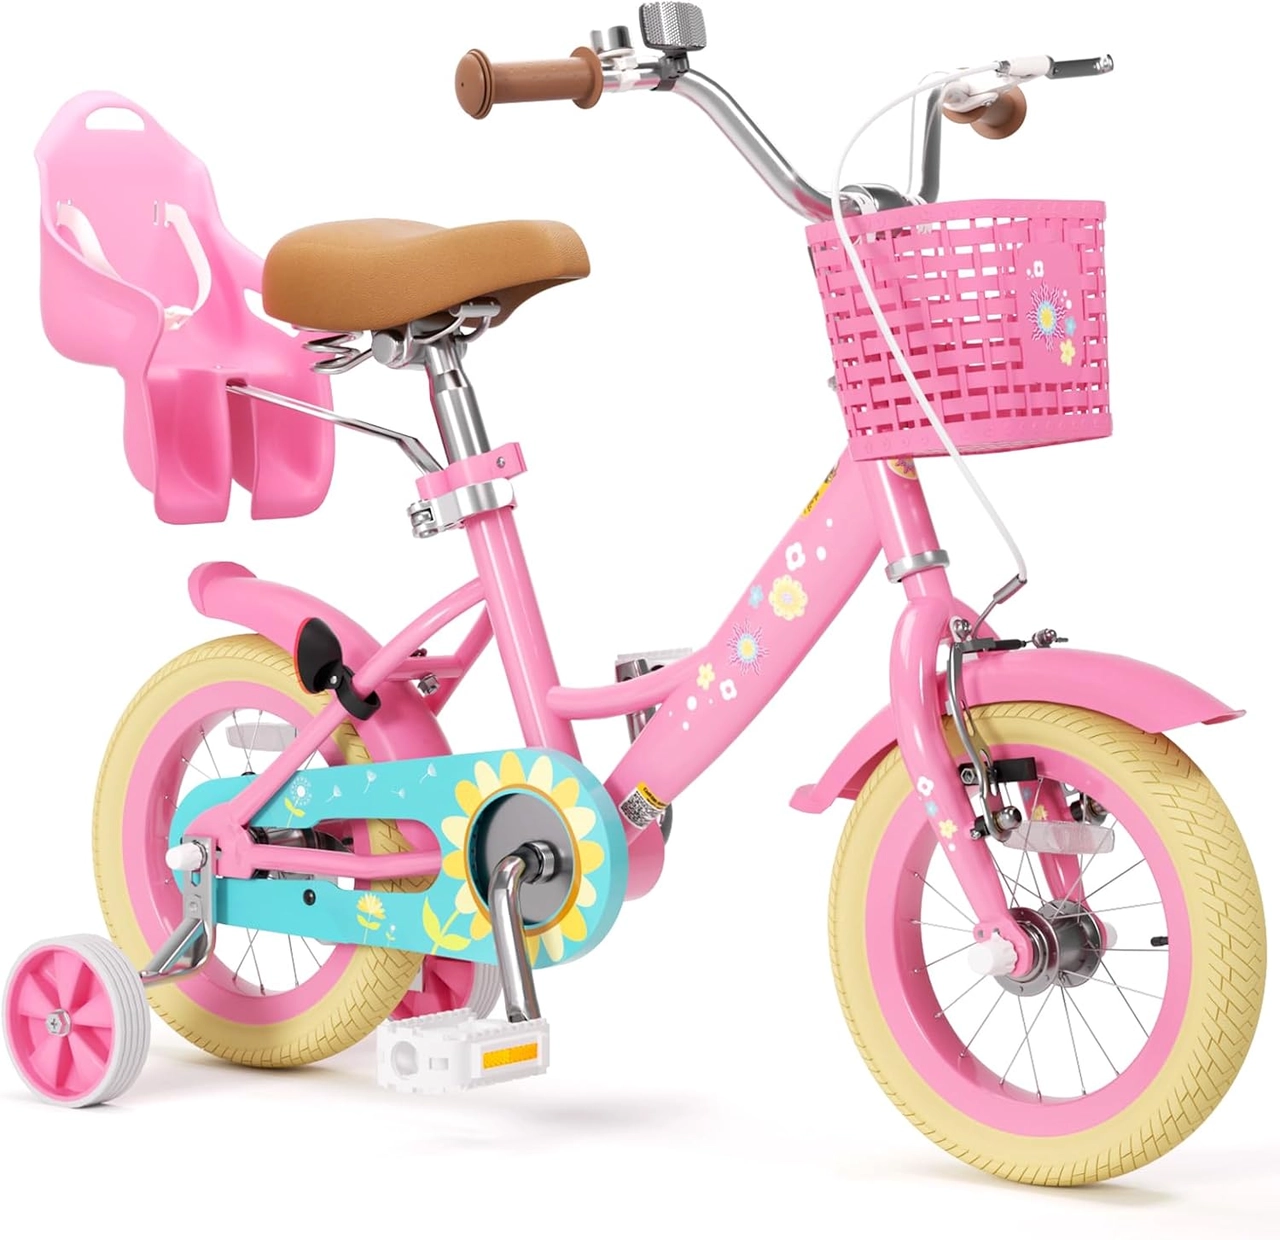 Flower Pink XJD Girls Bike with Doll Seat & Basket
Available in 12 Inch, 14 Inch and 16 Inch labels, this bike is relevant for comparing the toddler’s measured height, reach, control and confidence across XBikes’ smallest starting sizes.
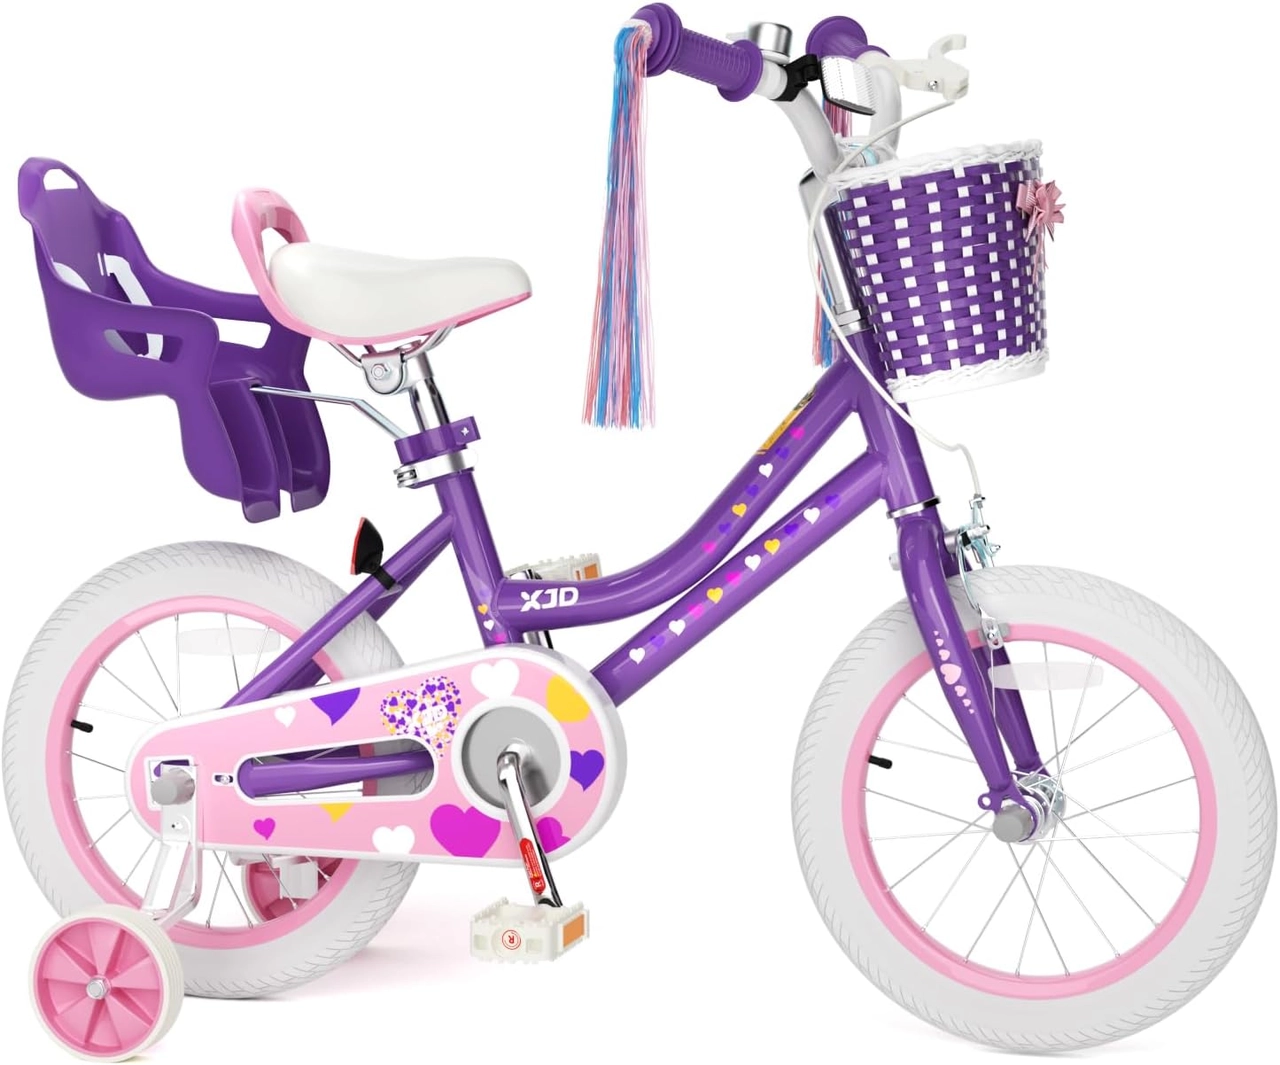 Purple XJD Girls' Bike with Doll Seat & Basket
This catalog option also offers 12 Inch, 14 Inch and 16 Inch labels, making it a relevant fit-check comparison when the rider falls within overlapping XBikes height ranges.
For a rider measuring 34–40 inches, begin the comparison with 12 Inch; for 37–45 inches, include 14 Inch; and for 40–48 inches, include 16 Inch. Where ranges overlap, have the child try the relevant sizes and compare stand-over clearance, reach, brake operation and present confidence. The listed doll seat and basket are catalog features, not evidence that either bicycle fits a particular child.
Know when to progress
Consider the next learning stage only when the child can start with little help, maintain a chosen line, make broad turns, look ahead and stop predictably. Confidence should be calm and repeatable, not based on one fast ride. Follow the bicycle manual or consult a qualified mechanic before adjusting or removing the training wheels.
Your next action is simple: measure height and inseam, shortlist the overlapping 12, 14 or 16 Inch options, then let the toddler demonstrate reach, control and stopping on the actual bicycle before choosing it.
Recommended products
-
Save 12%
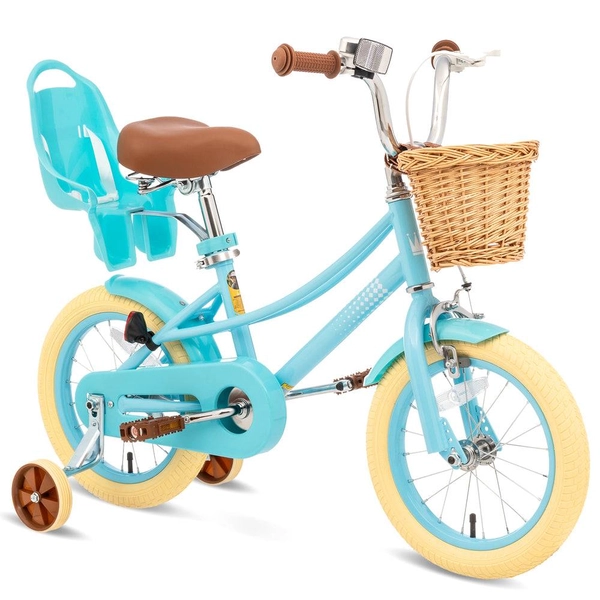
Girls' Training Wheel Bike by XJD, 12–20 Inch Wheels – Blue
This XJD girls' training wheel bike in Blue covers one of the widest fit ranges …
Training Wheel Bikes Wheel Size 12 Inch / 14 Inch / 16 Inch / 20 Inch Recommended Height 86–152 cm Training Wheels Yes 12 Inch -
Save 15%
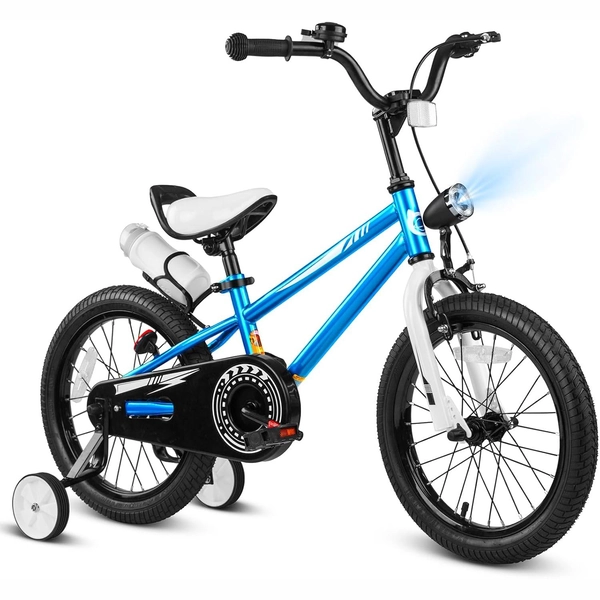
XJD Boys 12/14/16" Training Wheel Bike – Blue
The XJD Boys Bike in Blue is a training wheel bike for riders 71–122 cm tall—rou…
Training Wheel Bikes Wheel Size 12 Inch / 14 Inch / 16 Inch Recommended Height 86–122 cm Training Wheels Yes 16 Inch -
Save 15%
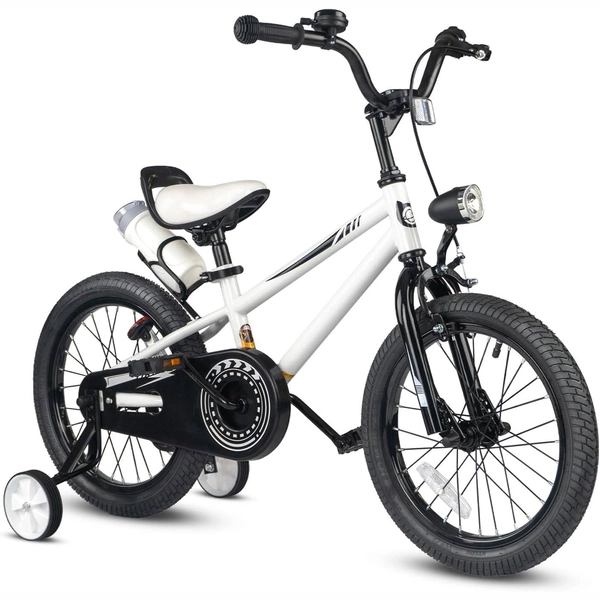
XJD Kids' Training Wheel Bike for Boys & Girls, 12/14/16 Inch – White
The XJD kids' training wheel bike in White is made for riders ages 3–8 (roughly …
Training Wheel Bikes Wheel Size 12 Inch / 14 Inch / 16 Inch Recommended Height 86–122 cm Training Wheels Yes 14 Inch -
Save 12%
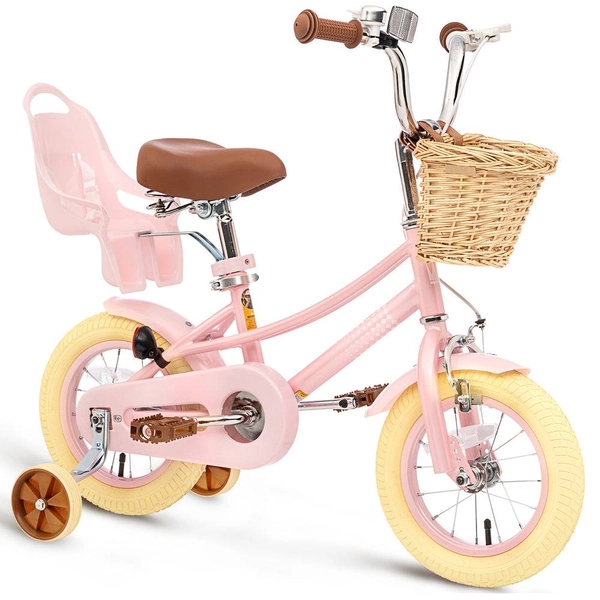
XJD Kids Bike for Girls – Pink, 12/14/16/20 Inch with Training Wheels
The XJD Kids Bike for Girls in Pink is a training-wheel bike built to carry your…
Training Wheel Bikes Wheel Size 12 Inch / 14 Inch / 16 Inch / 20 Inch Recommended Height 86–152 cm Training Wheels Yes 12 Inch