What age do kids ride a bike without training wheels
There is no single correct age for riding without training wheels. A child is ready when they can balance, steer, stop and start with control on a correctly fitted bike.
Age is only a starting point
Do not remove training wheels just because a birthday has arrived or another child is already riding independently. Confidence, coordination and bike fit matter more than age alone. A child may be physically capable but not emotionally ready; another may show steady balance sooner.
The useful question is not “Are they old enough?” but “Can they control this bike without the training wheels supporting them?” Judge that on a quiet, flat practice area rather than in traffic or on a steep path.
Measure the rider before changing the setup
Measure the child’s standing height and inseam without shoes. Then have them try the actual bicycle. They should be able to stand over it comfortably, reach the handlebars without stretching, steer through a turn and operate the brakes reliably. Follow the bicycle manual for its specific adjustment limits.
Use the XBikes ranges below as starting points, not as proof of fit:
| Wheel size | Starting age | Rider height |
|---|---|---|
| 12 Inch | 3–4 | 34–40 in / 86–102 cm |
| 14 Inch | 3–6 | 37–45 in / 94–114 cm |
| 16 Inch | 4–7 | 40–48 in / 102–122 cm |
| 20 Inch | 7–12 | 48–60 in / 122–152 cm |
These ranges overlap because age cannot determine fit. Do not buy an oversized bicycle for a child to grow into. If stand-over clearance, reach or brake control is doubtful, compare another size or ask a qualified bicycle mechanic to assess the fit.
Look for readiness without the wheels
Before making a permanent change, watch how the child rides with minimal reliance on the training wheels. Useful signs include:
- They keep their eyes ahead and steer a predictable line.
- They start pedalling without immediately leaning hard to one side.
- They slow and stop on request while remaining in control.
- They place a foot down deliberately when balance is lost.
- They want to practise without being pressured.
If the child consistently tips onto the supports, cannot reach the controls or becomes frightened, keep working on fit and basic control. Waiting is appropriate; moving to a larger bike is not a remedy for missing balance or confidence.
How to make the first attempt
- Check that the bicycle fits and is in sound riding condition. Use its exact manual for assembly, adjustments, compatibility and maintenance instructions, or use a qualified bicycle mechanic.
- Choose a flat, open area away from vehicles, obstacles and crowds.
- Fit a bicycle helmet so it sits level and secure, with its straps adjusted according to the helmet manufacturer’s instructions.
- Begin with short sessions. Let the child practise looking ahead, starting, coasting, steering and controlled stopping.
- Stay close enough to assist, but avoid pulling the handlebars. Stop before fatigue or frustration replaces useful practice.
If the training wheels require removal or adjustment, follow the product manual. Do not improvise hardware positions or torque settings that the manufacturer has not specified.
How the supplied bikes relate to this decision
These Training Wheel Bikes provide size options for families comparing a current learning bike or a correctly fitted next setup. Their wheel labels help narrow the search, but none establishes readiness to ride independently; measured height, inseam, reach, braking control and confidence still decide.
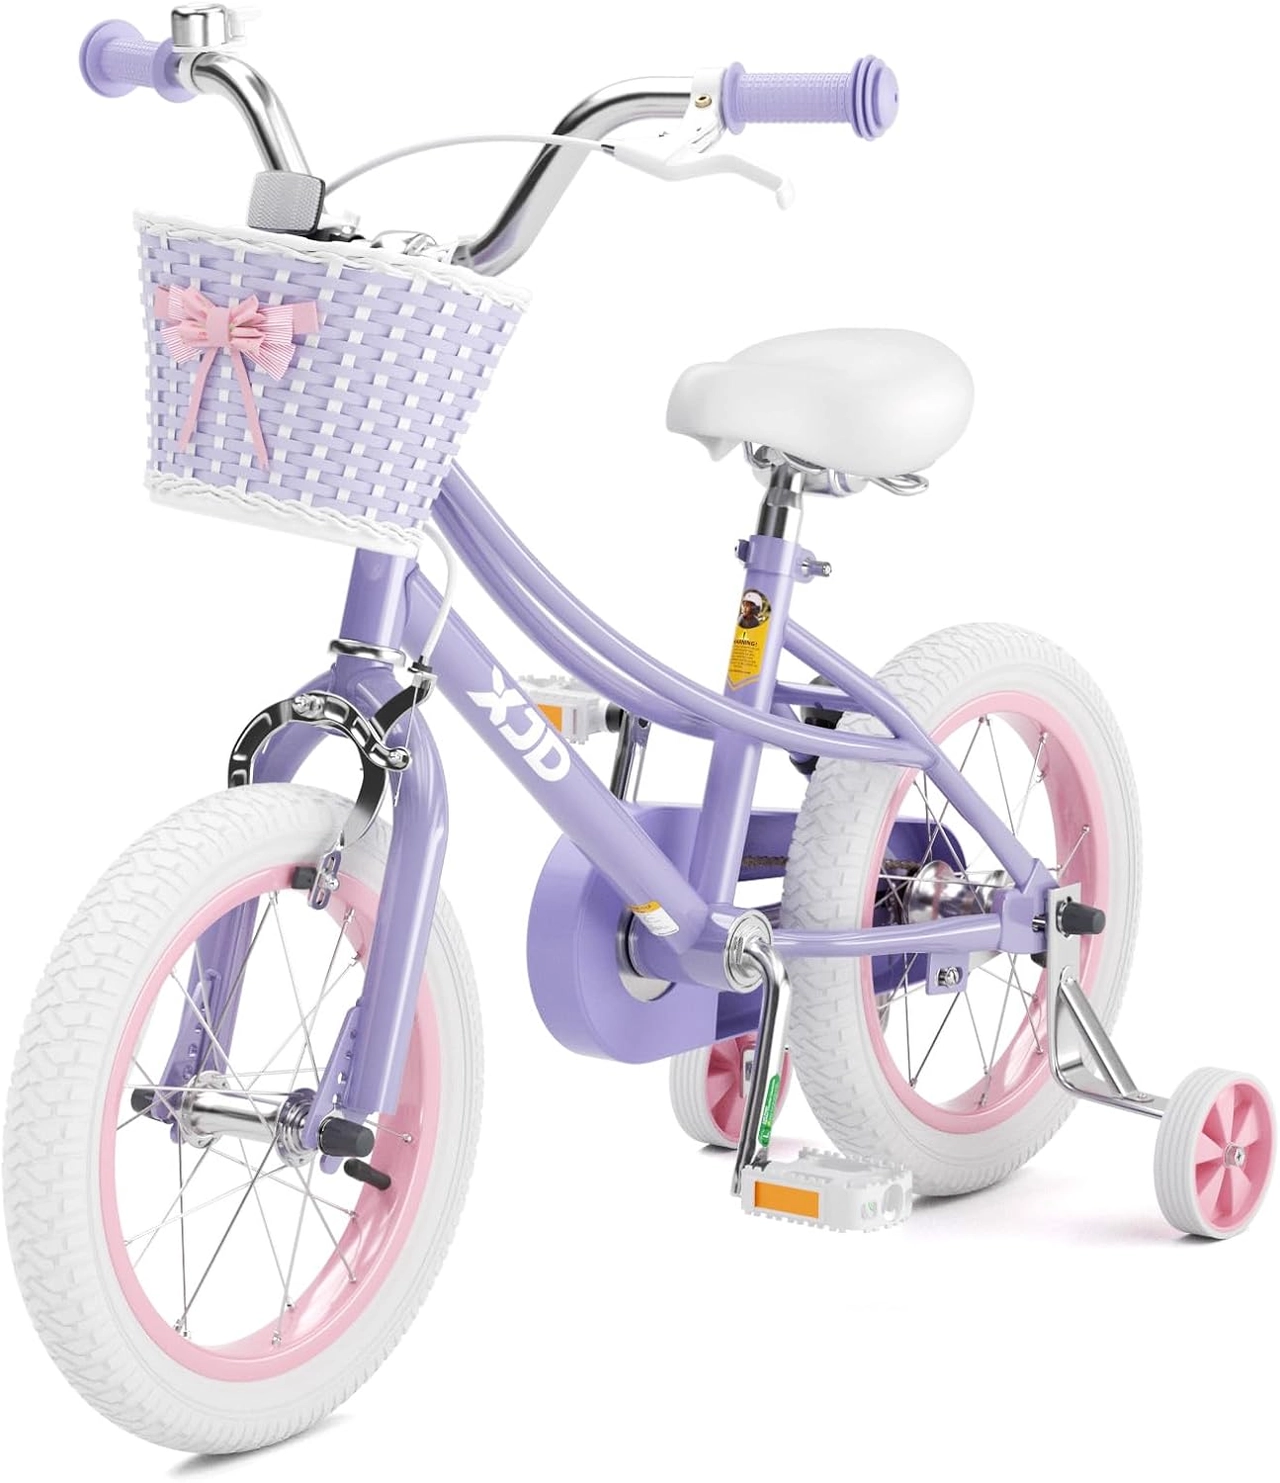 Girls' Training Wheel Bike by XJD with Basket – Purple
Available in 14 Inch, 16 Inch and 20 Inch labels, this Training Wheel Bike offers comparison points across several XBikes height ranges; an individual fit and control check remains necessary.
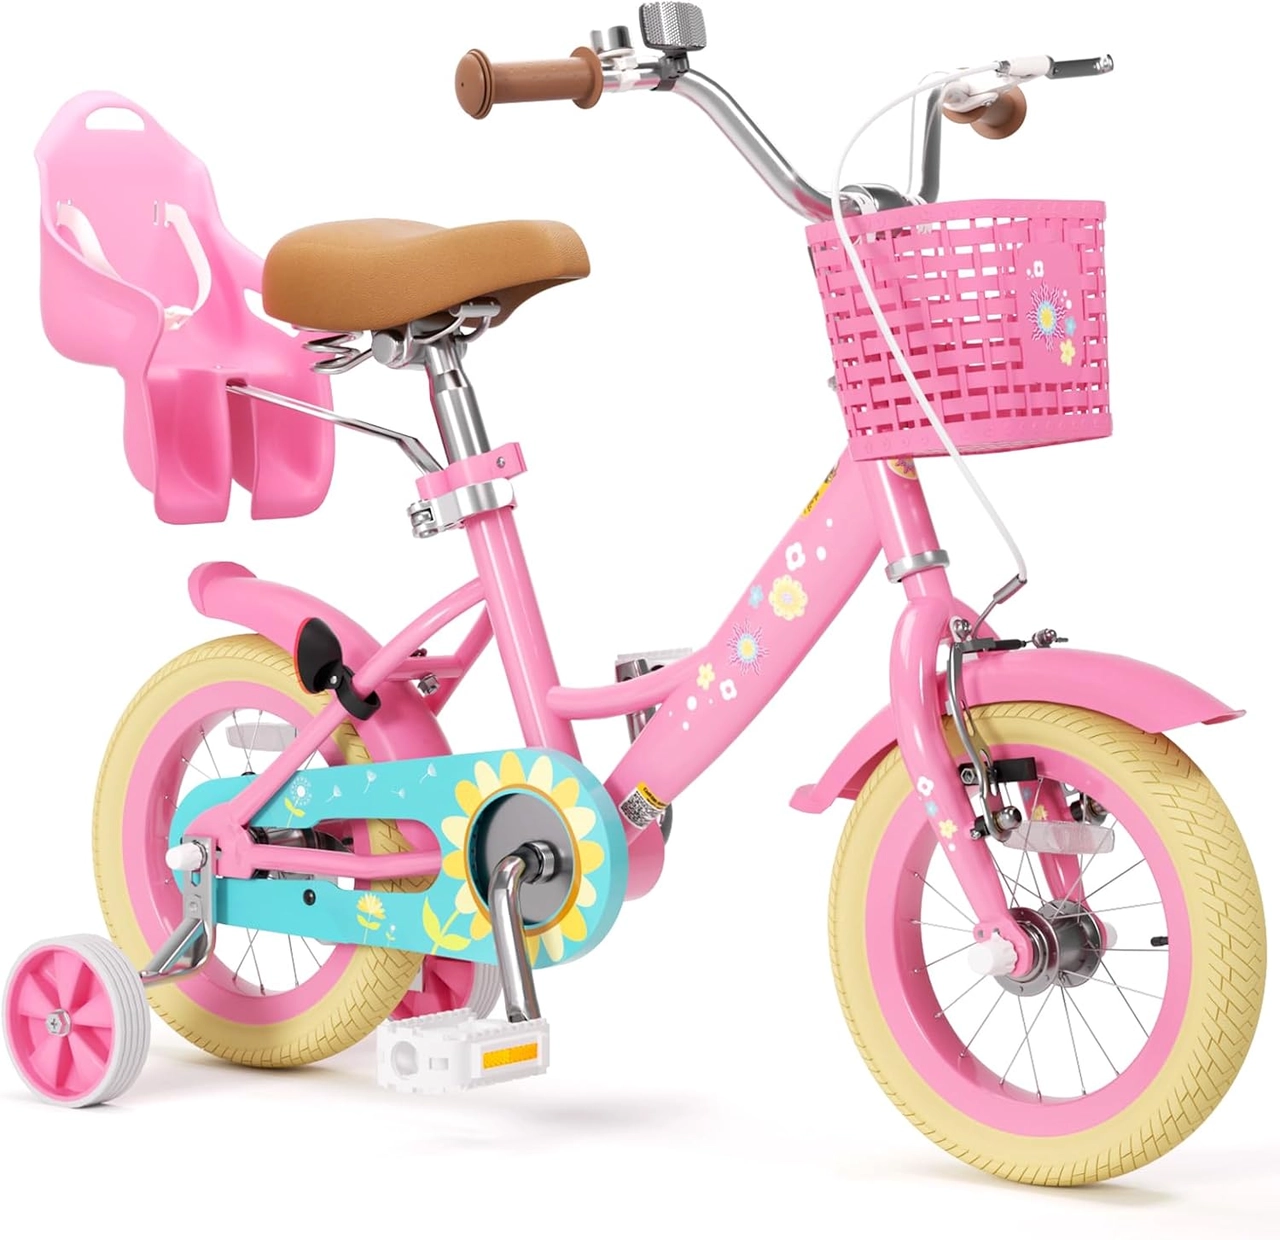 Flower Pink XJD Girls Bike with Doll Seat & Basket
Its 12 Inch, 14 Inch and 16 Inch options are relevant when comparing Training Wheel Bikes for smaller riders, but wheel label and age alone do not establish fit or readiness.
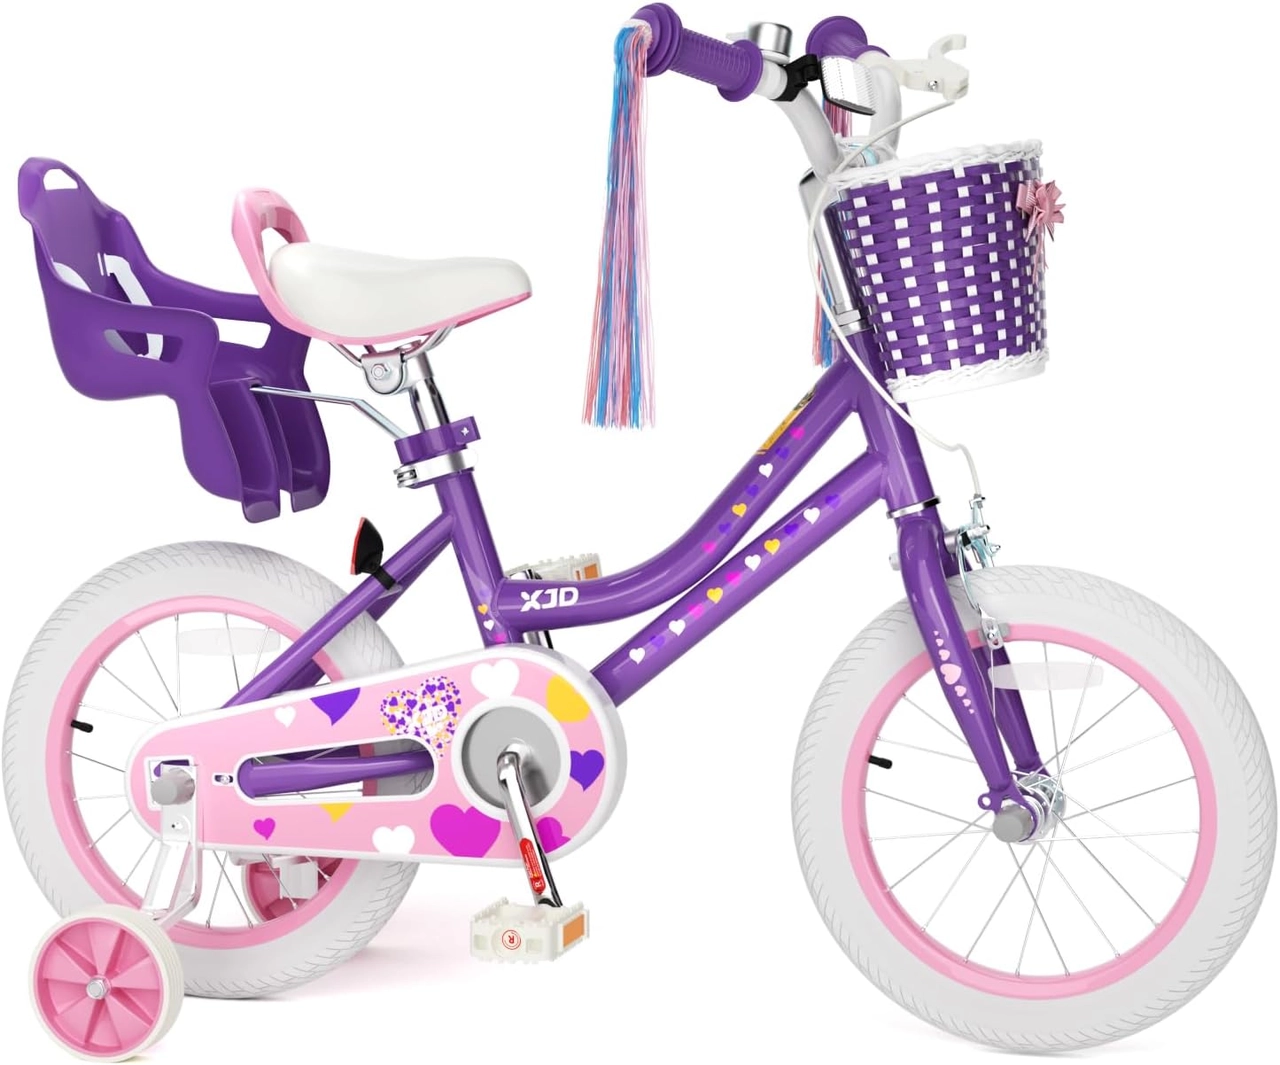 Purple XJD Girls' Bike with Doll Seat & Basket
This Training Wheel Bike is offered in 12 Inch, 14 Inch and 16 Inch labels. Use measured height to narrow the option, then verify inseam, reach, brake control and confidence.
Girls' Training Wheel Bike by XJD with Basket – Purple is offered in 14 Inch, 16 Inch and 20 Inch labels. It spans several XBikes starting ranges, so compare the child’s measured height with the relevant row before arranging an individual fit check.
Flower Pink XJD Girls Bike with Doll Seat & Basket is available in 12 Inch, 14 Inch and 16 Inch labels. Those choices may be relevant to smaller riders who still need a Training Wheel Bike, but the title and size label do not prove fit or readiness for wheel removal.
Purple XJD Girls' Bike with Doll Seat & Basket also comes in 12 Inch, 14 Inch and 16 Inch labels. Compare it by wheel label and actual rider fit; do not assume that two products sharing a wheel label will feel identical to the child.
Make the decision from control, not the calendar
Remove the training wheels when the child fits the bicycle, can steer and brake confidently, shows emerging unsupported balance and wants to try. If any of those checks fails, correct the fit or continue supervised practice. The next action today is simple: measure height and inseam, test stand-over, reach and braking on the actual bike, then decide whether a short wheel-free practice session is appropriate.
Recommended products
-
Save 11%
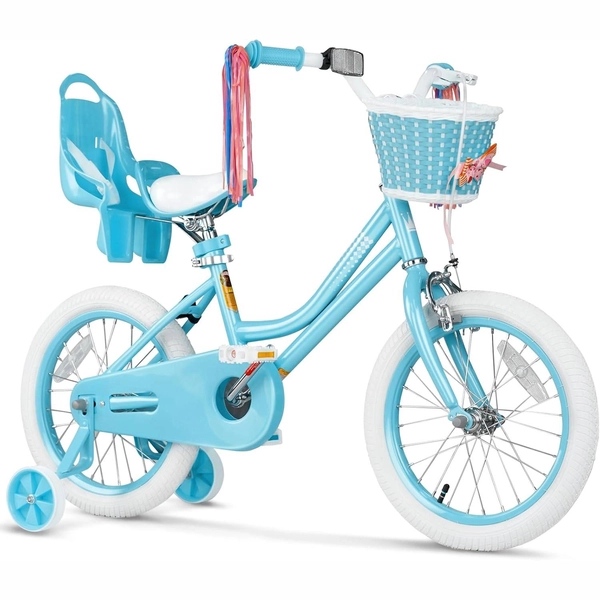
Blue XJD Girls Bike with Training Wheels – 12/14/16 Inch
If you're shopping for a first pedal bike for a daughter roughly 3 to 8 years ol…
Training Wheel Bikes Wheel Size 12 Inch / 14 Inch / 16 Inch Recommended Height 86–122 cm Training Wheels Yes 16 Inch -
Save 5%
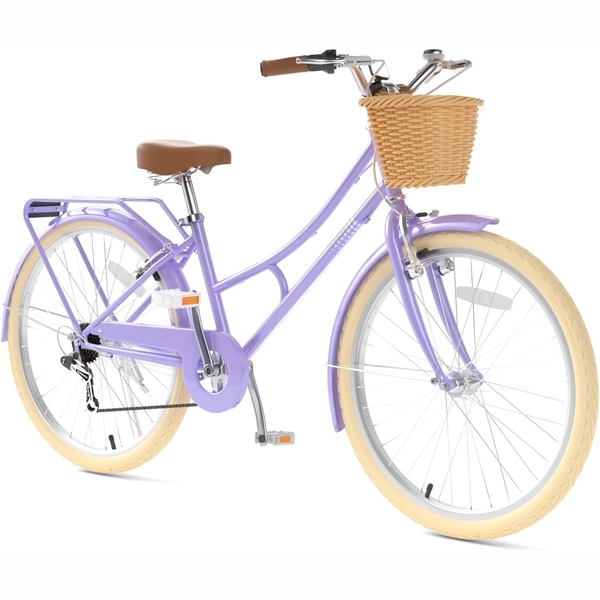
26-Inch XJD Beach Cruiser Bike for Girls – Purple, V-Brake
This XJD 26-inch purple beach cruiser is sized for big kids and teens — suggeste…
Beach Cruiser Bikes Wheel Size 20 Inch / 24 Inch / 26 Inch Recommended Height 122–200 cm Training Wheels No Geared Purple / 26 Inch -
Save 16%
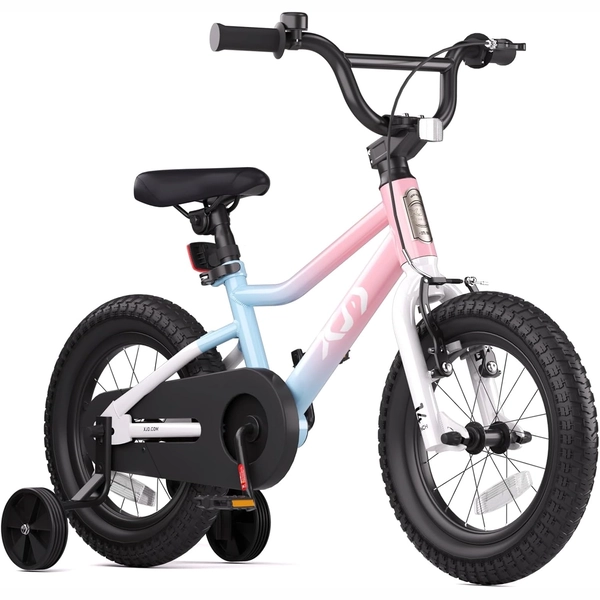
XJD Girls BMX Bike 12/14/16 Inch with Training Wheels – Pink Blue
The XJD Girls BMX Bike in Pink/Blue is built as a first pedal bike for kids roug…
Kids' BMX Bikes Wheel Size 12 Inch / 14 Inch / 16 Inch Recommended Height 86–122 cm Training Wheels Yes Single Speed 12 Inch -
Save 14%
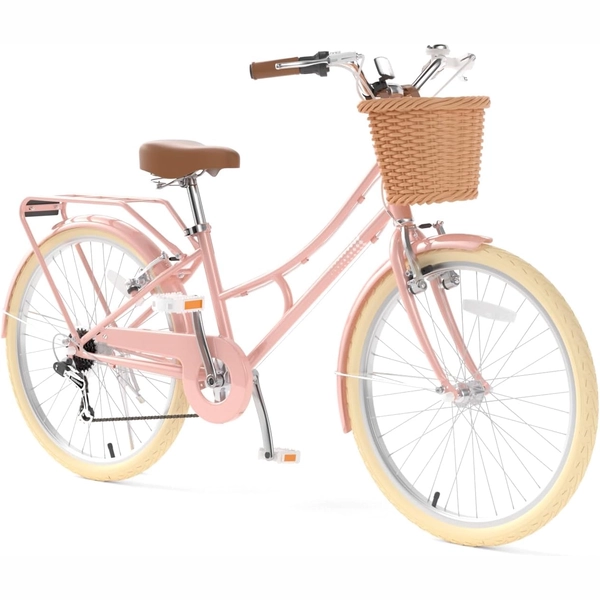
XJD Pink Beach Cruiser for Girls – Rear Rack & V-Brake
The XJD Pink Beach Cruiser for girls is the step-up bike for riders who've outgr…
Beach Cruiser Bikes Wheel Size 20 Inch / 24 Inch / 26 Inch Recommended Height 122–200 cm Training Wheels No Geared 20 Inch