What age should my child ride a bike without stabilisers
There is no single correct age for riding without stabilisers. Remove them when your child fits the bike, can control it confidently and is ready to practise.
Use readiness, not a birthday
Age is only a starting point because children develop balance, coordination and confidence at different rates. A child is closer to riding without stabilisers when they can start with help, look ahead, steer a planned path, slow down and stop on request without panicking.
Watch what happens when the stabilisers barely touch the ground. If the child rides mainly on the two bicycle wheels and corrects small wobbles, practising without them may be the sensible next step. If they lean heavily onto a stabiliser, cannot steer while balancing or resist the change, keep building control rather than forcing a deadline.
Measure the bike-and-rider fit first
Measure your child’s height without shoes. Check inseam against the actual bicycle, because two children of the same height can have different leg lengths. Have the child try the bike rather than relying only on its labelled wheel size.
- Stand-over: the child should be able to straddle the bike comfortably rather than being trapped above the frame.
- Ground contact: for early unsupported practice, the chosen seat setup should let the child put feet down promptly and confidently.
- Reach: hands should reach the handlebar without an extreme stretch or cramped posture.
- Brake control: the child must be able to reach and operate the bike’s braking controls. Follow the exact product manual for their use and adjustment.
- Confidence: confirm that the child can steer, respond to instructions and stop deliberately.
Do not buy or use an oversized bicycle merely to allow room for growth. A larger bike can make mounting, stopping and controlling a wobble harder.
Compare height with the wheel-size starting points
These ranges help narrow the choice, but they do not decide whether stabilisers should come off. Measured height, inseam, reach, brake control and current confidence take priority.
| Wheel size | Age starting point | Rider-height starting point |
|---|---|---|
| 12 Inch | 3–4 | 34–40 in / 86–102 cm |
| 14 Inch | 3–6 | 37–45 in / 94–114 cm |
| 16 Inch | 4–7 | 40–48 in / 102–122 cm |
If your child falls within overlapping ranges, compare the actual bicycles. Choose according to stand-over clearance, usable seat position, reach and control—not the oldest age printed beside a size. If none fits correctly, neither keeping nor removing stabilisers solves the underlying fit problem.
How the supplied bikes help with the decision
The two catalog options are relevant when you need a Training Wheel Bikes comparison in 12, 14 or 16 Inch sizes. Black XJD Kids Bike for Boys – 12, 14 & 16 Inch Sizes and XJD Kids' Training Wheel Bike for Boys & Girls, 12/14/16 Inch – White list the same three size labels, so first compare the appropriate size against the child’s measurements and then perform an individual fit check. The supplied facts distinguish their titles and black or white presentation, but do not establish different fit, braking or performance characteristics.
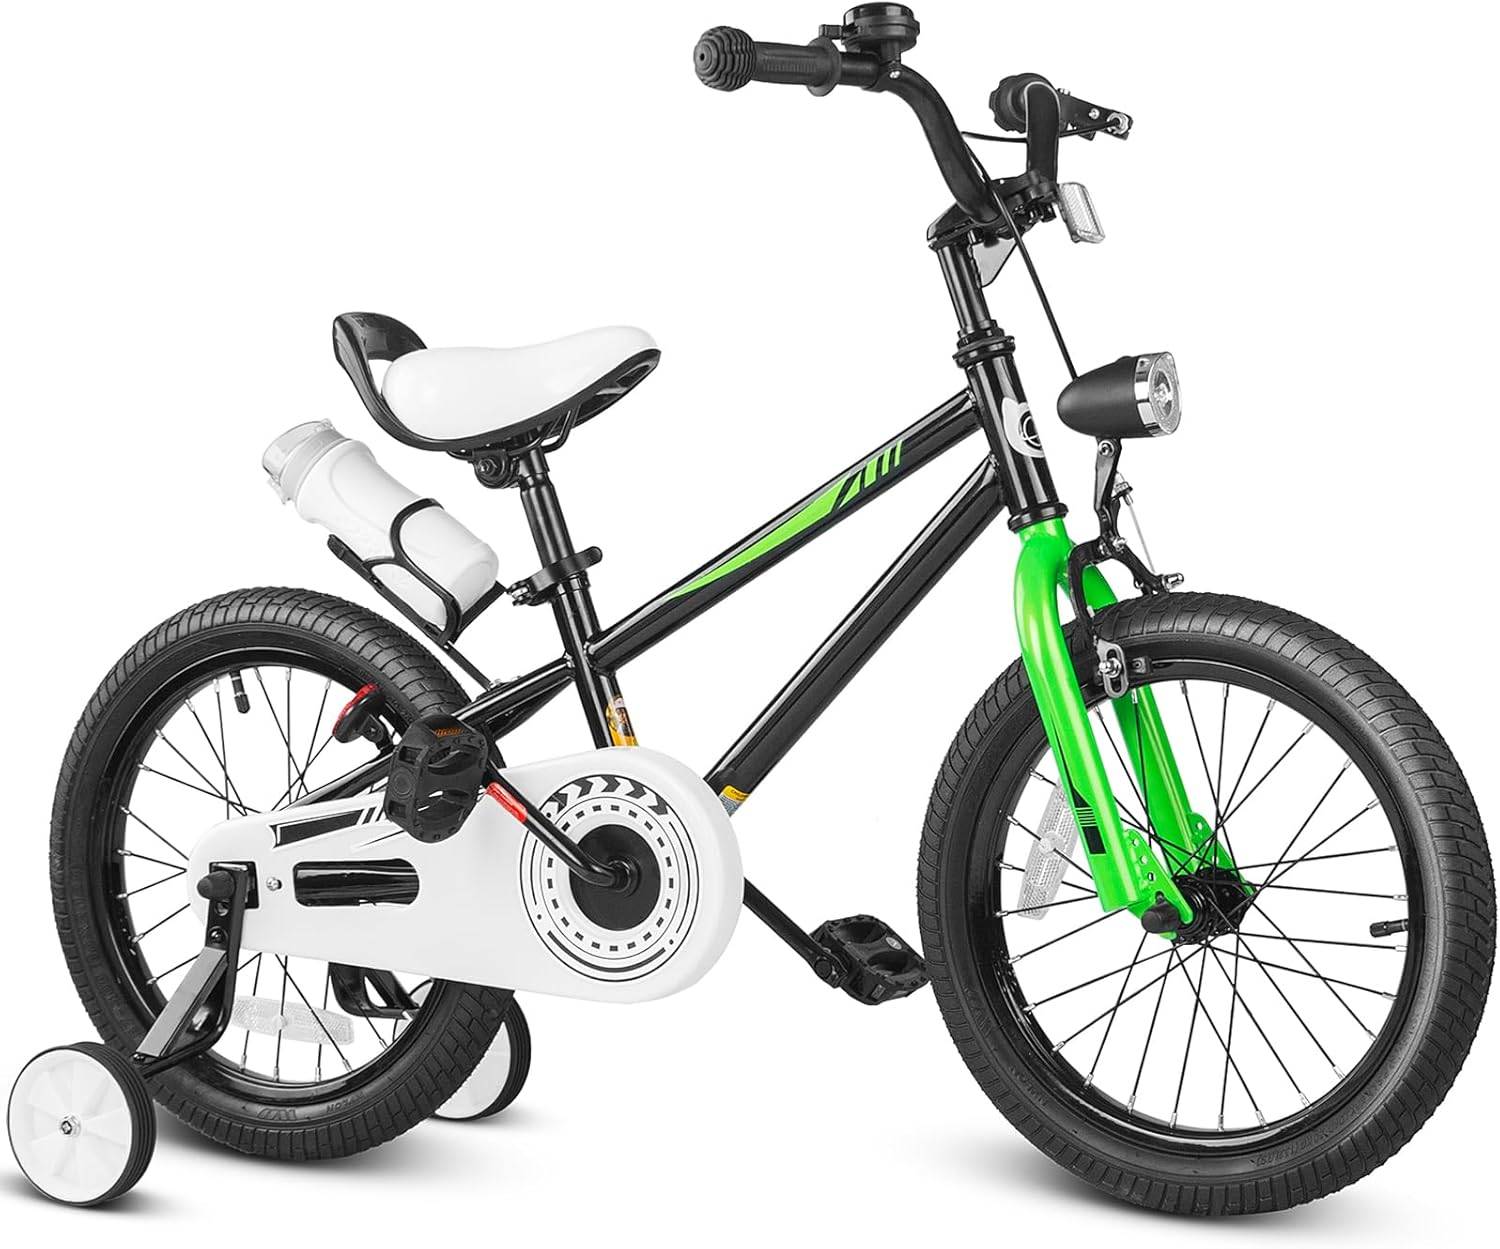 Black XJD Kids Bike for Boys – 12, 14 & 16 Inch Sizes
A Training Wheel Bikes option offered in 12, 14 and 16 Inch size labels. Compare the relevant XBikes height starting point, then verify the child’s inseam, reach, brake control and confidence on the actual bike.
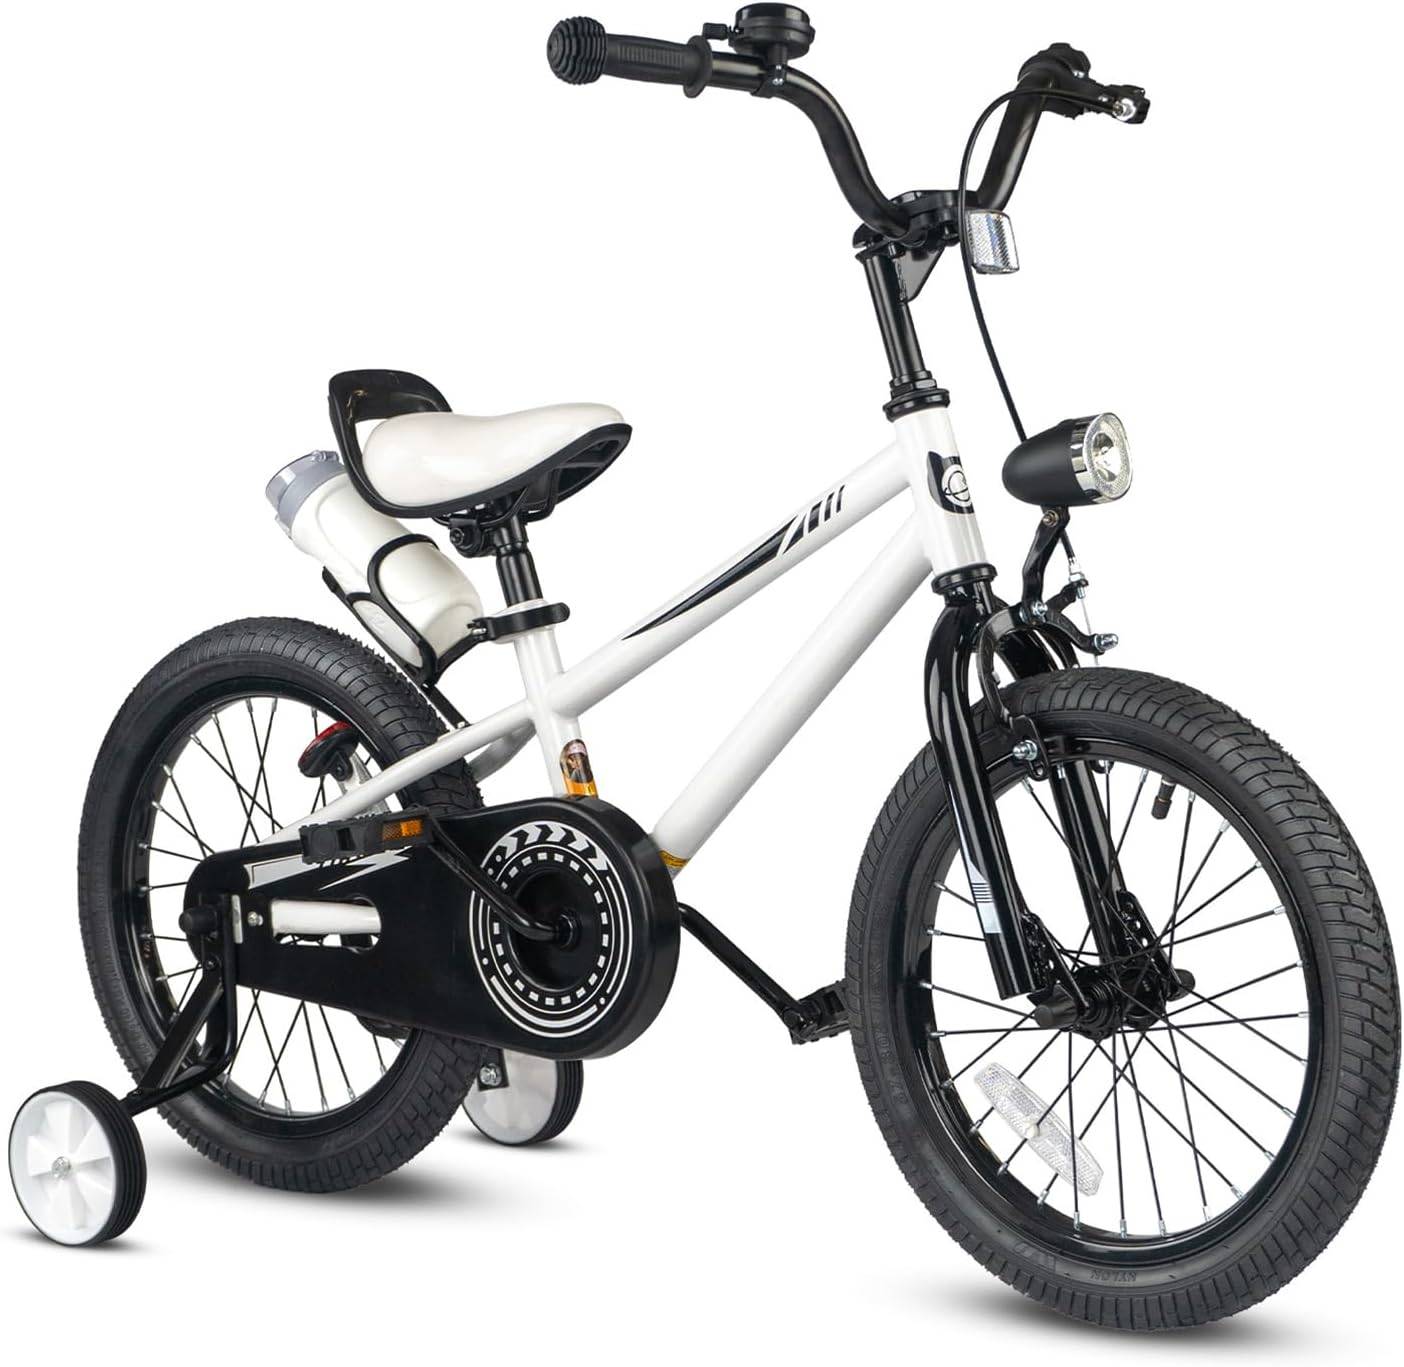 XJD Kids' Training Wheel Bike for Boys & Girls, 12/14/16 Inch – White
This white Training Wheel Bikes model is listed in 12, 14 and 16 Inch sizes. It is relevant for comparing those size starting points, but readiness to remove stabilisers still requires an individual fit and control check.
These products are relevant only if a 12, 14 or 16 Inch starting point suits the rider and the actual bike passes the fit and control checks. They are not evidence that a child is ready to remove stabilisers, and they are not substitutes when the rider needs an 18, 20, 24 or 26 Inch bicycle. For assembly, adjustment, compatibility, maintenance, load limits or torque, use the exact product manual or a qualified bicycle mechanic.
Practise the transition in small steps
- Choose a flat, open area away from traffic, obstacles, slopes and other riders.
- Fit a bicycle helmet properly. It should sit level, and its straps should be used according to the helmet manufacturer’s instructions.
- Let the child practise pushing or gliding, putting both feet down and stopping on command before expecting continuous pedalling.
- Provide light support while the child starts, then reduce it as balance improves. Avoid pulling the handlebar, which interferes with steering.
- Keep sessions short. Stop if fatigue, fear or repeated loss of control appears.
Reinstalling or retaining stabilisers for longer is reasonable if the child cannot stop reliably, depends on them for balance or does not want to continue. Check the bicycle manual before removing or refitting components; if the procedure is unclear, ask a qualified bicycle mechanic.
Make the decision today
Measure height and inseam, compare the 12, 14 and 16 Inch starting points where relevant, and place your child on the actual bike to check stand-over, reach and brake control. Remove the stabilisers only when the bike fits and the child can steer, stop and practise willingly; otherwise, correct the fit or continue supported practice first.
Recommended products
-
Save 12%
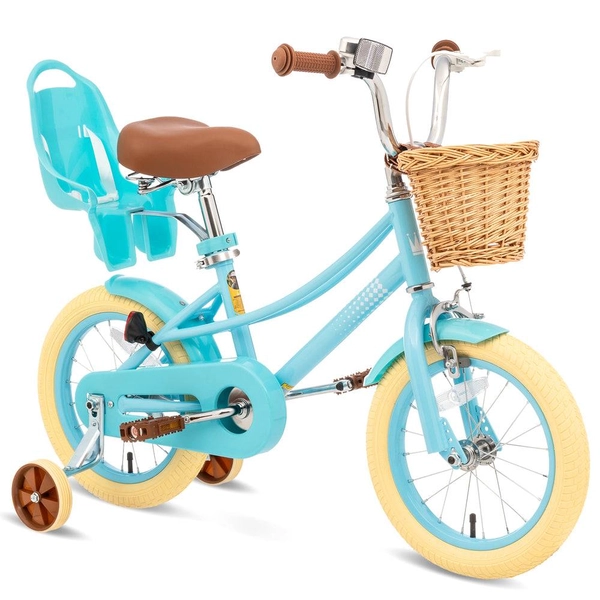
Girls' Training Wheel Bike by XJD, 12–20 Inch Wheels – Blue
This XJD girls' training wheel bike in Blue covers one of the widest fit ranges …
Training Wheel Bikes Wheel Size 12 Inch / 14 Inch / 16 Inch / 20 Inch Recommended Height 86–152 cm Training Wheels Yes 12 Inch -
Save 15%
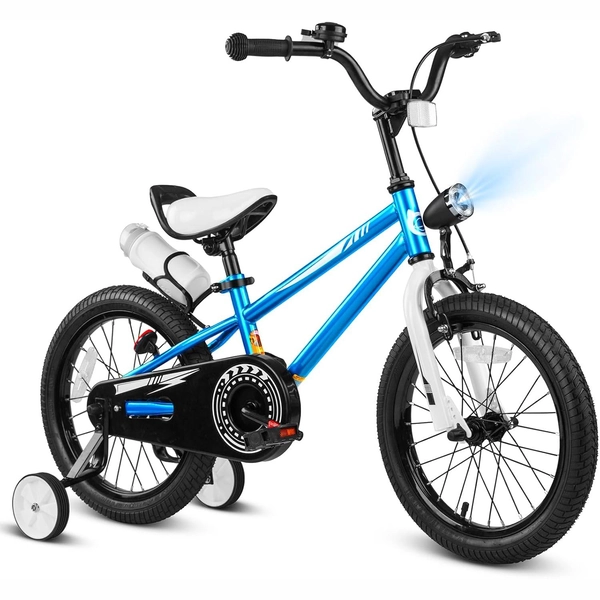
XJD Boys 12/14/16" Training Wheel Bike – Blue
The XJD Boys Bike in Blue is a training wheel bike for riders 71–122 cm tall—rou…
Training Wheel Bikes Wheel Size 12 Inch / 14 Inch / 16 Inch Recommended Height 86–122 cm Training Wheels Yes 16 Inch -
Save 15%
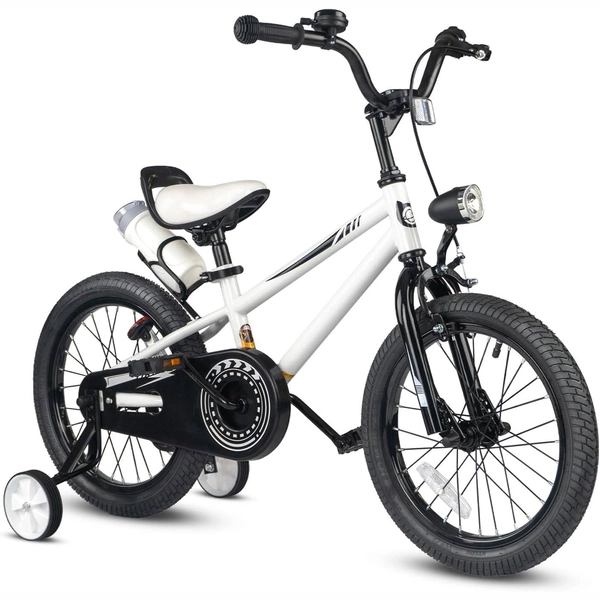
XJD Kids' Training Wheel Bike for Boys & Girls, 12/14/16 Inch – White
The XJD kids' training wheel bike in White is made for riders ages 3–8 (roughly …
Training Wheel Bikes Wheel Size 12 Inch / 14 Inch / 16 Inch Recommended Height 86–122 cm Training Wheels Yes 14 Inch -
Save 12%
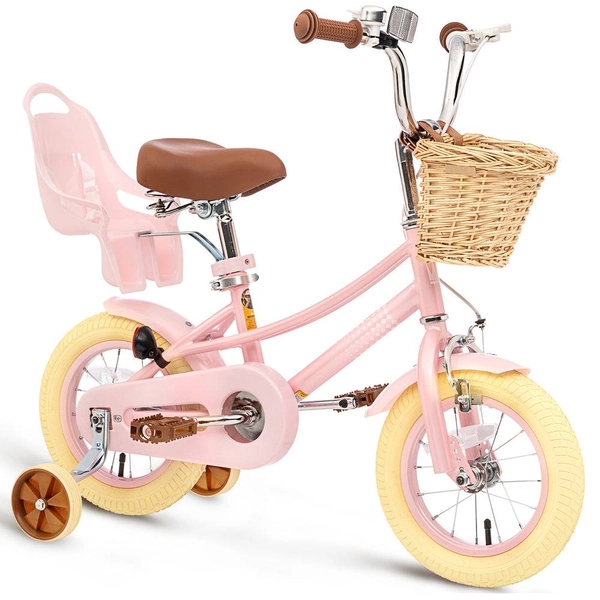
XJD Kids Bike for Girls – Pink, 12/14/16/20 Inch with Training Wheels
The XJD Kids Bike for Girls in Pink is a training-wheel bike built to carry your…
Training Wheel Bikes Wheel Size 12 Inch / 14 Inch / 16 Inch / 20 Inch Recommended Height 86–152 cm Training Wheels Yes 12 Inch