When do kids start riding bikes without training wheels
Most children start riding without training wheels between ages 4 and 7, but readiness matters more than age. Move on when your child fits the bike, balances confidently, steers accurately and can brake without help.
What determines the right time?
A birthday is not a readiness test. A child is more likely to succeed when they can start, look ahead, steer around a gentle turn and stop on command. They should also be willing to practise; pressure can turn an achievable step into a frightening one.
Watch the training wheels during ordinary riding. If the child frequently travels with both training wheels clear of the ground, corrects small wobbles and stays composed, they may be ready for a trial without them. If they lean heavily on one side, cannot hold a line or need an adult to stop the bike, keep building those skills.
Measure fit before removing the wheels
Measure the rider’s height without shoes and check their inseam, then have them try the actual bicycle. Age and height ranges are only starting points. The child must be able to stand over the bike, reach the controls comfortably, turn the handlebar without overreaching and operate the brakes reliably.
| Wheel size | Starting age | Rider height |
|---|---|---|
| 12 Inch | 3–4 | 34–40 in / 86–102 cm |
| 14 Inch | 3–6 | 37–45 in / 94–114 cm |
| 16 Inch | 4–7 | 40–48 in / 102–122 cm |
| 18 Inch | 5–9 | 43–52 in / 109–132 cm |
| 20 Inch | 7–12 | 48–60 in / 122–152 cm |
| 24 Inch | 10–14 | 54–64 in / 137–163 cm |
| 26 Inch | Youth and adults | Over 60 in / 153 cm |
When ranges overlap, compare the child’s measured height, inseam, reach, brake control and confidence on each candidate. Do not choose an oversized bicycle merely to leave growing room. A larger wheel size is not automatically more suitable.
A quick readiness check
- Balance: The rider can coast briefly without putting a foot down or depending on a training wheel.
- Steering: They look ahead, maintain a chosen path and make gradual turns.
- Stopping: They reach and use the bicycle’s brakes deliberately and consistently.
- Fit: They can mount, stand over and control the bicycle without stretching or tipping.
- Confidence: They agree to try and can follow simple instructions while moving.
If one of these is missing, practise that skill first. Removing training wheels is not a deadline, and putting them back temporarily is a reasonable response to lost control or fear.
How to make the first attempt
- Choose a flat, open area away from traffic, obstacles and steep slopes.
- Fit a bicycle helmet so it sits level, fits properly and uses its straps according to the manufacturer’s instructions.
- Let the child practise starting, travelling a short straight line, making wide turns and stopping.
- Offer light support only as needed, then release it once the rider is balanced. Avoid pulling the handlebar, which interferes with steering.
- Keep the session short and finish after a controlled success, even if that success is only a steady glide or stop.
Before changing or removing training-wheel hardware, follow the exact bicycle manual. If the instructions, compatibility or assembly condition are uncertain, use a qualified bicycle mechanic rather than guessing at a procedure or torque.
How the XBikes options help with the decision
These Training Wheel Bikes are relevant because their available wheel-size labels let you compare a currently supported rider with possible next fit points. Pink Girls' 12/14/16" Bike by XJD – Basket & Doll Seat is offered in 12, 14 and 16 Inch labels. Pink 12/14/16/20" XJD Girls Bike with Training Wheels & Basket and Light Pink XJD Girls' Bicycle with Basket & Training Wheels each add a 20 Inch option to those three sizes.
These particular catalog options help answer the question by providing training-wheel-category bicycles across several XBikes sizing starting points, while still requiring the child to try the exact bike and demonstrate stand-over clearance, comfortable reach and brake control.
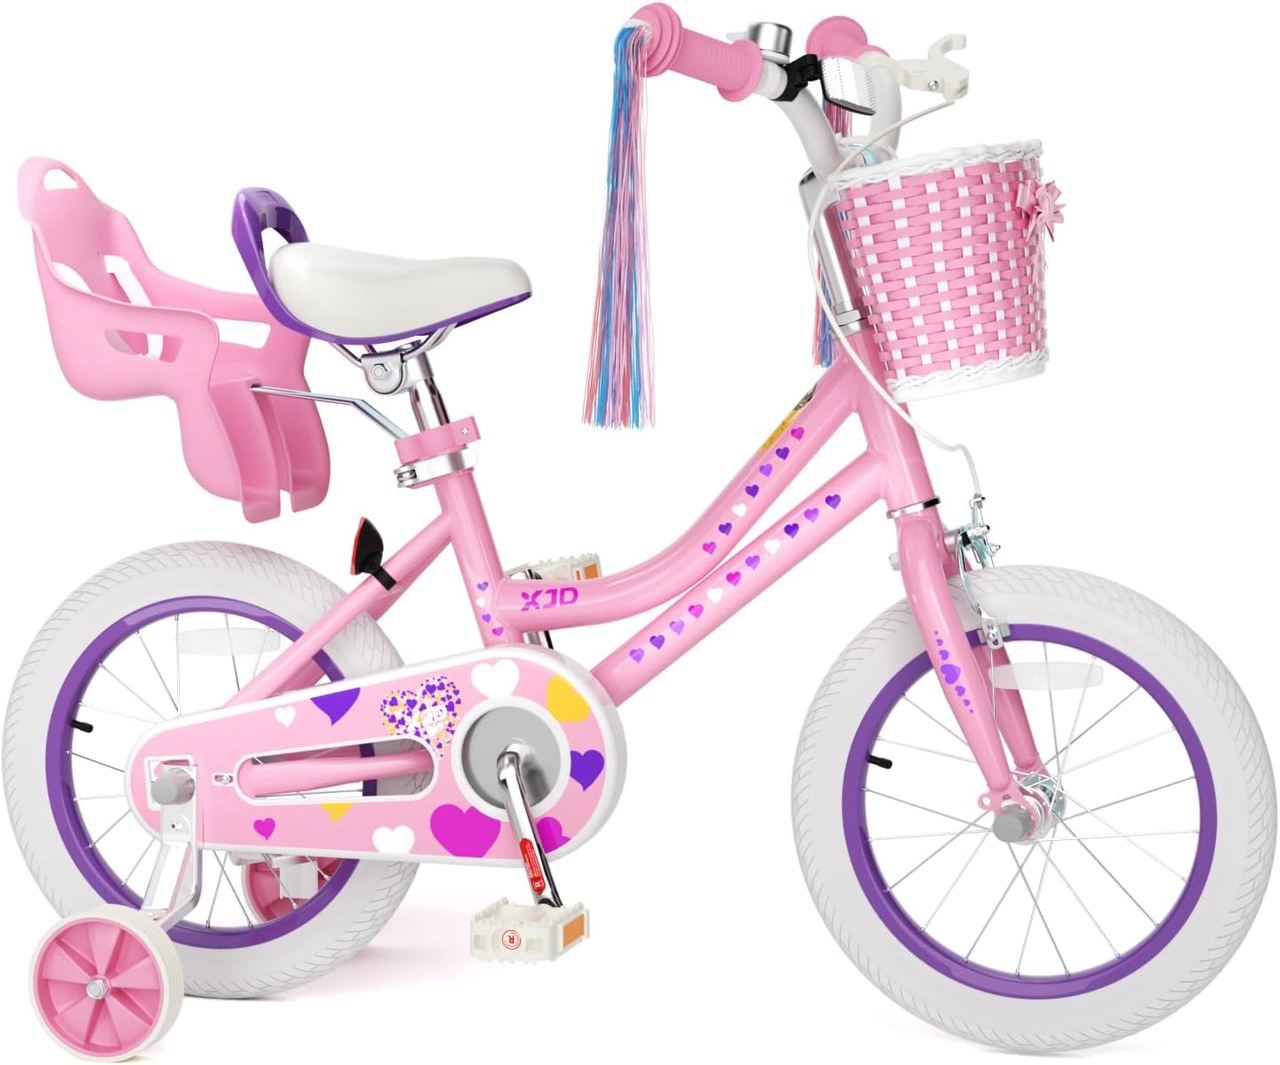 Pink Girls' 12/14/16" Bike by XJD – Basket & Doll Seat
A Training Wheel Bikes option with 12, 14 and 16 Inch SKU labels. Compare the rider’s measurements and control on the exact bike; its basket and doll-seat wording does not determine readiness.
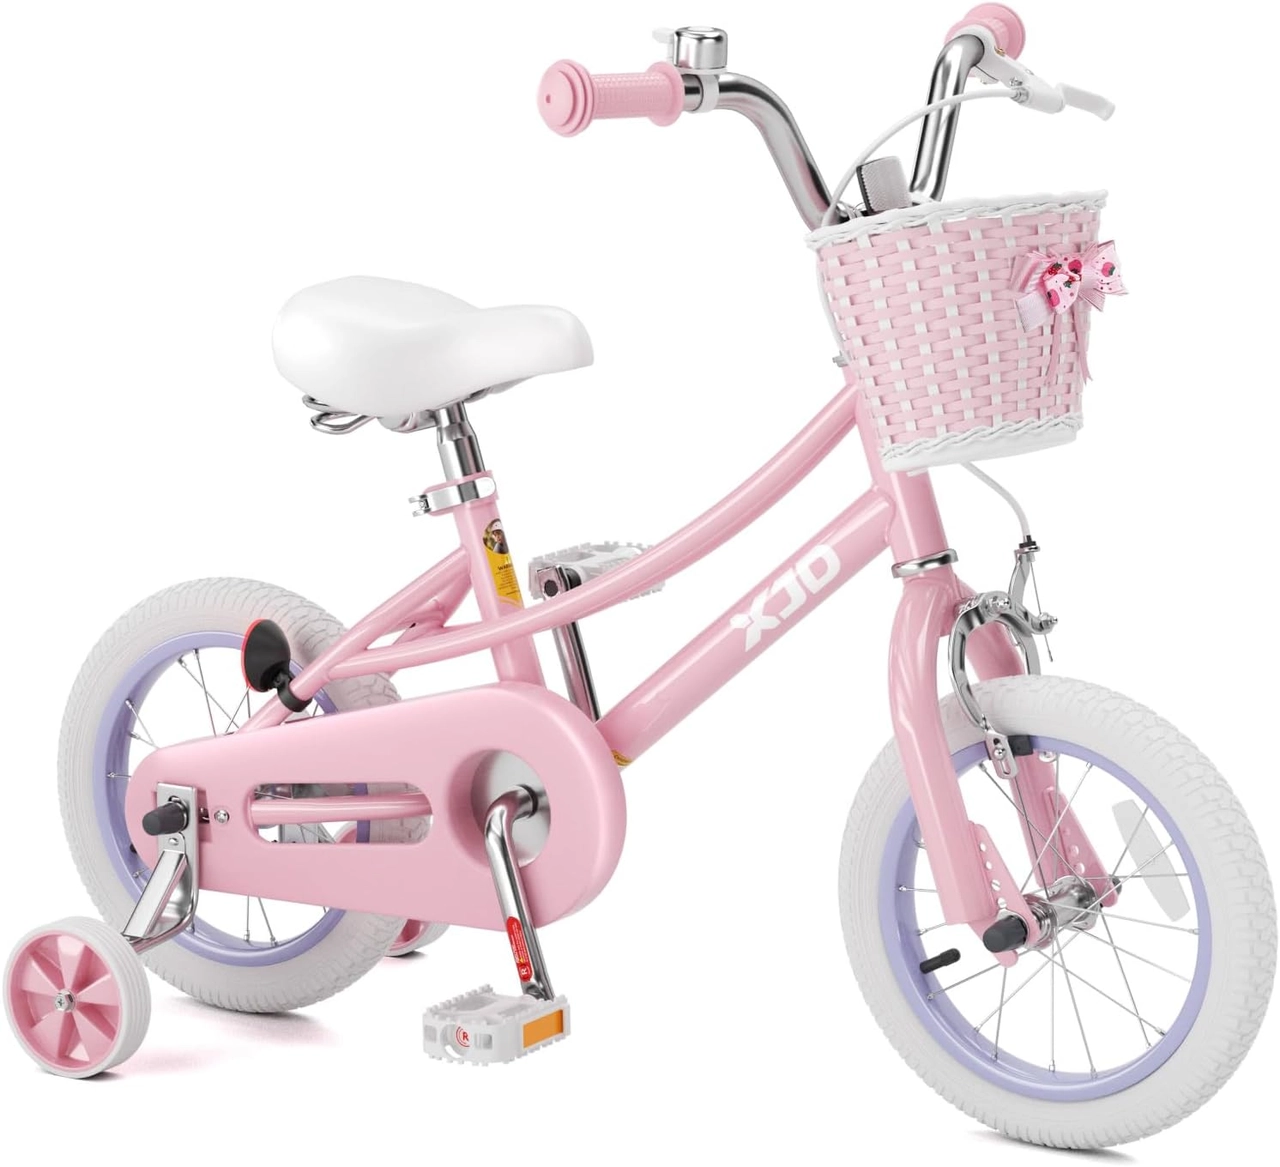 Pink 12/14/16/20" XJD Girls Bike with Training Wheels & Basket
Offers 12, 14, 16 and 20 Inch SKU labels in the Training Wheel Bikes category. The wider listed size span supports fit comparisons, but each candidate still requires an individual stand-over, reach and brake-control check.
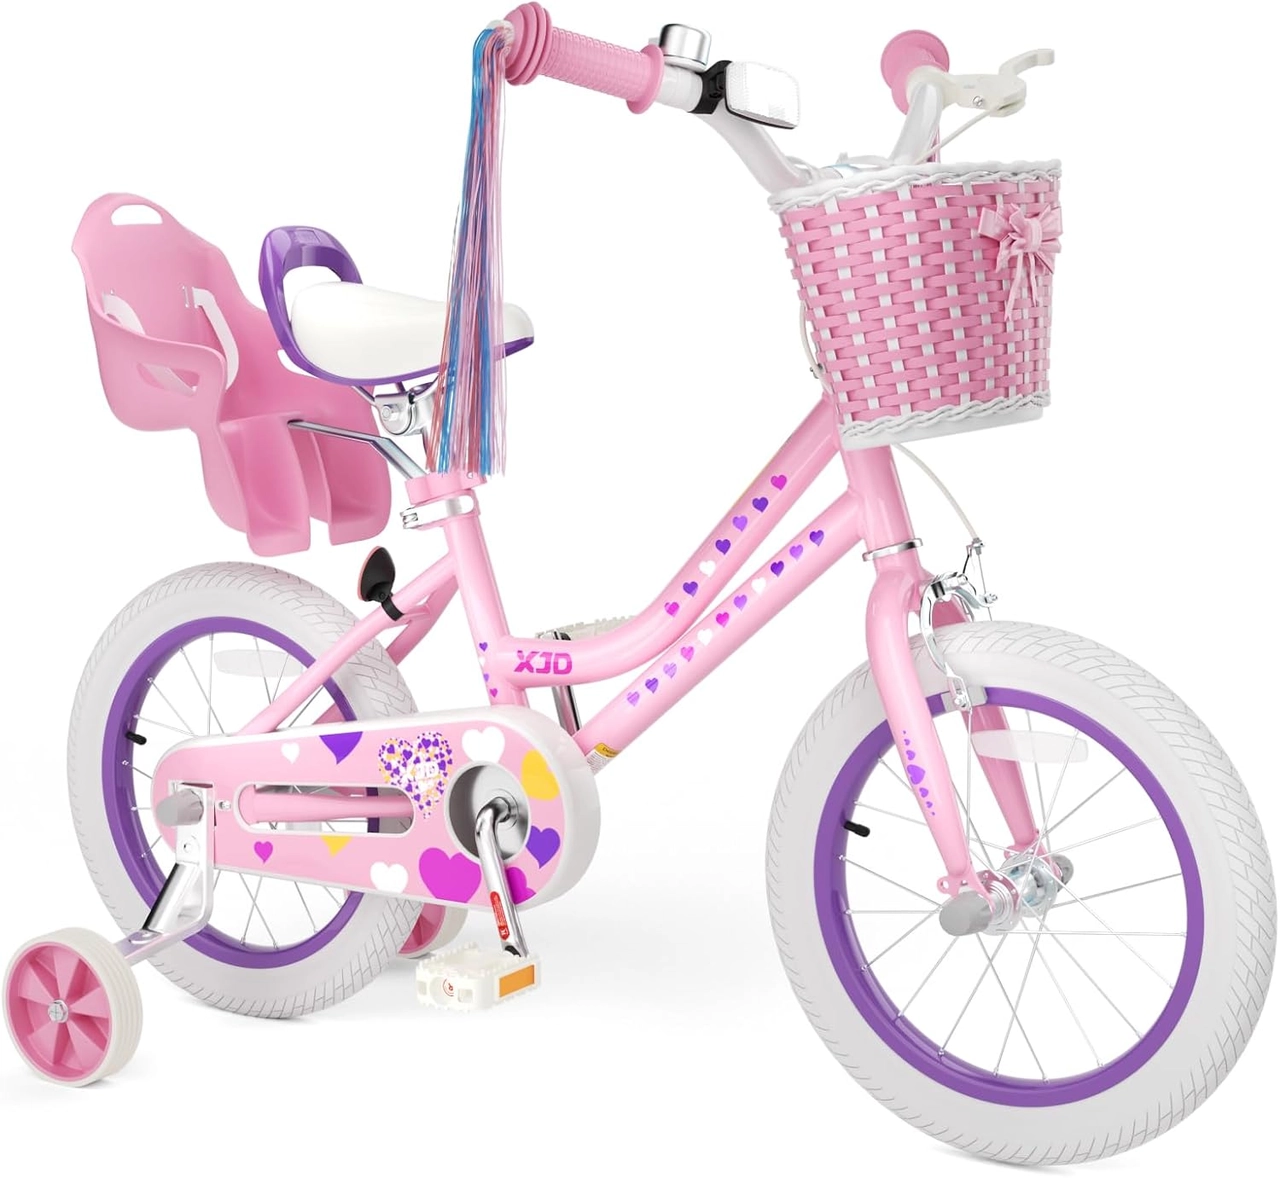 Light Pink XJD Girls' Bicycle with Basket & Training Wheels
A Training Wheel Bikes catalog option with 12, 14, 16 and 20 Inch SKU labels. It is relevant when one listed size matches the rider’s measurements; colour and basket details are not evidence of fit.
The three products are relevant only when one of their listed sizes fits the rider. None offers an 18, 24 or 26 Inch label, so they are comparison points—not substitutes—if your measurements indicate one of those sizes. Basket, doll-seat or colour wording distinguishes catalog options but does not establish fit or readiness.
Make the remove-or-wait decision
Remove the training wheels for a supervised trial when the measured rider fits the bicycle and can balance, steer and brake with calm control. Wait and practise if the child relies on the supports, cannot reach the brakes comfortably or does not want to continue. Your next step is to measure height and inseam, test the exact bike for reach and control, then run the readiness check—not choose by age alone.
Recommended products
-
Save 11%
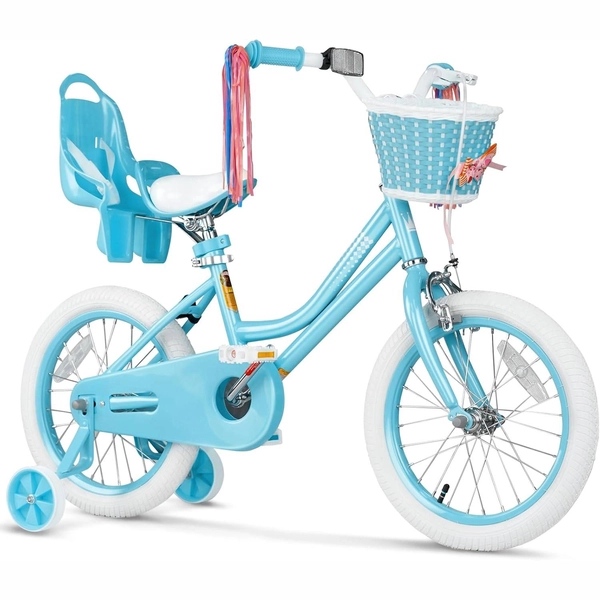
Blue XJD Girls Bike with Training Wheels – 12/14/16 Inch
If you're shopping for a first pedal bike for a daughter roughly 3 to 8 years ol…
Training Wheel Bikes Wheel Size 12 Inch / 14 Inch / 16 Inch Recommended Height 86–122 cm Training Wheels Yes 16 Inch -
Save 16%
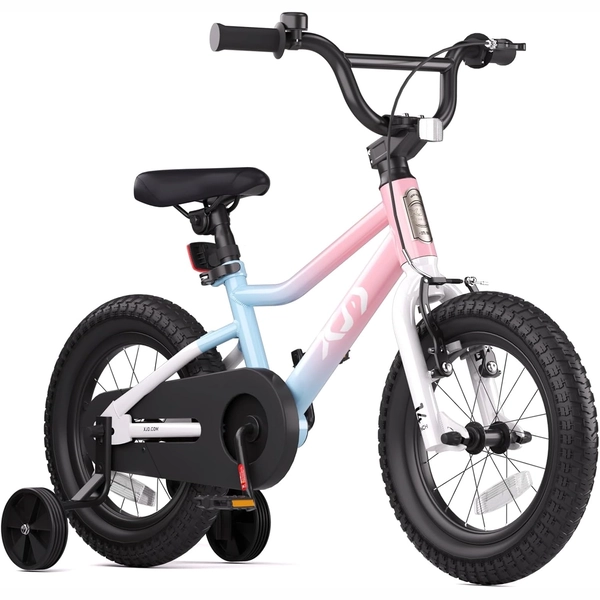
XJD Girls BMX Bike 12/14/16 Inch with Training Wheels – Pink Blue
The XJD Girls BMX Bike in Pink/Blue is built as a first pedal bike for kids roug…
Kids' BMX Bikes Wheel Size 12 Inch / 14 Inch / 16 Inch Recommended Height 86–122 cm Training Wheels Yes Single Speed 12 Inch -
Save 5%
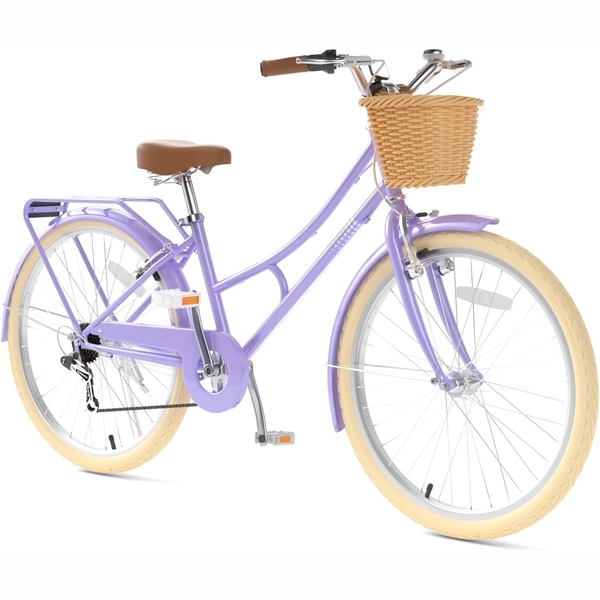
26-Inch XJD Beach Cruiser Bike for Girls – Purple, V-Brake
This XJD 26-inch purple beach cruiser is sized for big kids and teens — suggeste…
Beach Cruiser Bikes Wheel Size 20 Inch / 24 Inch / 26 Inch Recommended Height 122–200 cm Training Wheels No Geared Purple / 26 Inch -
Save 14%
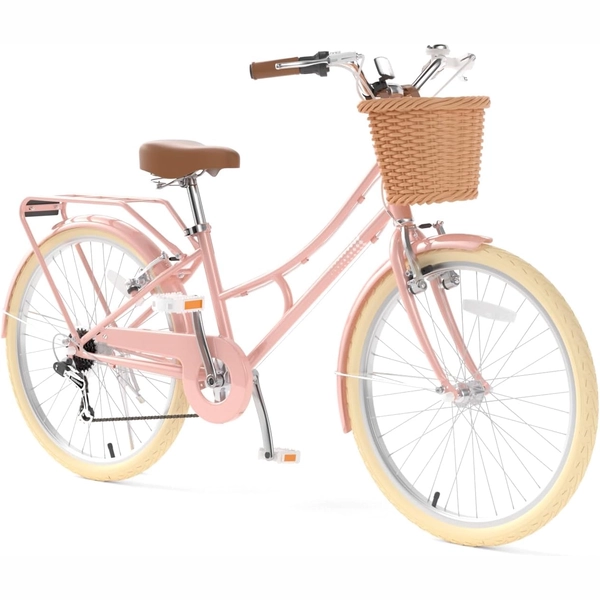
XJD Pink Beach Cruiser for Girls – Rear Rack & V-Brake
The XJD Pink Beach Cruiser for girls is the step-up bike for riders who've outgr…
Beach Cruiser Bikes Wheel Size 20 Inch / 24 Inch / 26 Inch Recommended Height 122–200 cm Training Wheels No Geared 20 Inch