When do kids stop using bike training wheels
Most children stop using bike training wheels when they can start, pedal, steer, brake and balance without the supports—not at a particular age.
Use skills, not birthdays, to decide
Training wheels can come off when a child consistently controls the bicycle rather than depending on the side wheels to prevent every lean. Age may suggest a starting point for wheel size, but it does not show whether an individual rider is ready to balance independently.
Watch the child on a flat, open area. Readiness is more likely when the rider looks ahead, follows a reasonably straight path, steers around gentle obstacles, starts without substantial assistance and stops on request while remaining composed. Frequent tipping onto a training wheel, abrupt steering or difficulty reaching the brakes means more supported practice may be useful.
Measure the rider and check the bicycle
Measure the child's height and inseam without shoes. Then have the child try the bicycle. Check stand-over clearance, comfortable reach to the handlebar, easy steering and reliable access to the brake controls. The rider should be able to support the bicycle confidently when stopped.
Do not buy an oversized bicycle merely to allow room for growth. A larger wheel label does not prove a better fit, and an age range is only a starting point. These XBikes reference ranges must still be followed by an individual fit check:
| Wheel size | Starting age | Rider height |
|---|---|---|
| 12 Inch | 3–4 | 34–40 in / 86–102 cm |
| 14 Inch | 3–6 | 37–45 in / 94–114 cm |
| 16 Inch | 4–7 | 40–48 in / 102–122 cm |
| 18 Inch | 5–9 | 43–52 in / 109–132 cm |
| 20 Inch | 7–12 | 48–60 in / 122–152 cm |
| 24 Inch | 10–14 | 54–64 in / 137–163 cm |
| 26 Inch | Youth and adults | Over 60 in / 153 cm |
Measured height, inseam, reach, brake control and current confidence take priority over the age column.
Run a simple readiness check
- Starting: Can the child set off with only light assistance?
- Pedaling: Can the rider keep steady forward motion without repeatedly looking down?
- Steering: Can the child make controlled turns and correct direction without panic?
- Braking: Can the rider reach and operate the bicycle's brakes, then put a foot down under control?
- Balance: Does the bicycle spend less time resting heavily on either training wheel?
If several answers are no, keep practicing on a correctly fitted bicycle. If they are consistently yes, try a supervised transition in a traffic-free, level space. A properly fitting bicycle helmet should sit level and use its straps according to the helmet manufacturer's instructions.
How to take the next step
Confirm that the bicycle fits before changing anything. Follow the exact product manual for training-wheel adjustment or removal, fastener requirements, compatibility and assembly. If instructions are missing or the setup is uncertain, use a qualified bicycle mechanic rather than improvising a procedure or torque value.
After removal, choose a smooth area away from vehicles, slopes and obstacles. Let the child practice short starts, straight runs and controlled stops. Stay close enough to assist without pulling the handlebar. If the rider becomes tense, cannot stop predictably or repeatedly loses control, pause and return to an appropriate supported setup after consulting the manual or a mechanic.
How the available Training Wheel Bikes compare
These catalog options help with the decision because they provide overlapping 12 Inch, 14 Inch and 16 Inch size choices, plus one 20 Inch choice. That lets a parent compare the child's measurements with the XBikes starting points while separately judging readiness to leave training wheels behind.
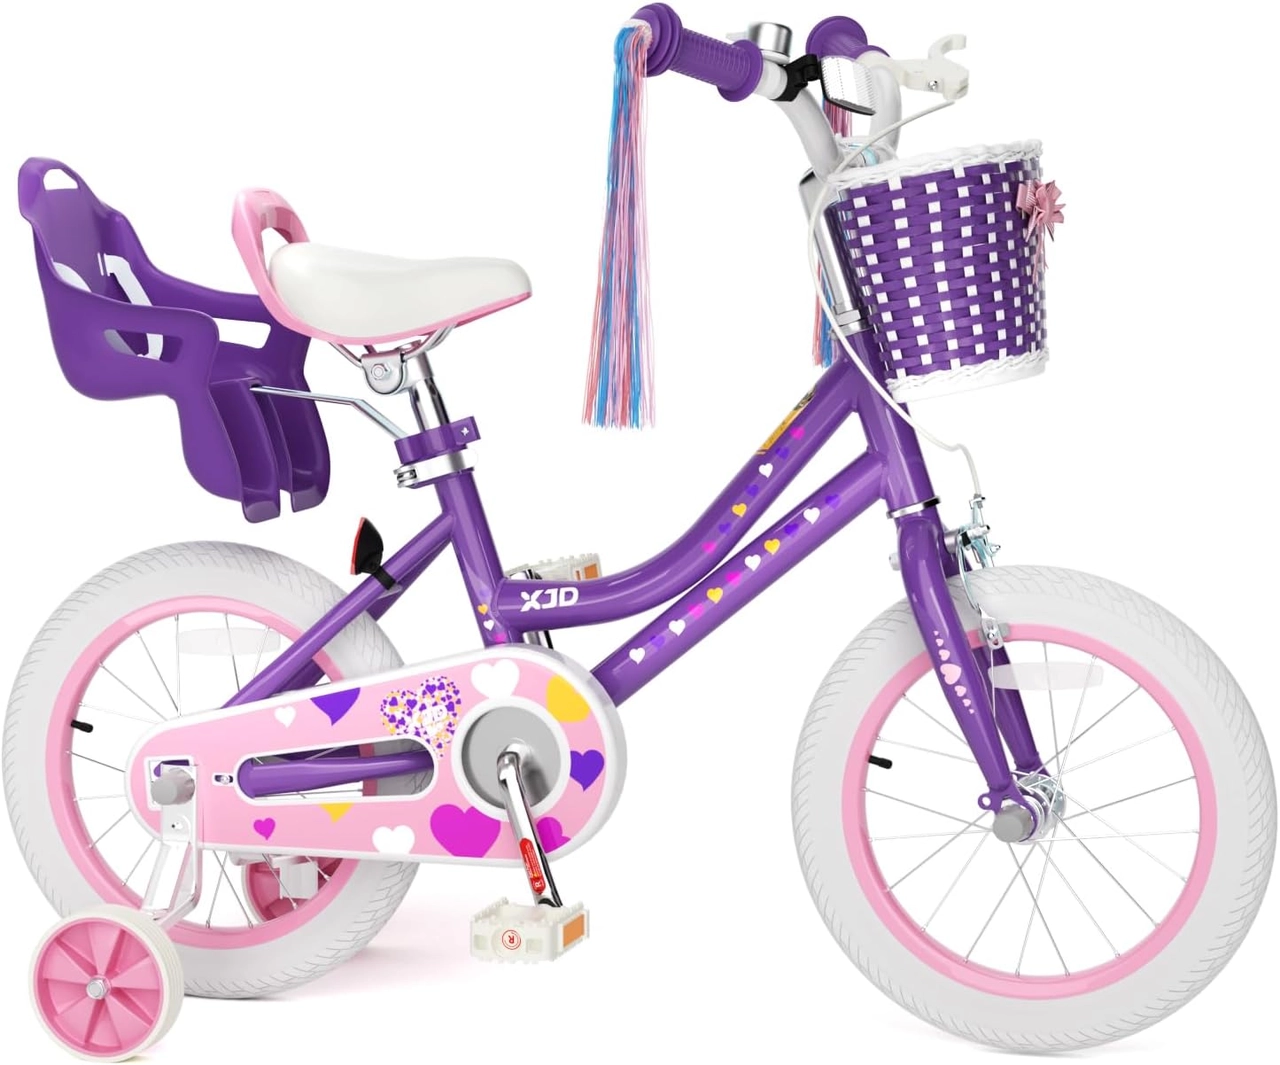 Purple XJD Girls' Bike with Doll Seat & Basket
Available in 12 Inch, 14 Inch and 16 Inch labels, this model provides three size points to compare with the rider's measured height and individual fit.
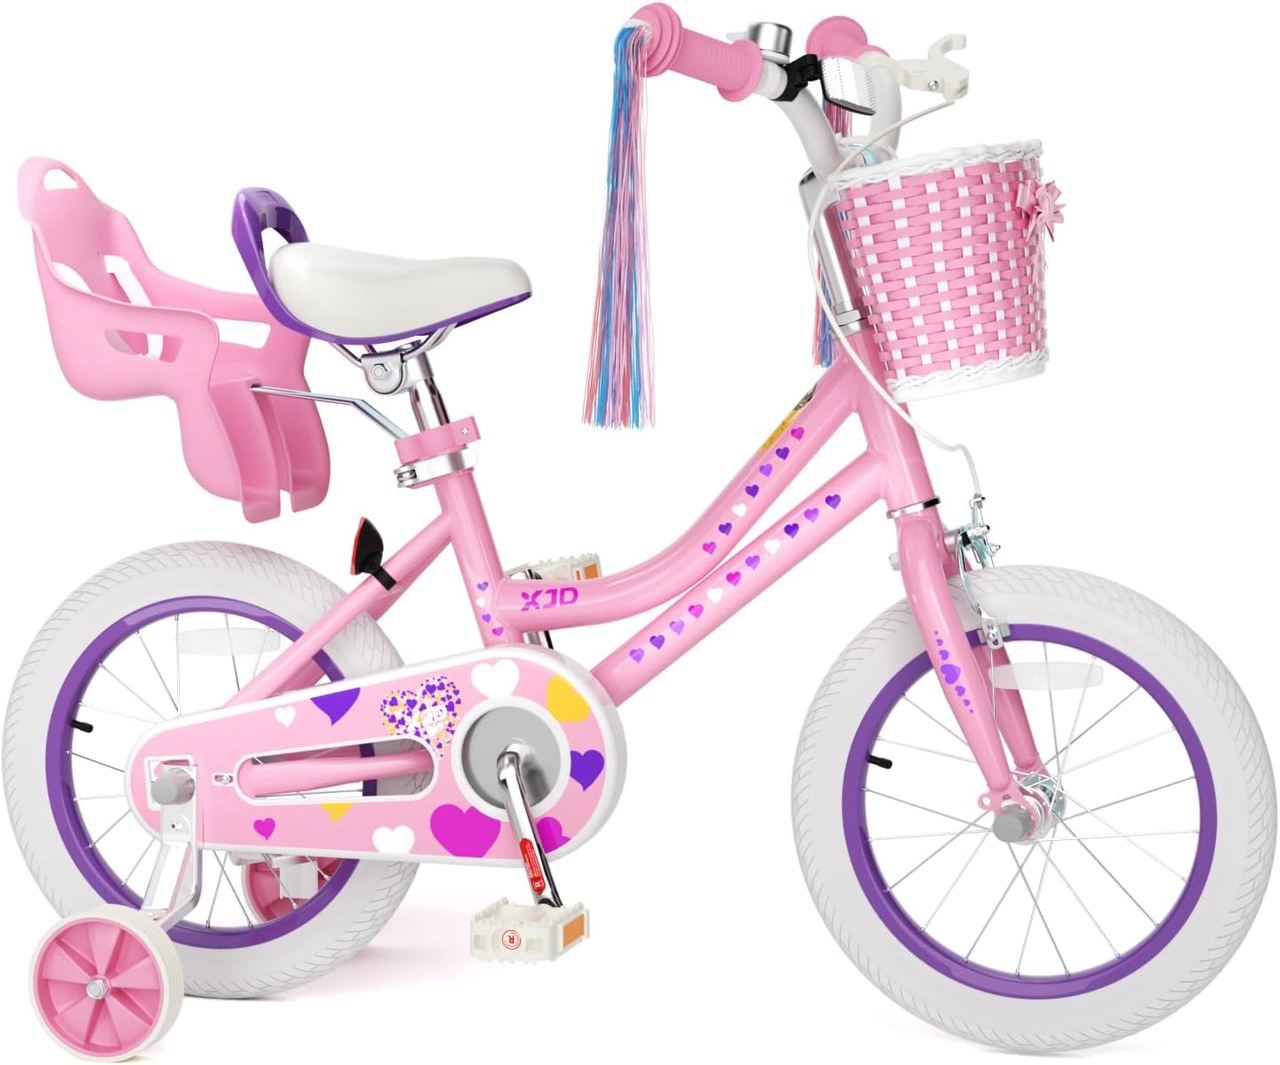 Pink Girls' 12/14/16" Bike by XJD – Basket & Doll Seat
Its 12 Inch, 14 Inch and 16 Inch options are relevant for comparing wheel-size starting points; readiness to remove training wheels still depends on fit and demonstrated control.
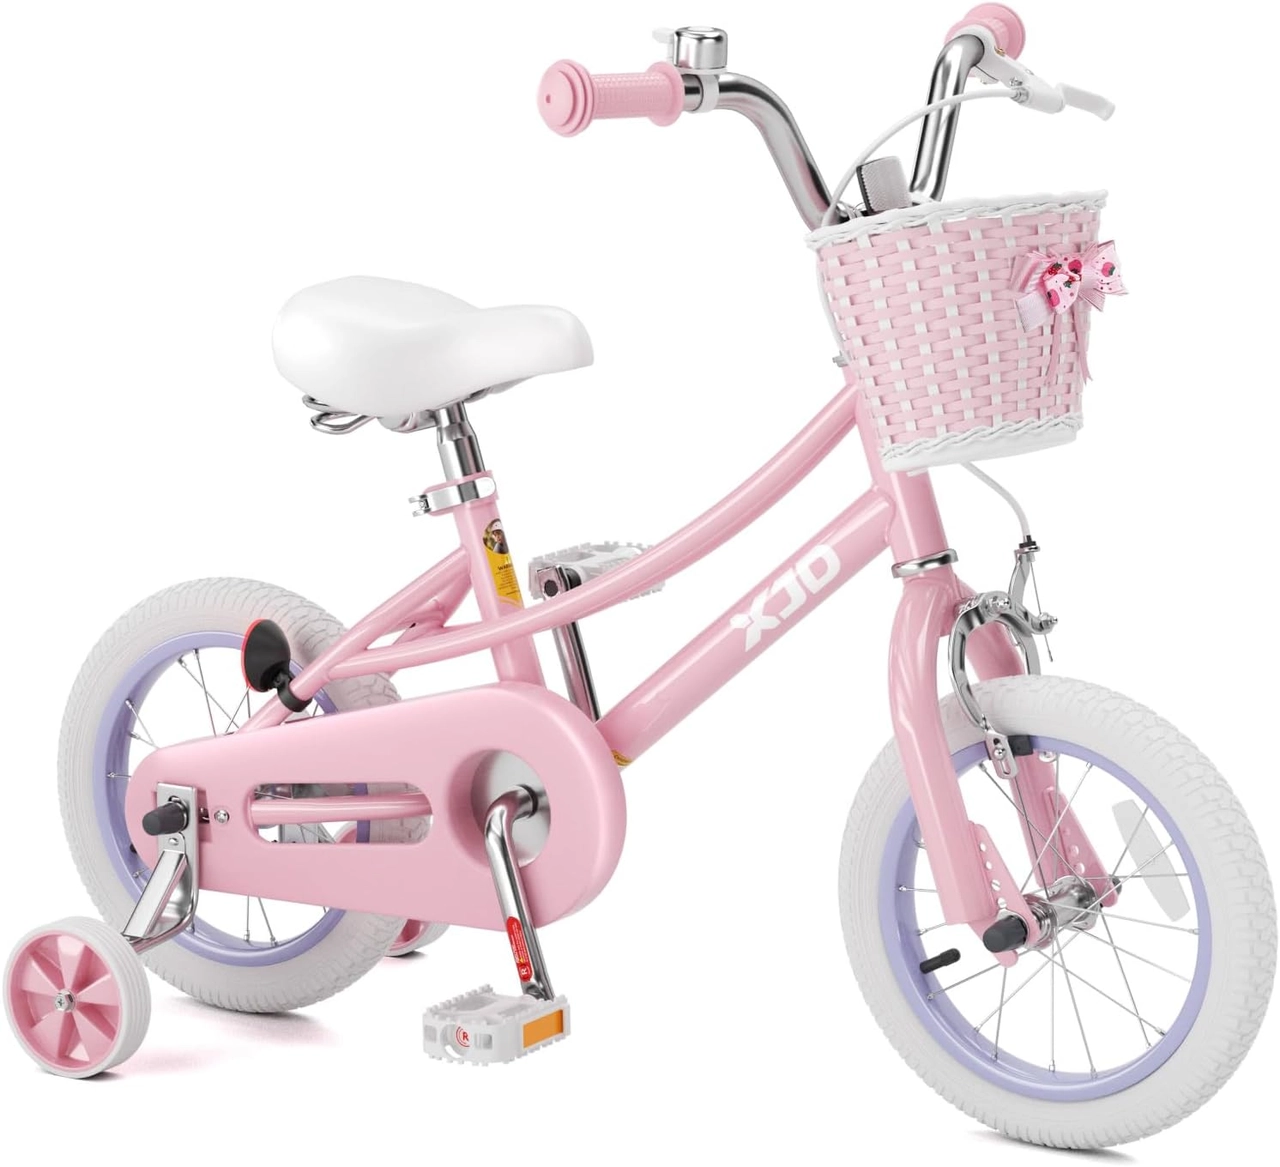 Pink 12/14/16/20" XJD Girls Bike with Training Wheels & Basket
This catalog title identifies training wheels and offers 12 Inch, 14 Inch, 16 Inch and 20 Inch labels, giving the broadest supplied size range for measurement-based comparison.
The Purple XJD Girls' Bike with Doll Seat & Basket is offered in 12 Inch, 14 Inch and 16 Inch labels. The Pink Girls' 12/14/16" Bike by XJD – Basket & Doll Seat offers the same three labeled sizes. Compare them by the exact size that fits the rider; the supplied facts do not establish differences in brakes, weight, materials or other fit dimensions.
The Pink 12/14/16/20" XJD Girls Bike with Training Wheels & Basket adds a 20 Inch label to 12 Inch, 14 Inch and 16 Inch options. Its title identifies training wheels, but the title alone does not establish adjustment details or whether a particular configuration suits a rider. Check the exact product manual and complete an individual fit check.
Make the removal decision
Remove training wheels when the correctly fitted rider repeatedly demonstrates independent starting, steady pedaling, controlled steering, dependable braking and emerging balance in a safe practice area. Keep them for now if the child still relies on them heavily or cannot control the bicycle. Measure height and inseam today, test reach and braking on the actual bike, then repeat the five-skill check before making the change.
Recommended products
-
Save 11%
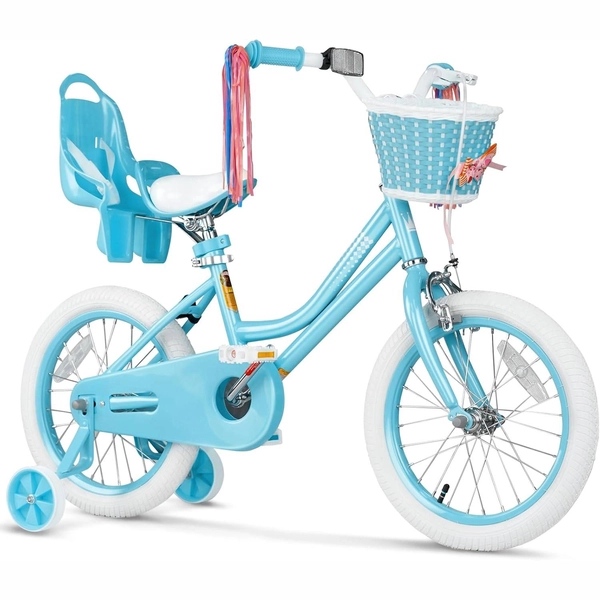
Blue XJD Girls Bike with Training Wheels – 12/14/16 Inch
If you're shopping for a first pedal bike for a daughter roughly 3 to 8 years ol…
Training Wheel Bikes Wheel Size 12 Inch / 14 Inch / 16 Inch Recommended Height 86–122 cm Training Wheels Yes 16 Inch -
Save 16%
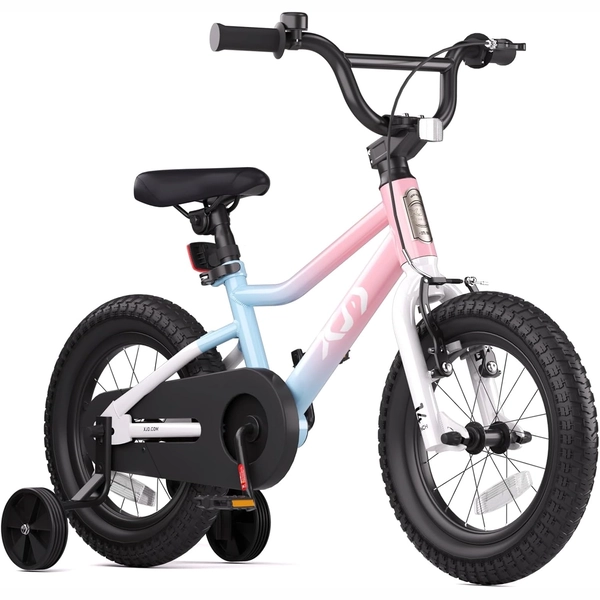
XJD Girls BMX Bike 12/14/16 Inch with Training Wheels – Pink Blue
The XJD Girls BMX Bike in Pink/Blue is built as a first pedal bike for kids roug…
Kids' BMX Bikes Wheel Size 12 Inch / 14 Inch / 16 Inch Recommended Height 86–122 cm Training Wheels Yes Single Speed 12 Inch -
Save 5%
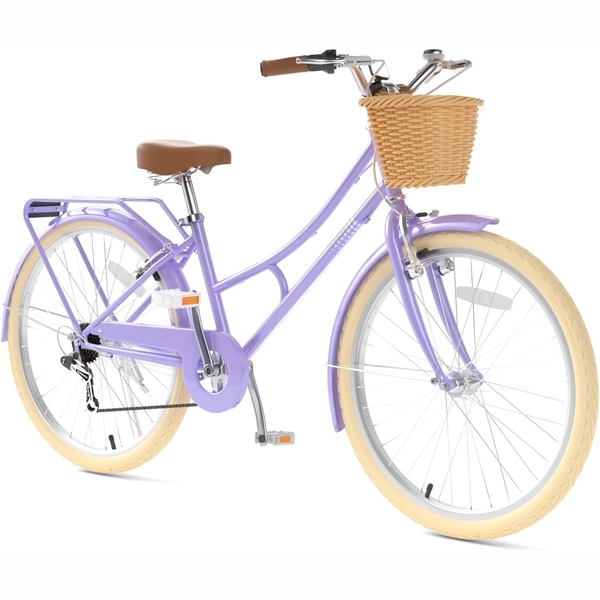
26-Inch XJD Beach Cruiser Bike for Girls – Purple, V-Brake
This XJD 26-inch purple beach cruiser is sized for big kids and teens — suggeste…
Beach Cruiser Bikes Wheel Size 20 Inch / 24 Inch / 26 Inch Recommended Height 122–200 cm Training Wheels No Geared Purple / 26 Inch -
Save 14%
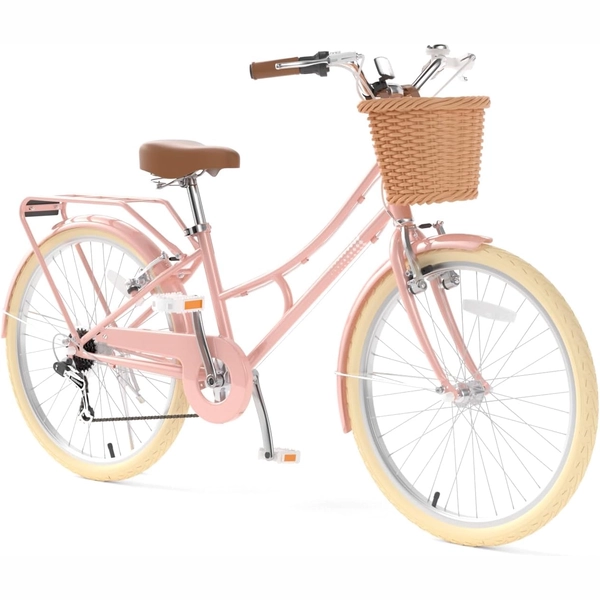
XJD Pink Beach Cruiser for Girls – Rear Rack & V-Brake
The XJD Pink Beach Cruiser for girls is the step-up bike for riders who've outgr…
Beach Cruiser Bikes Wheel Size 20 Inch / 24 Inch / 26 Inch Recommended Height 122–200 cm Training Wheels No Geared 20 Inch