When should a child ride a bike without stabilisers
A child should ride without stabilisers when they can fit the bike properly, balance while moving, steer deliberately, brake on command and start and stop with control. Age alone is not the deciding test.
Check readiness before removing the stabilisers
Watch the child on a quiet, level, traffic-free practice area. They are ready to try two wheels when the stabilisers are rarely supporting them and they can keep a steady line rather than leaning hard from side to side.
Look for these practical signs:
- They look ahead while riding instead of staring at the front wheel or pedals.
- They steer around a simple marker without abrupt turns.
- They respond promptly when asked to slow down or stop.
- They can place their feet down confidently when the bicycle stops.
- They are willing to practise without being pressured.
A child does not need perfect technique before a first attempt, but poor brake control, persistent fear or dependence on the stabilisers means more supported practice is appropriate.
Measure fit, not just age
Measure the child’s height and inseam without shoes, then have them try the actual bicycle. Check that they can stand over it, reach the handlebars without stretching, turn them comfortably and operate the brakes they will use. Follow the exact product manual when adjusting the seat, handlebars or stabilisers; ask a qualified bicycle mechanic if the instructions or compatibility are unclear.
| Wheel size | XBikes starting age | XBikes starting height |
|---|---|---|
| 12 Inch | 3–4 | 34–40 in / 86–102 cm |
| 14 Inch | 3–6 | 37–45 in / 94–114 cm |
| 16 Inch | 4–7 | 40–48 in / 102–122 cm |
These ranges are starting points, not proof of fit or readiness. Where ranges overlap, compare the child on the actual options. Prioritise measured height, inseam, reach, brake control and present confidence. Do not buy an oversized bicycle for growth: extra size can make mounting, steering and stopping harder to control.
Use a short two-wheel trial
- Choose a flat, open area away from vehicles, slopes and obstacles. Fit a bicycle helmet so it sits level, fits properly and has its straps arranged according to the helmet manufacturer’s instructions.
- Prepare the bicycle according to its exact manual. If stabiliser removal or adjustment is not clearly covered, use a qualified bicycle mechanic.
- Let the child practise getting on, placing both feet down and operating the brakes before moving.
- Provide light support while they begin to glide and pedal, then release only when their balance is settled. Stay close without pulling the handlebars.
- Ask for a controlled stop after a short distance. Repeat brief attempts while the child remains calm and attentive.
The result matters more than completing the session. If the child repeatedly tips, cannot steer and brake together, or becomes distressed, restore the appropriate supported setup according to the manual and try again another day. Waiting is not failure; it is evidence that balance or control needs more practice.
How the supplied bikes help with the decision
The XJD Boys 12/14/16" Training Wheel Bike – Blue and Black XJD Kids Bike for Boys – 12, 14 & 16 Inch Sizes are relevant comparison options because both are in the Training Wheel Bikes category and offer 12 Inch, 14 Inch and 16 Inch SKU labels. They let a parent compare those three wheel-size starting points while still checking the individual child’s fit and control. Their titles and category do not establish suitability by themselves.
These particular catalog options help answer the title by showing that the stabiliser decision and the size decision must be made together: select the fitting SKU first, then assess whether the child still needs stabiliser support.
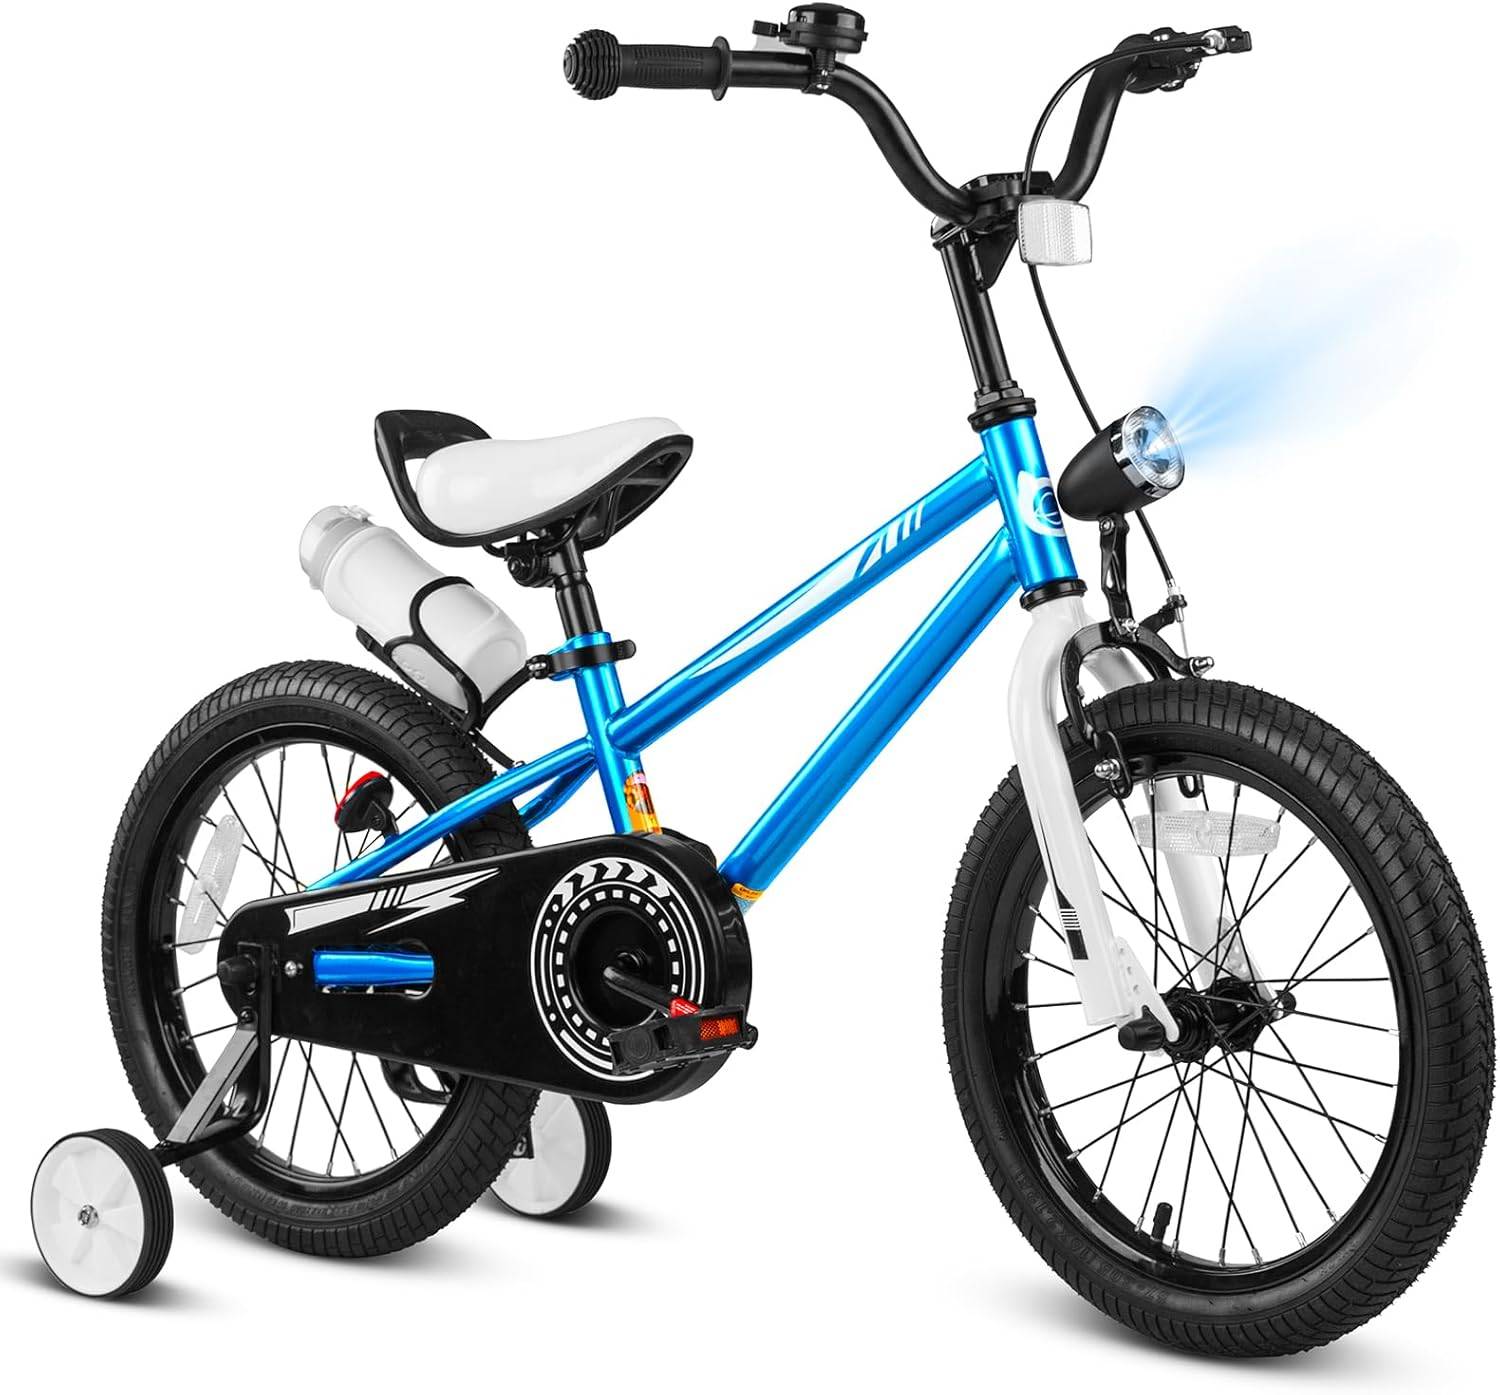 XJD Boys 12/14/16" Training Wheel Bike – Blue
A Training Wheel Bikes option offered with 12 Inch, 14 Inch and 16 Inch SKU labels. Compare the relevant label with the child’s measured height, then confirm stand-over, reach, braking and confidence on the actual bicycle.
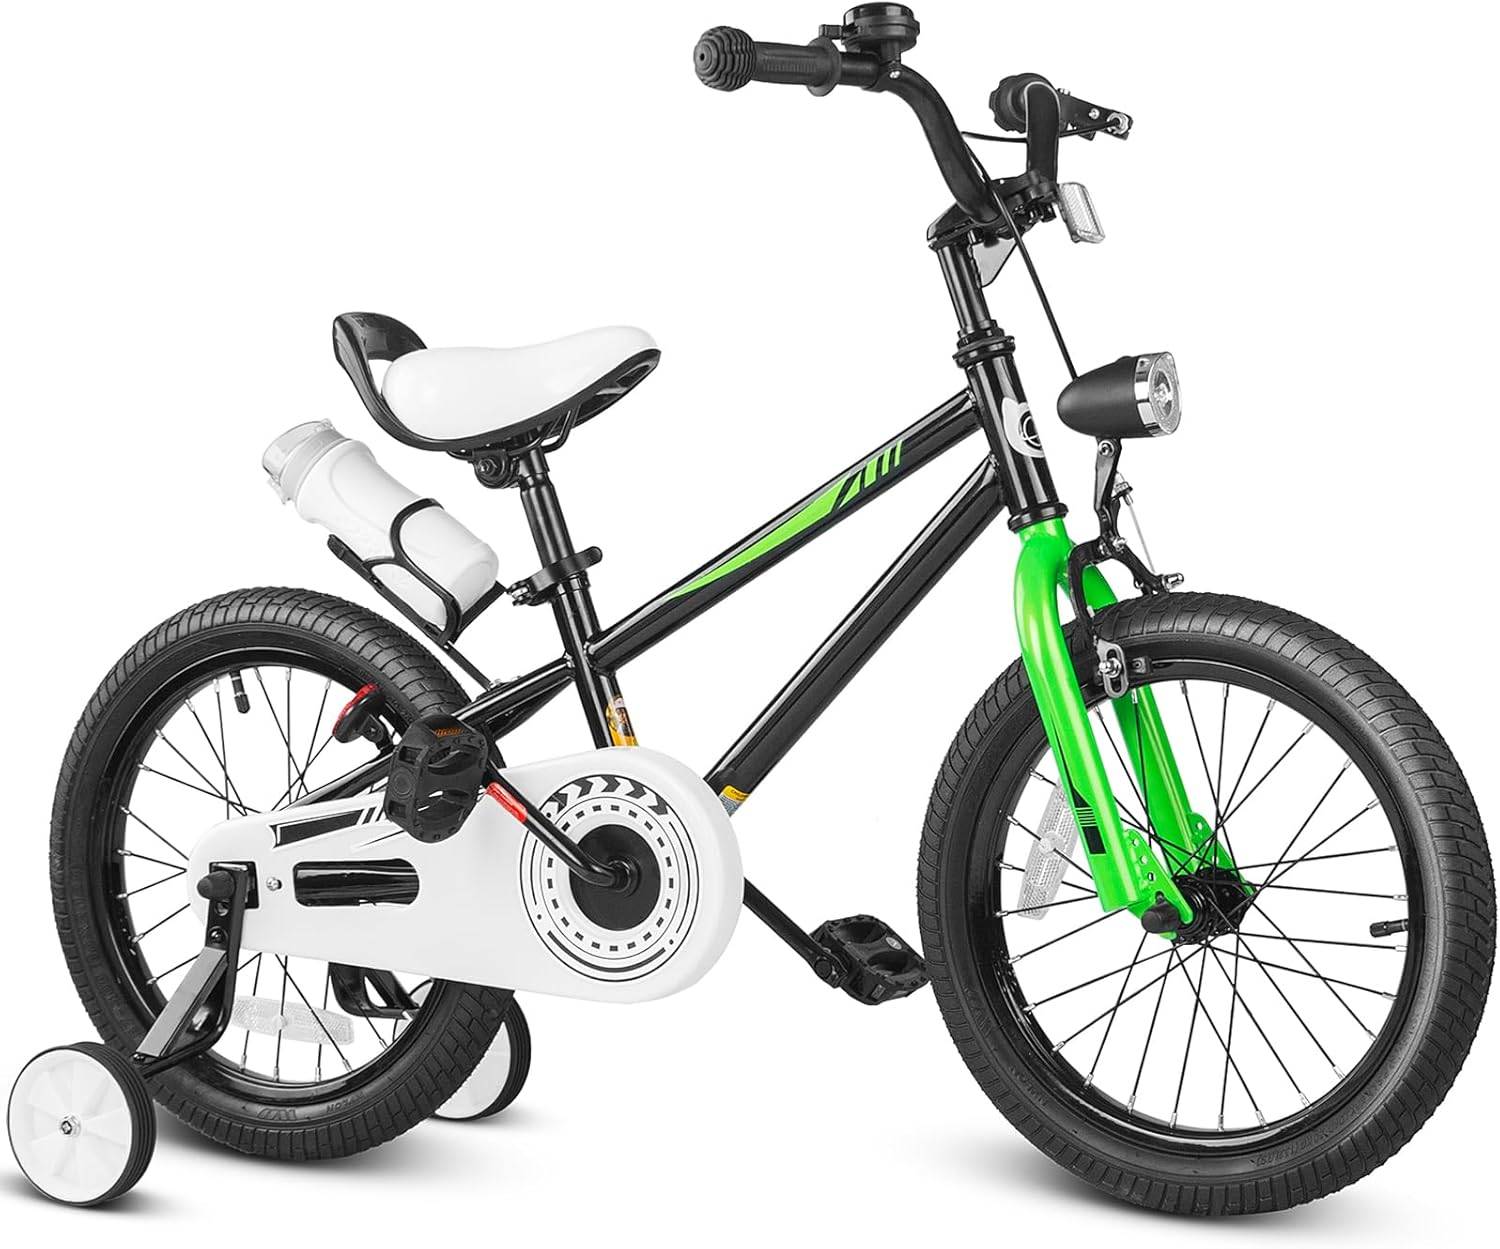 Black XJD Kids Bike for Boys – 12, 14 & 16 Inch Sizes
This Training Wheel Bikes category product offers 12 Inch, 14 Inch and 16 Inch SKU labels. It is relevant for comparing the supplied XBikes size starting points, but its title alone does not establish individual fit or readiness to remove stabilisers.
Choose between the listed products only after confirming the required wheel-size label and trying the fit. The supplied facts do not establish differences in brakes, weight, materials, assembly, load limits or stabiliser design, so consult the exact product manual or a qualified bicycle mechanic for those points.
Decide what to do next
Remove the stabilisers for a supervised trial if the bike fits now and the child can balance, steer, brake and stop with confidence. Keep them for the moment if the child relies on them, cannot control the brakes, cannot reach comfortably or does not want to proceed. Recheck after more practice rather than using a birthday as the deadline.
Today’s useful action is simple: measure height and inseam, test stand-over, reach and braking on the actual bicycle, then run one short controlled trial. Continue without stabilisers only if the child remains in control from start to stop.
Recommended products
-
Save 12%
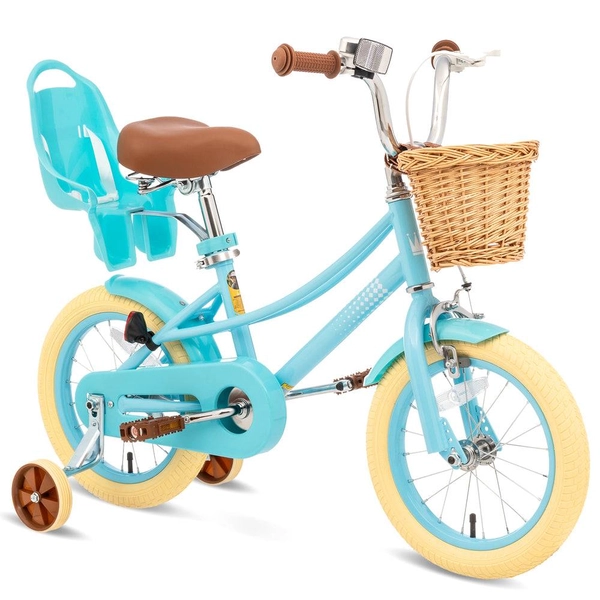
Girls' Training Wheel Bike by XJD, 12–20 Inch Wheels – Blue
This XJD girls' training wheel bike in Blue covers one of the widest fit ranges …
Training Wheel Bikes Wheel Size 12 Inch / 14 Inch / 16 Inch / 20 Inch Recommended Height 86–152 cm Training Wheels Yes 12 Inch -
Save 15%
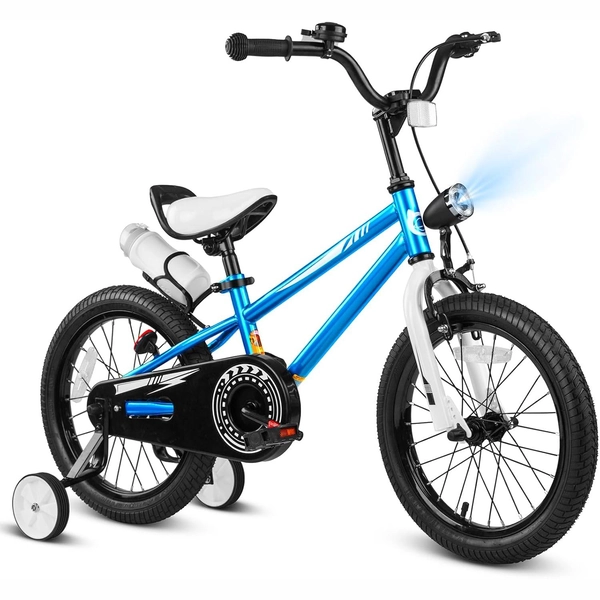
XJD Boys 12/14/16" Training Wheel Bike – Blue
The XJD Boys Bike in Blue is a training wheel bike for riders 71–122 cm tall—rou…
Training Wheel Bikes Wheel Size 12 Inch / 14 Inch / 16 Inch Recommended Height 86–122 cm Training Wheels Yes 16 Inch -
Save 15%
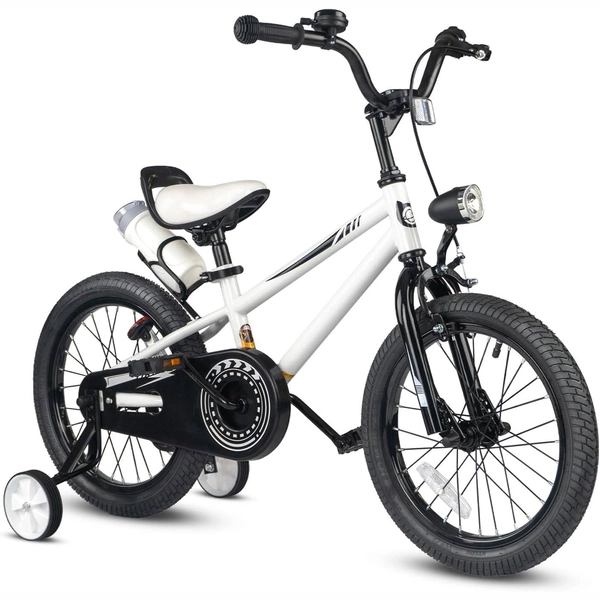
XJD Kids' Training Wheel Bike for Boys & Girls, 12/14/16 Inch – White
The XJD kids' training wheel bike in White is made for riders ages 3–8 (roughly …
Training Wheel Bikes Wheel Size 12 Inch / 14 Inch / 16 Inch Recommended Height 86–122 cm Training Wheels Yes 14 Inch -
Save 12%
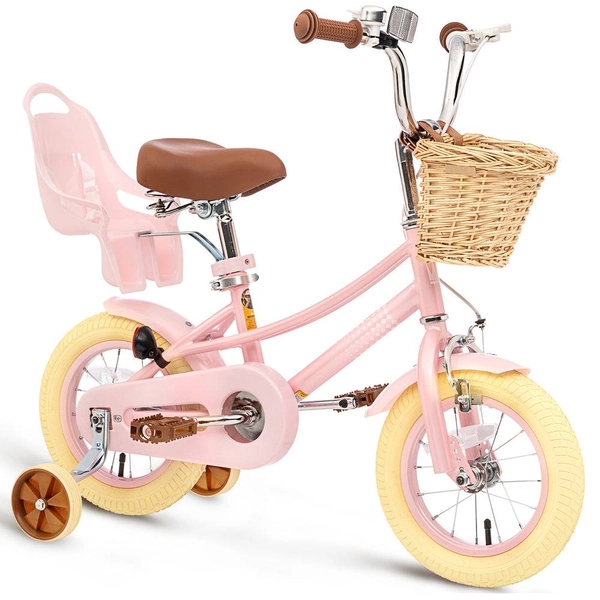
XJD Kids Bike for Girls – Pink, 12/14/16/20 Inch with Training Wheels
The XJD Kids Bike for Girls in Pink is a training-wheel bike built to carry your…
Training Wheel Bikes Wheel Size 12 Inch / 14 Inch / 16 Inch / 20 Inch Recommended Height 86–152 cm Training Wheels Yes 12 Inch