

How to get a kid to pedal a bike
To get a kid to pedal a bike, first make sure the bike fits, then teach the pedal motion in small steps on a flat, traffic-free practice area.
Measure before practicing
Measure the child’s height and inseam while they wear the shoes they will ride in. Height gives you a wheel-size starting point; inseam helps you judge stand-over clearance and whether the child can get on, stop and steady the bike confidently.
Have the child try the actual bicycle. Check that they can stand over it, reach the handlebars without stretching, turn them while remaining balanced and operate the brakes comfortably. Do not choose an oversized bike merely to allow room for growth. Age is only a starting point; measured height, inseam, reach, brake control and current confidence matter more.
| Wheel size | Starting age | Rider height |
|---|---|---|
| 12 Inch | 3–4 | 34–40 in / 86–102 cm |
| 14 Inch | 3–6 | 37–45 in / 94–114 cm |
| 16 Inch | 4–7 | 40–48 in / 102–122 cm |
| 18 Inch | 5–9 | 43–52 in / 109–132 cm |
| 20 Inch | 7–12 | 48–60 in / 122–152 cm |
| 24 Inch | 10–14 | 54–64 in / 137–163 cm |
| 26 Inch | Youth and adults | Over 60 in / 153 cm |
Teach the motion before the launch
A child often understands “push” but not how alternating feet keep the cranks moving. Stabilize the bicycle while the child sits in riding position. Place one pedal slightly forward and high, where the child can press it down firmly. Ask them to push that pedal toward the ground, then find and press the other pedal.
Repeat this slow half-turn sequence until the feet follow the pedals without looking down. Keep your support at the bicycle or the child’s torso rather than pulling the handlebars; the child needs to learn steering input without an adult changing the direction unexpectedly.
Practice starting, pedaling and stopping separately
- Starting: Set one pedal in the forward, raised position. The child pushes down on it while looking ahead.
- Continuing: Ask for three or four steady pedal turns rather than speed. Walk alongside and reduce support gradually.
- Stopping: Rehearse braking and putting a foot down before extending the riding distance.
Use a level, open surface away from vehicles, slopes and obstacles. Short attempts work better than continuing after concentration or confidence has faded. If the child repeatedly loses a pedal, cannot start without twisting sharply or struggles to reach the controls, pause and recheck fit instead of treating the problem as unwillingness.
Use training wheels for the right problem
Training wheels can reduce the balancing demand while a child learns the sequence of starting, turning the pedals and stopping. They are relevant when balance is preventing any useful pedal practice. They do not correct a bicycle that is too large, an uncomfortable reach, inaccessible brakes or fear caused by an unsuitable practice area.
The supplied catalog options help because they provide training-wheel bicycle comparison points across several wheel-size labels. Compare the child’s measurements with the XBikes starting points, then require an individual try-on and control check before selecting any size.
 XJD Kids' Training Wheel Bike for Boys & Girls, 12/14/16 Inch – White
A training-wheel bicycle offered with 12 Inch, 14 Inch and 16 Inch SKU labels; compare the child’s measurements with the XBikes size starting points and confirm individual fit and control.
 Girls' Training Wheel Bike by XJD, 12–20 Inch Wheels – Blue
A training-wheel bicycle offered with 12 Inch, 14 Inch, 16 Inch and 20 Inch SKU labels, useful for comparing several starting sizes after measuring the rider and checking actual fit.
Compare the supplied options
XJD Kids' Training Wheel Bike for Boys & Girls, 12/14/16 Inch – White is listed in the Training Wheel Bikes category with 12 Inch, 14 Inch and 16 Inch SKU labels. It is relevant when the child’s measured fit falls within that range and training wheels address the current learning barrier.
Girls' Training Wheel Bike by XJD, 12–20 Inch Wheels – Blue is also listed in the Training Wheel Bikes category, with 12 Inch, 14 Inch, 16 Inch and 20 Inch SKU labels. Its supplied range adds a 20 Inch comparison, but that label still requires checking height, inseam, reach, braking and confidence on the actual bicycle.
Neither supplied product lists an 18 Inch, 24 Inch or 26 Inch option. If the fit check points to one of those sizes, these products are nearest-size comparison points only, not substitutes; another wheel size is not equivalent.
Check equipment and know when to pause
Before every practice, use a bicycle helmet that fits properly, sits level and has straps adjusted according to its manufacturer’s instructions. Check the riding area and confirm that the bicycle is assembled and functioning as its exact manual requires. For assembly, maintenance, load limits, compatibility or torque details not stated in the supplied facts, follow the product manual or use a qualified bicycle mechanic.
Stop and reassess if the child cannot stand over the bicycle, comfortably reach the bars or brakes, start without fighting the bike, or stop under control. The next useful action is simple: measure height and inseam, try the correctly indicated size, confirm control reach, then practice one raised-pedal push followed by a few calm pedal turns.
Bikes for your next adventure
-

Kids Bike Helmet by XJD for Girls – Pink
The XJD Kids Bike Helmet in Pink is a lightweight multi-sport helmet for girls r…$59.99
$99 -
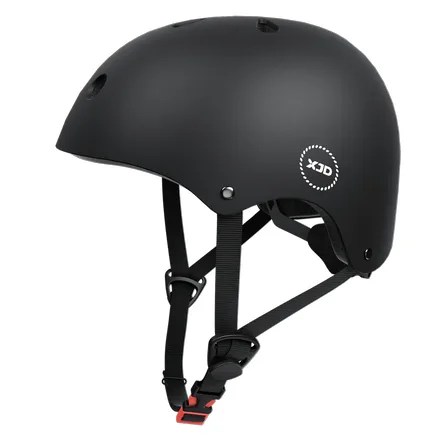
7-in-1 Kids Helmet & Protective Gear Set from XJD – Black or Blue
If you're outfitting one kid (or a couple of siblings) for biking, scootering, o…$59.99
-
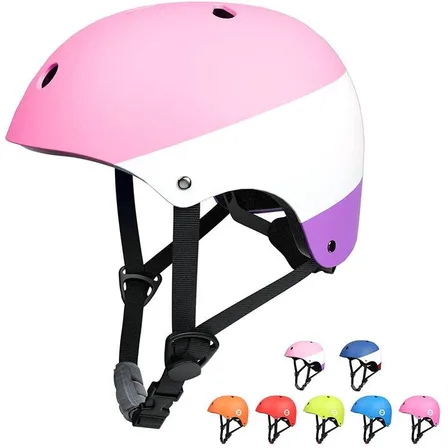
XJD Kids Bike Helmet for Boys & Girls, B White / Pink White
The XJD Kids Bike Helmet covers a wide age range — suggested for ages 2 through …$59.99