

How to get a kid to ride a bike
To get a kid to ride a bike, remove pressure, choose a bike they can control, practise one small skill at a time, and stop while the experience is still positive.
Start by finding the real obstacle
Ask one calm question: What part feels hard or worrying? The answer determines the next step. A child may dislike an oversized bike, fear falling, struggle to reach the brakes, feel rushed, or simply not want an audience.
Do not begin with persuasion or a long lesson. Let the child inspect the bike, sit on it and name what feels uncomfortable. If they are tired, upset or firmly unwilling, postpone the session. Cooperation is more useful than forced practice.
Measure the rider before choosing a bike
Measure the child's height without shoes. Also measure inseam from the floor to the crotch while the child stands straight. Age is only a starting point; measured height, stand-over room, reach, brake control and current confidence decide whether a particular bike works.
Have the child try the actual bicycle. They should be able to stand over it, reach the controls without stretching, steer comfortably and operate the brakes. Do not buy an oversized bicycle merely to allow room for growth. If adjustments are needed, follow the exact product manual or ask a qualified bicycle mechanic.
| Wheel size | Starting age | Rider height |
|---|---|---|
| 12 Inch | 3–4 | 34–40 in / 86–102 cm |
| 14 Inch | 3–6 | 37–45 in / 94–114 cm |
| 16 Inch | 4–7 | 40–48 in / 102–122 cm |
| 18 Inch | 5–9 | 43–52 in / 109–132 cm |
| 20 Inch | 7–12 | 48–60 in / 122–152 cm |
| 24 Inch | 10–14 | 54–64 in / 137–163 cm |
| 26 Inch | Youth and adults | Over 60 in / 153 cm |
These ranges are comparison points, not proof of fit. Where ranges overlap, compare the child's control and confidence on each candidate rather than choosing from age alone.
Make the first session easy to accept
Choose a flat, open area away from traffic and avoid crowds. Fit a bicycle helmet before riding: it must be the correct size, sit level, and have its straps used according to the helmet manufacturer's instructions.
- Set one tiny goal, such as sitting on the bike, holding a straight line or travelling to a nearby marker.
- Explain only the next action. Too many instructions can make a hesitant child freeze.
- Stay close enough to reassure without constantly grabbing or steering for them.
- Notice a specific success: looking ahead, braking when asked or trying again.
- Finish after a small win, before fatigue turns practice into conflict.
If the child becomes frightened, return to the last step they could do calmly. Progress can mean becoming comfortable with the bike, not necessarily riding independently that day.
Compare support with skill readiness
Training wheels may be relevant when a child wants extra side-to-side support while becoming familiar with pedalling, steering and braking. They do not replace an individual fit check, brake-control check, helmet or supervision. A child who already balances confidently may need a different learning setup, so choose support according to present ability rather than pressure to follow a particular sequence.
The three supplied catalog options are relevant because each is categorized as a training-wheel bike and offers 12, 14, 16 and 20 Inch SKU labels. That makes them useful comparisons when the rider's measurements point to one of those four sizes and the child currently benefits from training wheels.
 Girls' Training Wheel Bike by XJD, 12–20 Inch Wheels – Blue
A blue training-wheel bike offered in 12, 14, 16 and 20 Inch SKU labels; relevant when the rider passes an individual fit check for one of those sizes and wants added support.
 XJD Girls' Bike with Training Wheels, 12/14/16/20 Inch – Purple
A purple training-wheel option with 12, 14, 16 and 20 Inch SKU labels. Compare the appropriate size through measured height, stand-over, reach, brake control and confidence.
 XJD Kids Bike for Girls – Pink, 12/14/16/20 Inch with Training Wheels
A pink kids bike with training wheels, available under 12, 14, 16 and 20 Inch SKU labels. It is relevant only when both size and support type suit the individual rider.
How the supplied bikes compare
Girls' Training Wheel Bike by XJD, 12–20 Inch Wheels – Blue lists 12, 14, 16 and 20 Inch choices. XJD Girls' Bike with Training Wheels, 12/14/16/20 Inch – Purple lists the same four sizes, as does XJD Kids Bike for Girls – Pink, 12/14/16/20 Inch with Training Wheels.
Based on the supplied facts, their practical comparison is therefore the exact wheel-size SKU and the catalog color named in each title. No supplied information establishes differences in weight, materials, brakes, geometry, load limit or certification. Check those points in the exact product documentation, and use a qualified bicycle mechanic for assembly, compatibility, maintenance or torque questions not answered by the manual.
These products are relevant only if the fit check supports a 12, 14, 16 or 20 Inch bike and training wheels suit the child's current confidence. If measurements indicate 18, 24 or 26 Inch wheels, these are nearest catalog comparison points only; another size is not an equivalent substitute.
Decide what to do next
- If the bike fits and the child is willing: schedule a short, single-skill session in a suitable riding area.
- If reach, stand-over or brake use is doubtful: try another size or obtain help from a qualified bicycle mechanic before riding.
- If the child wants support: compare the listed training-wheel models in the wheel size supported by the fit check.
- If the child refuses: pause, ask what feels wrong and change that condition before trying again.
The next successful move is not demanding a full ride: measure the child, confirm control on the actual bike, agree on one manageable task, and let that task be today's finish line.
Bikes for your next adventure
-

Kids Bike Helmet by XJD for Girls – Pink
The XJD Kids Bike Helmet in Pink is a lightweight multi-sport helmet for girls r…$59.99
$99 -
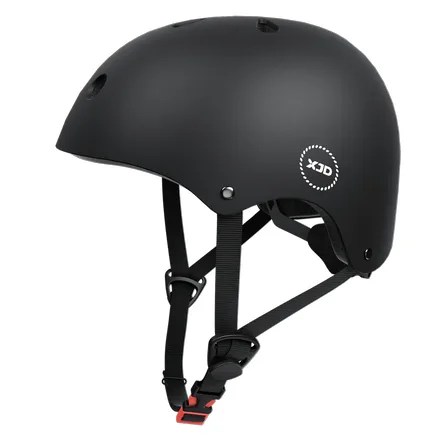
7-in-1 Kids Helmet & Protective Gear Set from XJD – Black or Blue
If you're outfitting one kid (or a couple of siblings) for biking, scootering, o…$59.99
-
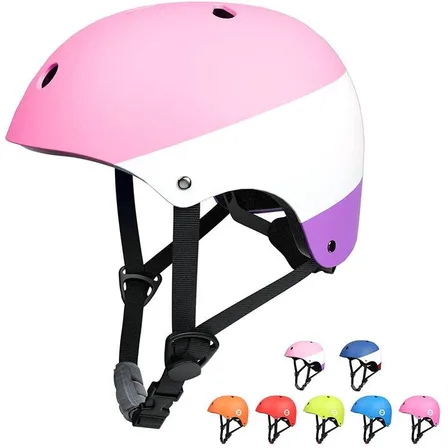
XJD Kids Bike Helmet for Boys & Girls, B White / Pink White
The XJD Kids Bike Helmet covers a wide age range — suggested for ages 2 through …$59.99