

How to help kid ride bike
Help your kid ride a bike by checking fit first, teaching one skill at a time, and practicing in a level, traffic-free space.
Measure before choosing the bike
Measure your child’s standing height and inseam without shoes. Height gives you a wheel-size starting point; inseam helps you judge whether the child can stand over the bicycle comfortably. Then have the child try the actual bike. Age alone cannot confirm fit, and buying an oversized bicycle for future growth can make starting, stopping and steering harder.
| Wheel size | Starting age | Rider height |
|---|---|---|
| 12 Inch | 3–4 | 34–40 in / 86–102 cm |
| 14 Inch | 3–6 | 37–45 in / 94–114 cm |
| 16 Inch | 4–7 | 40–48 in / 102–122 cm |
| 18 Inch | 5–9 | 43–52 in / 109–132 cm |
| 20 Inch | 7–12 | 48–60 in / 122–152 cm |
| 24 Inch | 10–14 | 54–64 in / 137–163 cm |
| 26 Inch | Youth and adults | Over 60 in / 153 cm |
Use overlapping ranges as a prompt to compare adjacent sizes, not as proof that either will fit. On the real bicycle, check that your child can stand over it, reach the handlebar without straining, turn it comfortably and operate the brakes reliably. Current confidence and control matter more than the age band.
Check control before the first lesson
Ask your child to hold the bicycle upright, walk it a few steps, turn it around and stop it. Watch rather than prompting constantly. If the bike repeatedly tips because the child cannot manage its size, the reach looks stretched, or the brakes cannot be operated confidently, pause and reassess the fit.
A properly fitting bicycle helmet is essential. It should sit level and be secured with its straps according to the helmet manufacturer’s instructions. Clothing and footwear should allow easy movement and should not interfere with the bicycle.
Teach riding as separate, repeatable skills
Choose a level, open area away from traffic, parked cars and other obstacles. Keep sessions short enough that frustration does not replace attention. Teach the sequence in small pieces:
- Starting: practice getting into a ready position and moving forward without rushing.
- Looking: encourage eyes forward toward the intended path rather than down at the front wheel.
- Steering: use wide, gentle turns before asking for tighter changes of direction.
- Stopping: practice controlled braking and putting a foot down at a marked point.
- Repeating: combine starting, riding straight, turning and stopping only after each part feels manageable.
Stay close enough to assist, but avoid pulling the handlebar, which can compete with the child’s steering. Give one short instruction at a time. A calm stop is more useful than extending a run after control has begun to fade.
Decide whether training wheels are relevant
Training wheels can be relevant when the immediate goal is helping a child practice pedaling, steering and stopping with added support. They do not replace the fit check, and they are not automatically necessary for every learner. Compare the child’s present balance, confidence and ability to control the chosen bicycle before deciding.
The supplied catalog option, XJD Girls' Bike with Training Wheels, 12/14/16/20 Inch – Purple, is relevant because it is a training-wheel bike offered with 12 Inch, 14 Inch, 16 Inch and 20 Inch SKU labels. Those sizes let you compare several XBikes height starting points, while the child’s individual stand-over, reach and brake control determine the actual choice.

This product does not provide an 18 Inch, 24 Inch or 26 Inch option in the supplied catalog facts. If your measurements point toward one of those sizes, treat its available sizes only as comparison points—not equal substitutes. Do not move up or down merely to use an available label.
Know when to adjust the plan
Continue with the current setup when your child can mount with help appropriate to their confidence, reach the controls, steer predictably and stop on request. Slow down or reconsider the bicycle when fear increases, control becomes inconsistent, or the rider must stretch to manage it.
If training wheels are used, follow the exact product manual for assembly, adjustment, compatibility, maintenance and any limits. If the instructions are missing or the setup is uncertain, use a qualified bicycle mechanic. Do not guess at hardware procedures or torque.
What to do next
Measure height and inseam, identify the starting wheel-size range, and arrange an actual fit check. Then confirm stand-over space, comfortable reach, reliable brake operation and present confidence. Choose training wheels only if they support the next skill your child needs. Begin in a level, traffic-free area and finish the first session after several controlled starts and stops—not after a target distance.
Bikes for your next adventure
-
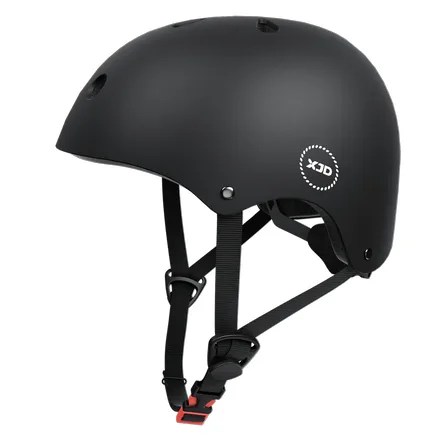
7-in-1 Kids Helmet & Protective Gear Set from XJD – Black or Blue
If you're outfitting one kid (or a couple of siblings) for biking, scootering, o…$59.99
-
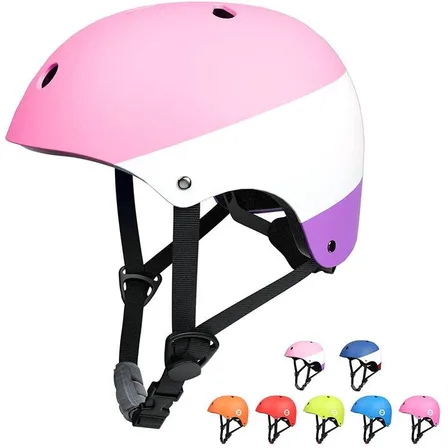
XJD Kids Bike Helmet for Boys & Girls, B White / Pink White
The XJD Kids Bike Helmet covers a wide age range — suggested for ages 2 through …$59.99
-

Blue XJD Girls Bike with Training Wheels – 12/14/16 Inch
If you're shopping for a first pedal bike for a daughter roughly 3 to 8 years ol…$149
$169